
How to keep shower glass clearer with a simple drying routine
Water droplets left on a shower door can make clean glass look busy and cloudy, especially when sunlight reaches the bathroom. A small drying habit is often easier to keep up than waiting until the door needs a longer cleaning session. The useful tools are simple: a soft cloth and a suitable shower squeegee.
This routine combines occasional gentle washing with the removal of fresh droplets after use. It is intended for glass and fittings whose manufacturer allows the materials described, including any protective coating on the door. It does not promise to remove established limescale, repair scratched glass, or solve a mold problem hidden in seals or surrounding walls.
Gather a few easy tools
Check the shower door’s care guide before choosing products, particularly if the glass has a factory coating. The clear panel, metal frame, seals, and handle may not share the same cleaning instructions. A product labeled for glass is not automatically suitable for every part of an enclosure, so keep the manufacturer’s recommendations as your starting point.
- A shower squeegee with a clean, soft rubber blade.
- A clean, nonabrasive cloth suitable for the glass.
- A separate soft cloth for drying reachable edges.
- Warm water and an approved mild detergent for occasional washing.
- A convenient storage place that does not obstruct the door.
Choose tools you can hold comfortably without stretching your fingers around a slippery handle. Before beginning a cleaning session, make sure your footing is dry and stable. Work only on areas you can reach easily; a clear shower door is never a reason to balance on a bath edge or lean across a wet tray.
The routine, step by step
-
Look over the door while it is dry, noticing the main droplet marks and checking that the glass, hinges, and handle appear intact. If a panel is chipped, cracked, loose, or difficult to move, stop and arrange appropriate help. Cleaning should not involve forcing a heavy door or holding a damaged panel in position.
-
For an occasional wash, prepare only the mild detergent solution allowed by the door maker and the product label. Keep other cleaners out of the work area so they cannot be added by mistake. Test any newly approved product in a discreet spot as directed, checking both glass and nearby metal for a change in appearance.
-
Use the soft damp cloth to wash a small, comfortably reachable section of the glass, without pressing hard. Keep the cloth clean and turn it as it picks up residue. Avoid abrasive pads, blades, and improvised scraping tools: a little spot should not become an excuse to test an unknown treatment on a coated panel.
-
Rinse the washed section thoroughly with clean water, keeping the flow directed into the shower and away from the bathroom floor. Remove soap rather than letting it dry on the surface. Follow the enclosure’s instructions around seals and fittings, and avoid saturating areas that the manufacturer says should receive only a damp wipe.
-
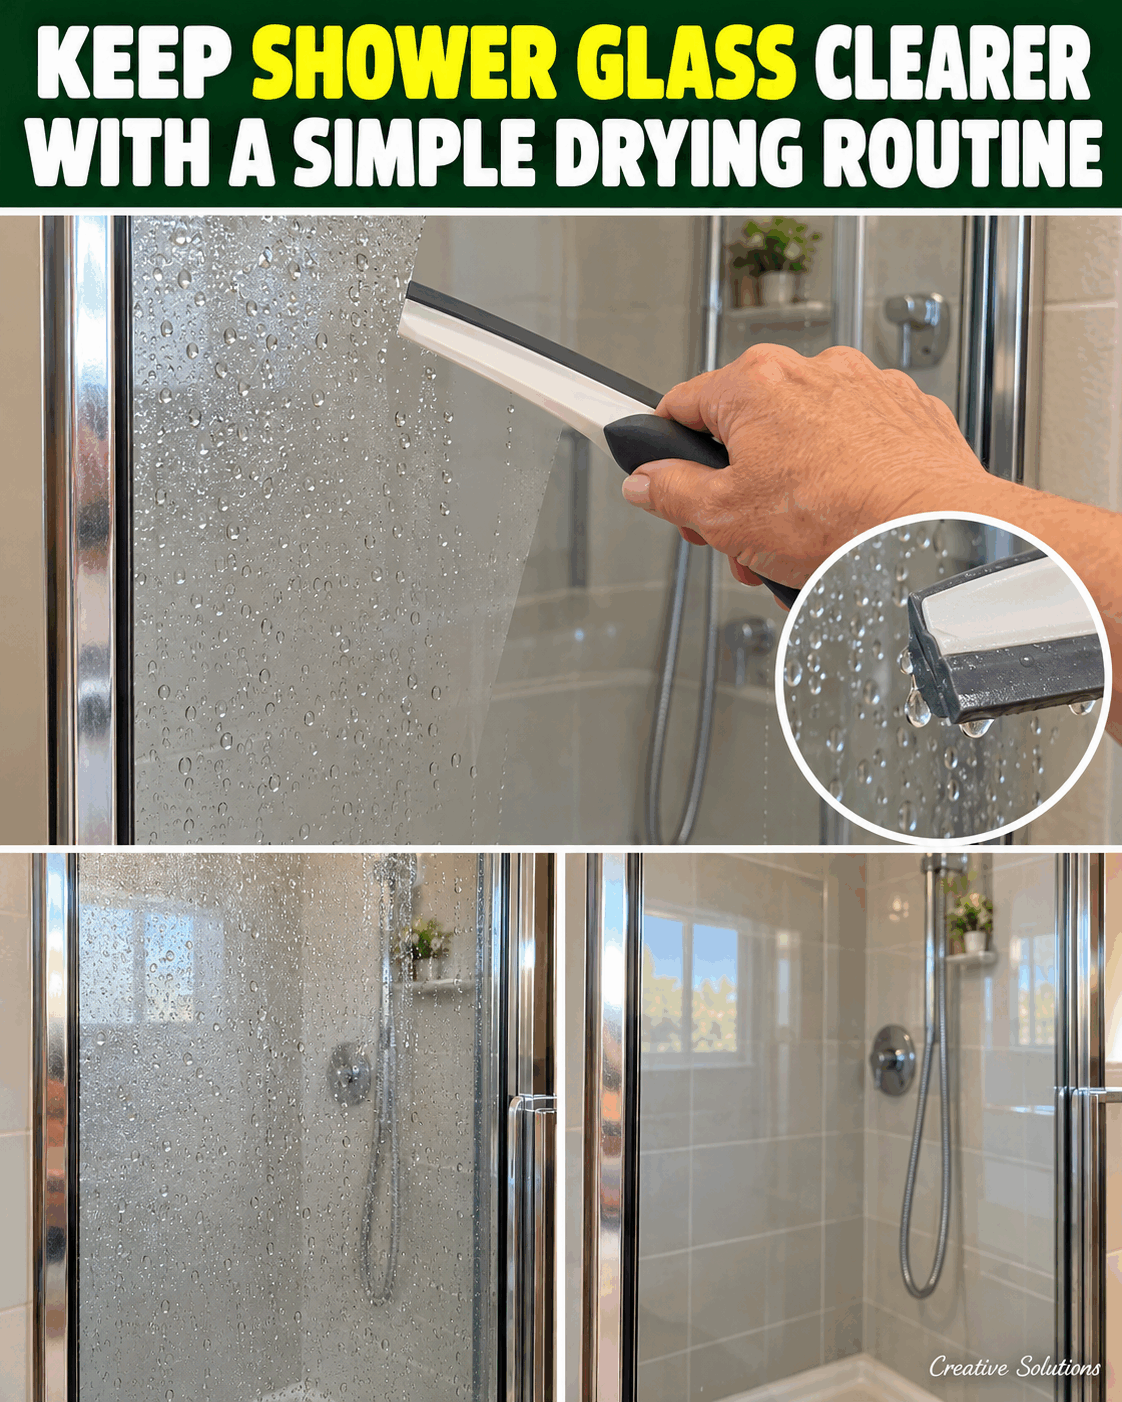
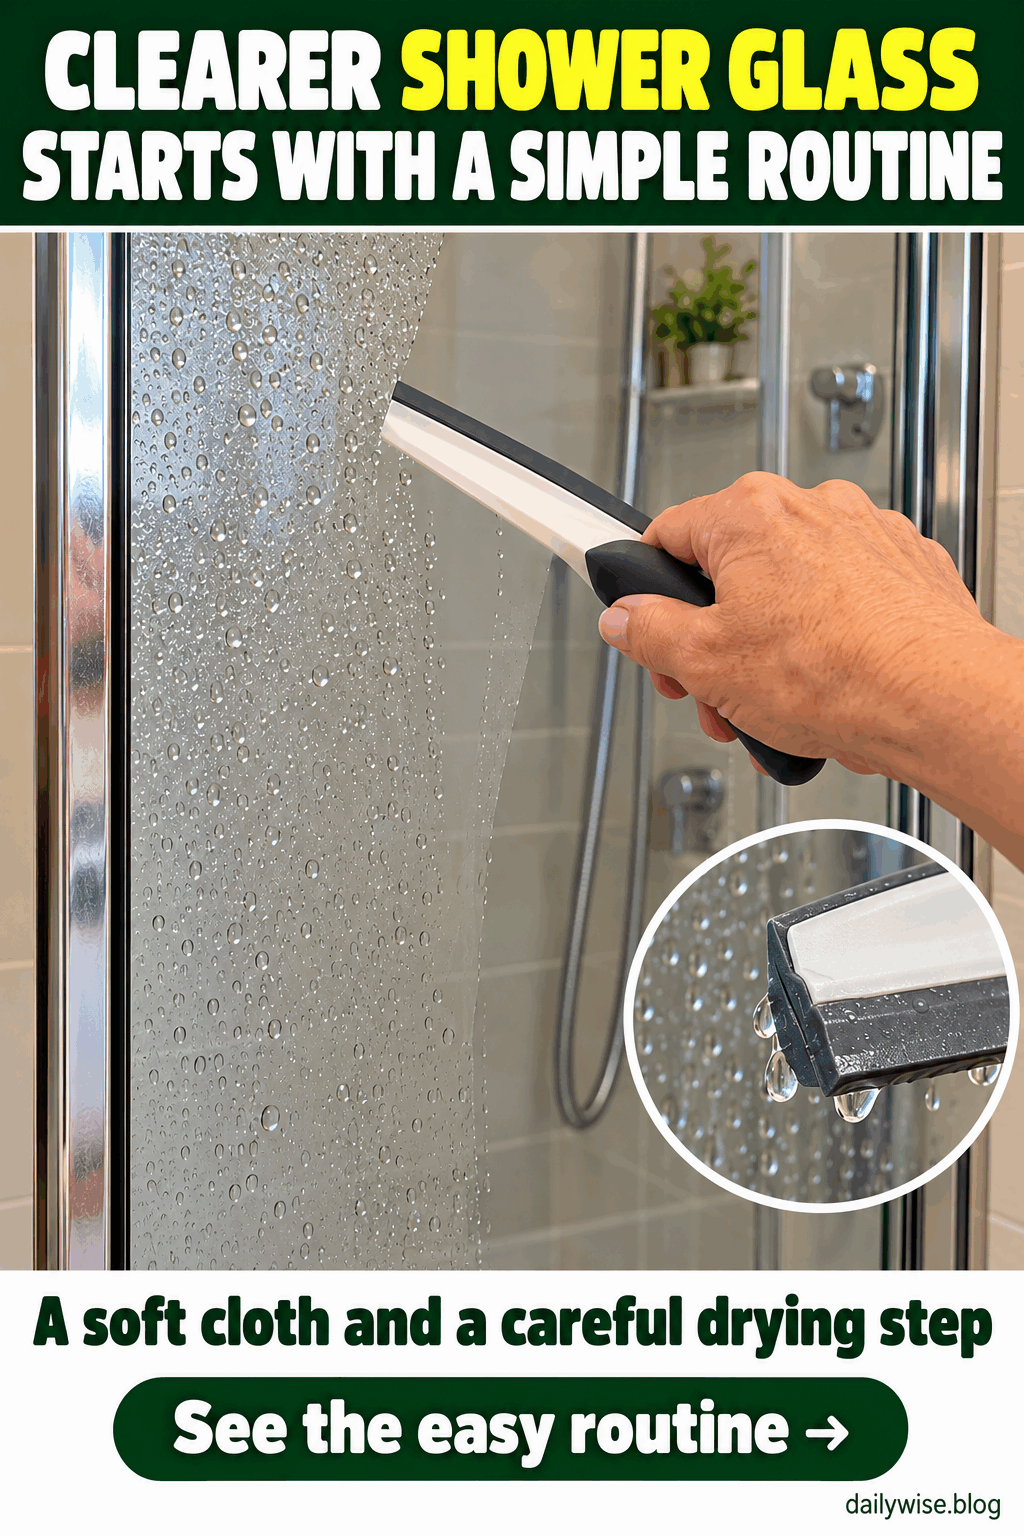
Check the squeegee blade for grit, damage, or a rough edge, then place it lightly against the wet glass. Draw it downward over a short, manageable section, directing water into the shower. Keep the tool at a comfortable angle; you should not need to press your weight against the door to move fresh droplets.
-
Wipe the blade with the clean cloth between passes when necessary, and overlap each pass slightly so narrow wet strips are not left behind. Move your body to maintain comfortable reach rather than stretching sideways. If the upper part of the panel cannot be reached safely, leave it for someone who can manage the task.
-
Use the separate dry cloth on accessible edges and the handle as allowed by their care instructions, collecting the last small droplets. Check for water on the bathroom floor and deal with it before walking away. Do not push a cloth deep into a seal or drainage opening in an attempt to dry every hidden space.
-
Rinse and dry the squeegee, then store it where the door can move freely. Hang the cloths to dry and follow the bathroom’s normal ventilation routine. After future showers, a shorter version may simply involve removing fresh droplets with the approved squeegee or cloth, without adding detergent every time the door gets wet.
Why a short drying habit helps
It is easier to see fresh water on the glass than to judge a mix of old marks, reflections, and new droplets later. A quick pass gives the routine a clear ending and makes the next inspection simpler. You can notice a remaining patch without immediately treating the whole door again or collecting several additional cleaning products.
Shower door manufacturers including Delta and Sterling recommend suitable mild cleaning and the removal of water with soft tools, while warning against harsh or abrasive treatment. Their guidance also distinguishes coated glass from other surfaces. The practical lesson is to match the door’s instructions and remove fresh moisture, rather than assume stronger scrubbing will always be better.
Common mistakes to avoid
Do not leave a cleaner soaking on the glass or frame simply because you are taking a break. Read the required method before beginning, work in small areas, and complete rinsing as instructed. If you need to stop, bring the current section to a sensible finishing point instead of applying more product across the rest of the enclosure.
Avoid mixing bathroom products or adding vinegar to a commercial cleaner to chase a clearer finish. Different ingredients can be unsuitable for coatings, metal, seals, or nearby stone, even when the glass itself looks sturdy. Keep the task focused on one approved method, and seek a separate recommendation if an established deposit remains after routine cleaning.
Do not use the squeegee as a scraper for crusted marks or press its hard handle against the panel. The rubber blade is for moving water, not grinding away a deposit. If you hear scraping or feel the edge catch, lift the tool and inspect it before continuing with another pass over the same area.
Make the habit fit your bathroom
Choose a storage point you can reach from a steady position, without crossing a wet floor or leaning behind the door. A tool that is easy to put away is more likely to stay part of the routine. Check that any hook or holder is installed as directed and does not interfere with the glass or fittings.
Keep the routine small enough to be comfortable. One reachable panel may be a useful starting point if the enclosure is large, and another household member can handle a difficult section. Share the same simple instructions for products and cloths so nobody follows a careful wash with an abrasive sponge borrowed from a different cleaning job.
Judge the result after the glass is dry and the lighting is similar. Reflections from tiles and windows can make a perfectly ordinary panel appear streaked from one angle. If a visible mark stays in the same place after gentle cleaning, photograph it and ask the manufacturer about the next appropriate step for that specific door.
Frequently asked questions
Do I need detergent after every shower?
Not necessarily. Follow the door maker’s guidance: removing fresh water with a suitable soft cloth or squeegee may be enough between occasional cleaning sessions. Add detergent only as part of an approved wash, including the required rinse. The aim is a manageable drying habit rather than leaving a new cleaning product on the glass every day.
Can I use my kitchen sponge?
Only a clean, nonabrasive tool suitable for the door should touch the glass, and keeping bathroom cloths separate is a practical choice. A used kitchen sponge may contain grit or have an abrasive side that is easy to pick up by mistake. Check the surface of the tool before it reaches the panel or metal frame.
What if the squeegee leaves lines?
Inspect the rubber blade for debris, wear, or a damaged edge, and try short overlapping passes with light pressure. Wipe the blade when needed rather than pressing harder on the glass. If the tool no longer moves water cleanly, replace it with a suitable model instead of using a worn edge to chase the same streak repeatedly.
Will this remove old white mineral deposits?
This routine focuses on ordinary gentle cleaning and fresh water removal, not a guaranteed treatment for established deposits. If marks remain, identify the glass coating and nearby materials before choosing a separate product. Ask the manufacturer for compatible advice, rather than extending an acidic treatment across the whole enclosure without checking what it may contact.
Should I clean the highest section first?
Only when it is comfortably reachable from a stable position. A cleaning sequence should fit your bathroom and your reach, rather than require stretching above your balance point. Leave difficult sections for appropriate help, keep water directed into the shower, and avoid using furniture or the bath rim as an improvised step during the job.
A clearer routine with fewer tools
For shower glass suited to this method, combine an occasional approved gentle wash with careful removal of fresh droplets using a soft cloth or suitable squeegee. Keep the tools easy to reach, complete each rinse, and work only where you feel steady so the habit remains simple enough to repeat without turning into a larger chore.