
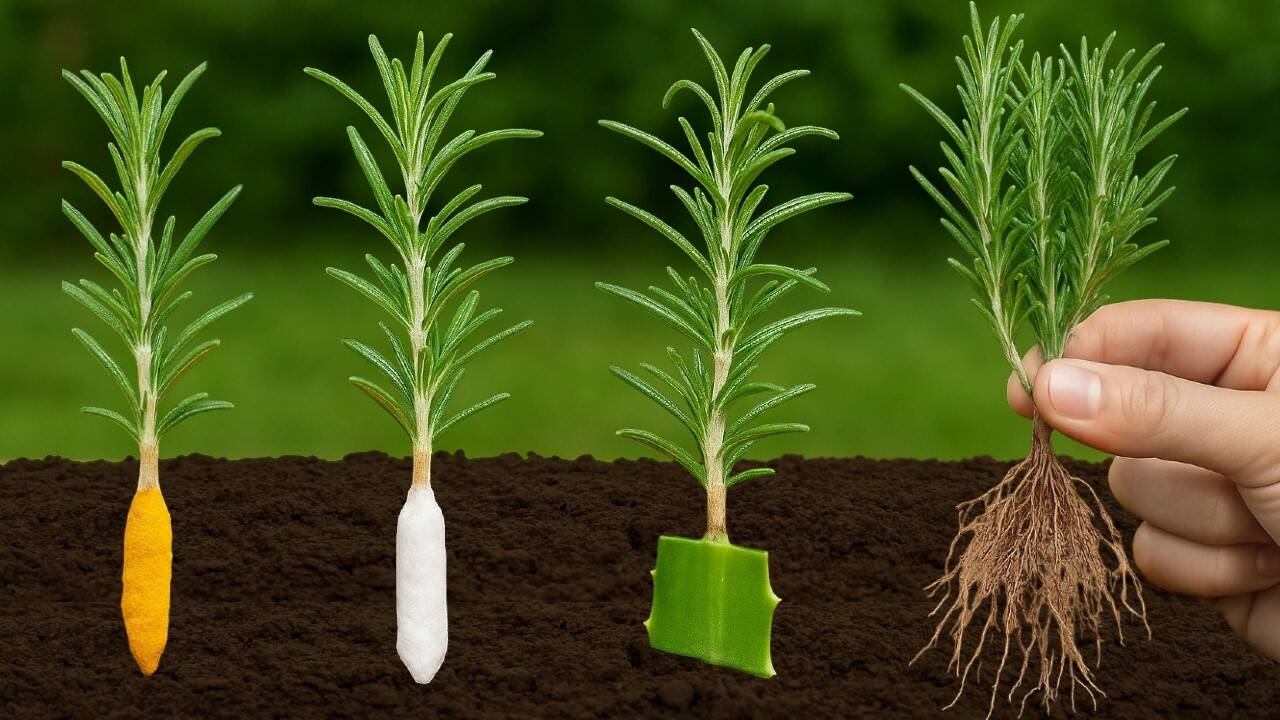
This simple technique transforms cuttings into thriving rosemary plants in just days…
This Simple Technique Transforms Cuttings into Thriving Rosemary Plants in Just Days
Have you ever dreamed of having a garden filled with fresh, aromatic **rosemary**? This simple technique can turn your cuttings into thriving plants within days. So roll up your sleeves and let’s embark on this green journey!
Step 1: Selecting the Right Cuttings
The first step is to choose the right **branches**. Look for healthy, green shoots that are not too woody. Ideally, the cutting should be about 4-6 inches long with at least two sets of leaves. Avoid any cuttings showing signs of disease or damage to ensure your rosemary thrives.
Step 2: Preparing the Cuttings
Once you’ve selected your branches, it’s time to prepare them. Trim the cutting just below a leaf node, removing the lower leaves while leaving a few at the top. This encourages **root growth** from the nodes exposed to soil.
Step 3: Treatment of the Cuttings
To give your cuttings the best chance of success, consider soaking them in water or using a **rooting hormone**. Rooting hormones can significantly accelerate the rooting process. Dip the cut end in the hormone and gently shake off the excess before planting.
Step 4: Choosing the Right Soil
Your cuttings will flourish in the right environment. Use a light, well-draining **potting mix**. A mixture of peat moss and perlite works well to provide the nutrients and aeration necessary for healthy growth.
Step 5: Planting the Cuttings
Create small holes in the soil with a pencil or your finger and place the cuttings into the holes. Make sure they are upright and pack the soil gently around them to remove air pockets. Water them lightly to settle the soil.
Step 6: Watering and Lighting
Effective **watering** is crucial. Keep the soil consistently moist but not soggy. Ensure your cuttings get plenty of indirect sunlight, as direct light can scorch them. A bright windowsill or a greenhouse is ideal.
Common Mistakes to Avoid
- Overwatering: Ensure the cuttings are not sitting in water.
- Insufficient light: Lack of proper lighting can hinder growth.
- Neglecting temperature: Rosemary prefers warmer conditions; avoid cold drafts.
Step 7: Transplanting the Cuttings
After about 2-4 weeks, you should see roots developing. At this stage, gently tug on the cuttings; if you feel resistance, roots are forming. Once well-established, you can transplant them into larger pots ensuring they have ample space for growth.
Conclusion: Your Rosemary Journey Begins!
Now you have the tools to transform your **cuttings** into lovely rosemary plants. Don’t wait—dive into gardening today! Start with your selected cuttings and enjoy the rewards of nurturing your own herbs. Happy gardening!
”


