🌸Just 1 Teaspoon ! The Orchid Plant Takes Roots and Blooms All Year Round
🌸Just 1 Teaspoon ! The Orchid Plant Takes Roots and Blooms All Year Round
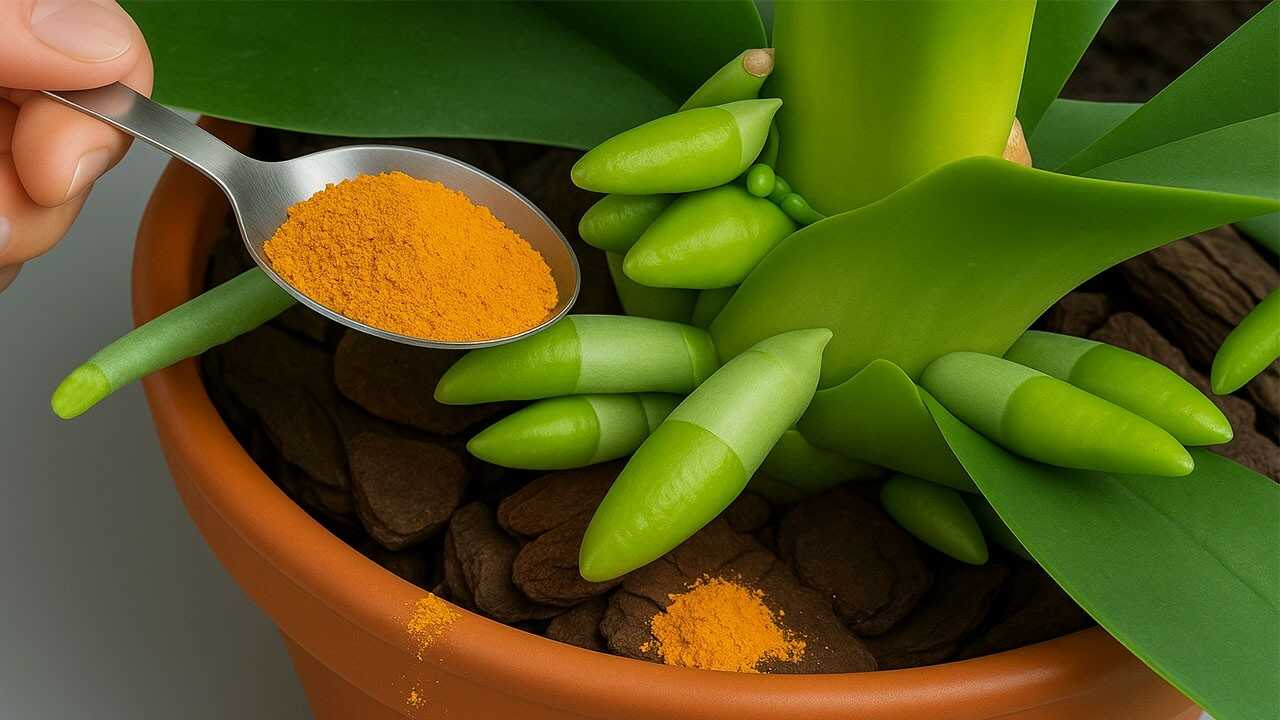
Spotlight on the image: the photo shows a spoon of bright orange powder — clearly **turmeric** — being brought near an orchid in a bark mix. This article explains a practical, safe way to use that exact **turmeric powder** as a supportive treatment for orchid roots and wounds, combined with sound orchid care.
Why turmeric for orchids?
Turmeric contains the compound **curcumin**, which has documented **antimicrobial and antifungal** activity in laboratory studies. Applied carefully, turmeric can act as a mild surface antiseptic for trimmed or vulnerable orchid roots and crowns. Important: this is a **supplement** to correct light, watering, airflow, drainage and balanced fertilizer — not a replacement for them or for professional fungicides when rot is advanced.
Materials and exact doses
- Ground turmeric powder: kitchen-grade, fresh.
- Preparation dose (solution): 1 level teaspoon (≈2.5 g) turmeric per 1 liter of warm water.
- Root dip dose (small batch): 1/4 teaspoon turmeric in 250 ml warm water (strain before use).
- Direct dusting dose (cuts/wounds): a tiny pinch (≈0.25 teaspoon) per trimmed root cluster — do not overapply.
- Substrate drench amount: 100 ml of strained turmeric solution per 10 cm (4″) pot diameter.
How to prepare turmeric solution (step-by-step)
Turmeric powder does not fully dissolve and will leave particles, so straining is essential to avoid buildup in the bark.
- Measure 1 level teaspoon turmeric into 1 liter of warm (not boiling) water.
- Stir well, then let steep for 12–24 hours at room temperature.
- Strain through a fine cloth or coffee filter into a clean container to remove sediment. Keep the clear liquid for use; discard solids.
- Store strained solution up to 48 hours in the refrigerator — discard after that.
When and how to apply (exact protocol)
Use turmeric treatments only when repotting, after pruning infected tissue, or as a preventative surface drench during the growing season.
- Repotting / root treatment: Remove old medium, rinse roots gently. Trim black, mushy or dead tissue with sterile scissors. Dust trimmed cuts with a pinch (≈0.25 tsp) of turmeric powder directly, or soak trimmed roots for 10 minutes in the strained root-dip (1/4 tsp per 250 ml). Allow roots to drain for 20–30 minutes before repotting into fresh bark.
- Preventative substrate drench: In active growth (spring–summer), apply 100 ml of strained turmeric solution per 10 cm pot once every 4 weeks. In autumn–winter reduce to once every 6–8 weeks. Water first if the bark is bone-dry, then apply the turmeric solution as a light drench so it reaches root surfaces.
- Spot treatment for small surface mold: Remove visible moldy bark, then apply a tiny pinch of turmeric to the cleared area. Replace with fresh bark.
What to expect and timeline
Turmeric is a gentle surface antiseptic — do not expect dramatic overnight cures. With correct use and good cultural care you can expect to see reduced new surface mould and healthier-looking roots within 6–8 weeks. Improved root health supports stronger growth and more reliable flowering in subsequent months.
Practical tips from experience
- Always strain the turmeric solution to avoid orange sediment building up in the bark and blocking airflow.
- Use only fresh, coarse orchid bark or bark/leca mixes — turmeric works best as a complement to a well-draining medium.
- Keep tools sterile when trimming. Turmeric helps at the cut site but cannot replace sterile technique.
- Watch for staining — turmeric will leave orange marks on pots, gloves and hands. Wear gloves and protect surfaces.
- Combine this routine with a balanced orchid fertilizer during the growing season (per label instructions) and ensure bright, indirect light and good air movement.
Common mistakes to avoid
- Do not pour undiluted powder into the pot — heavy powder clumps can smother roots and encourage anaerobic pockets.
- Avoid using turmeric as the only treatment for advanced root rot — if the root mass is mushy and foul-smelling, use a targeted fungicide or consult an experienced grower.
- Do not over-apply: more frequent than monthly drenches in growth season can upset beneficial microflora in the potting mix.
- Do not apply to leaf surfaces as a cosmetic fix; it stains and can interfere with photosynthesis if layered thickly.
Final encouragement
Using a small amount of turmeric the right way can be a helpful, low-cost complement to orchid maintenance — especially at repotting or when treating minor surface infections. Follow the exact doses and frequencies above, keep culture strong (light, water, drainage, fertilizer) and give the plant time: expect measurable improvement in 6–8 weeks. Try the method on one plant first, note results, and adapt gently.
Ready to try? Prepare a strained teaspoon-per-liter batch, test a root dip on a recently repotted orchid, and record changes over the next two months. Share your observations — every healthy root brings you closer to more blooms.