An easy tip will revive any orchid and make it bloom year-round
An easy tip will revive any orchid and make it bloom year-round
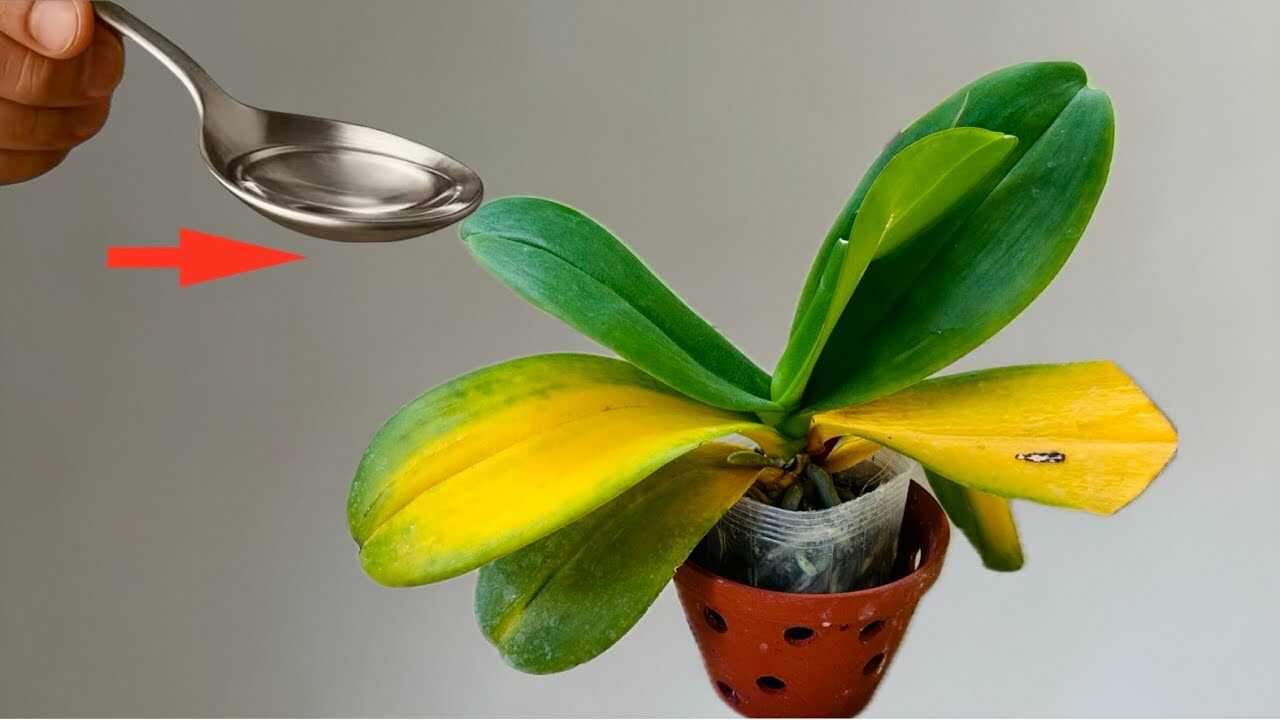
In the photo you can clearly see a metal spoon holding a clear liquid pointed at an orchid with yellowing leaves. That spoonful is the visual cue — the tip below uses a **diluted 3% hydrogen peroxide solution** (a clear household liquid you would measure with a spoon) to treat oxygen-starved roots and early root rot, a common cause of yellow leaves on phalaenopsis and other potted orchids.
Why this helps (short, factual)
Household **3% hydrogen peroxide** breaks down into water and oxygen. When used in a safe dilution it can temporarily increase oxygen availability around roots and help reduce surface fungal and bacterial load. That can improve root recovery and, combined with good cultural care, support stronger growth and future flowering. This is a complementary corrective step — not a replacement for light, drainage, or proper fertilization.
Step-by-step: how to prepare and apply the spoonful treatment
- Check the plant first: Gently lift the orchid from its pot or peer through the clear inner pot. Healthy roots are firm and green/white; mushy brown or black roots indicate rot.
- Trim dead roots: Using sterile scissors, cut away clearly dead or mushy roots. Disinfect scissors between cuts with alcohol or a 1:10 bleach solution.
- Make the dilution: Mix 1 teaspoon of 3% hydrogen peroxide per 1 cup (250 ml) of room-temperature water. That ratio is gentle and widely used for orchids.
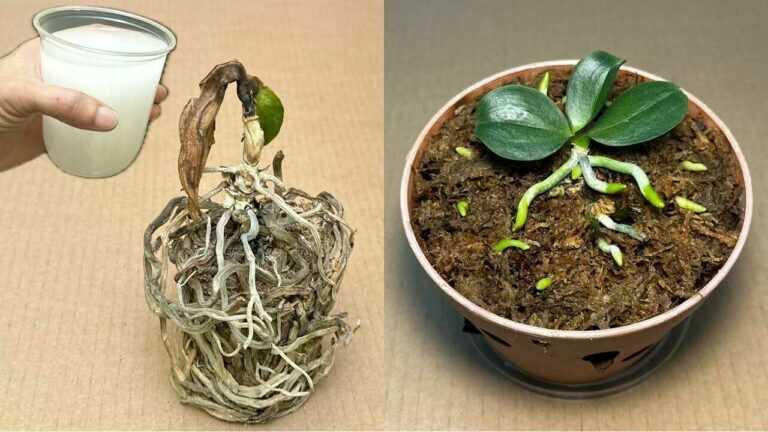
- Apply the treatment: For an in-pot drench, slowly pour the full cup of diluted solution so it wets the potting medium and drains through. For a short root soak during repotting, submerge the bare rootball in the same dilution for 10 minutes, then let roots air-dry before repotting in fresh medium.
- Frequency: Use the diluted drench every 2 weeks in spring–summer if recovering from rot or compacted media, and every 4–6 weeks in autumn–winter. Do not exceed this unless advised by a specialist.
Practical tips from experience
- Use room-temperature water. Cold or hot water stresses roots.
- Always dilute 3% hydrogen peroxide. Never pour full-strength 3% onto roots — it can damage delicate tissue.
- Combine with repotting: If the medium is compacted or old bark has broken down, repot into fresh orchid bark or a chunky medium after trimming roots.
- Improve aeration: Use a pot with good drainage and a chunky bark mix to keep oxygen available to roots, which is the long-term solution.
- Resume balanced feeding: After 2–4 weeks of recovery, use a diluted balanced orchid fertilizer at half strength every 2–4 weeks during active growth to encourage spike formation.
Common mistakes to avoid
- Overusing peroxide: More frequent or stronger treatments can harm beneficial microbes and root tissue.
- Pouring into the crown: Avoid pouring diluted peroxide directly onto the central crown or resting it on leaves — this risks crown rot or leaf burn. Aim the drench at the substrate and roots.
- Ignoring drainage and light: Treating roots while keeping the plant in soggy, low-light conditions will not fix the underlying problem.
- Assuming instant results: Expect root recovery and visible leaf improvement over several weeks to a few months, not days.
What to expect and timeline
After starting this treatment and correcting cultural conditions, you may see less progressive yellowing within 4–8 weeks and gradual new root and leaf growth over the following months. Flowering is encouraged by steady good care (light, temperature swings for spike initiation where appropriate, balanced feeding) — the peroxide step helps roots recover so the plant can respond to those conditions.
Conclusion — try the spoonful routine
That simple spoon in the photo is a reminder: a carefully measured dose of diluted 3% hydrogen peroxide can help oxygenate roots and curb early root rot when used as part of sensible orchid care. Follow the exact dilution and frequency above, fix light and drainage if needed, and be patient — improvements take several weeks. Try the routine on a stressed orchid, monitor progress, and share your results: healthy roots are the first step to more blooms.