
Bathroom mirror edges and frame: lift light marks without soaking the backing
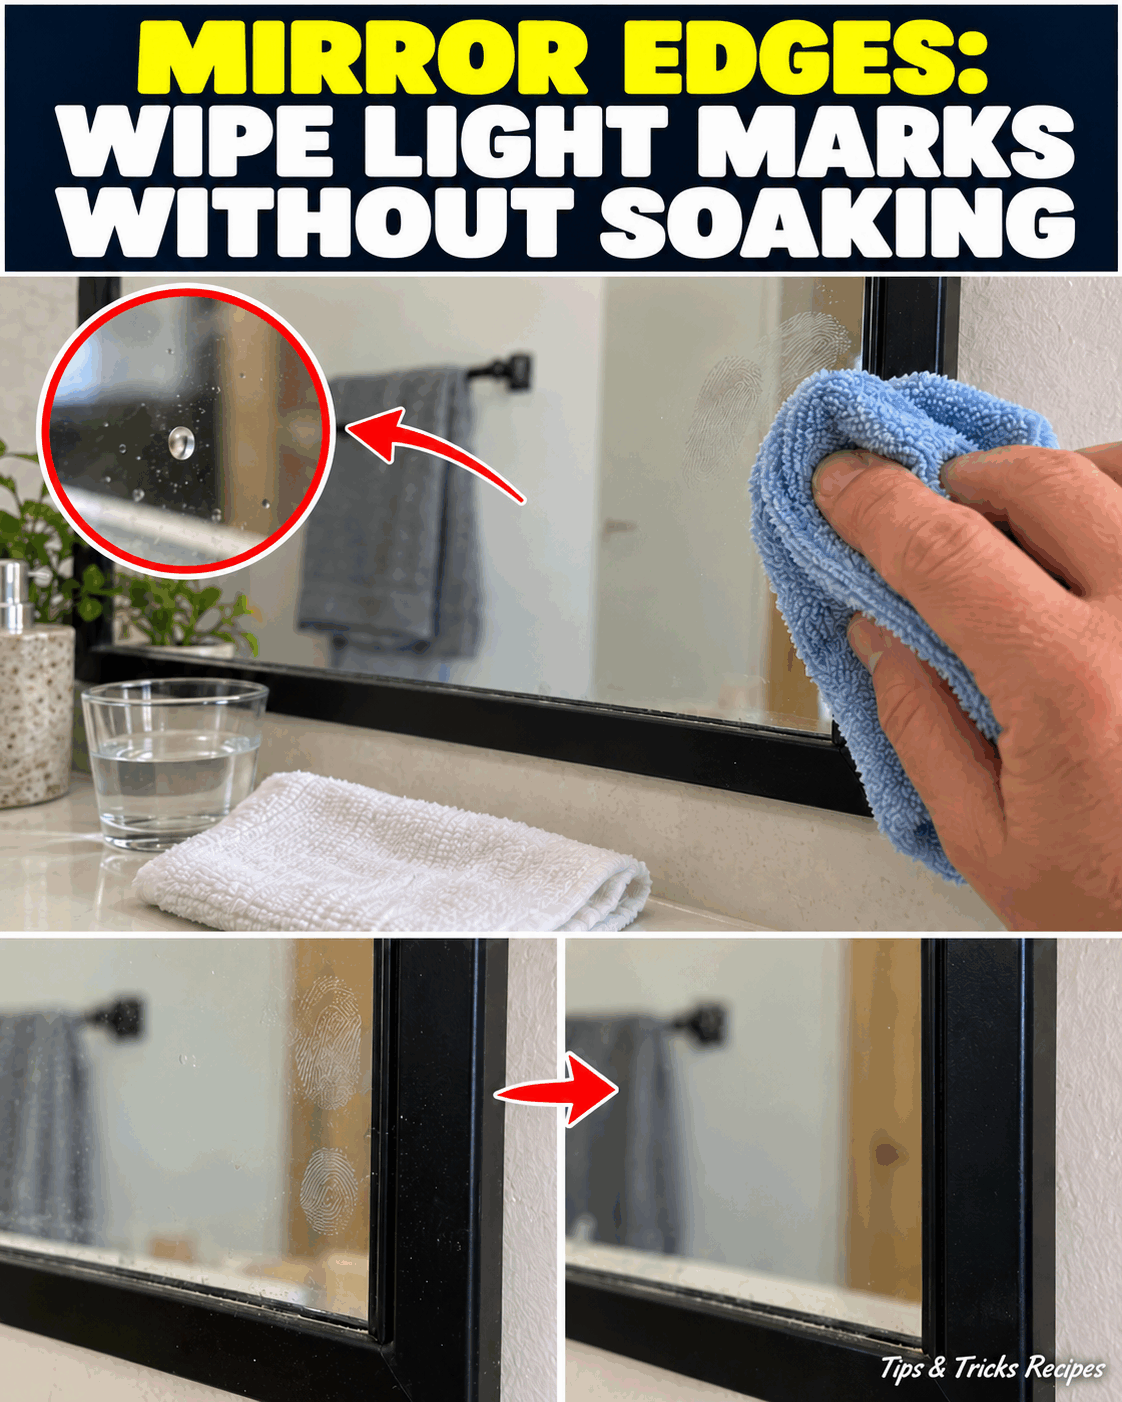
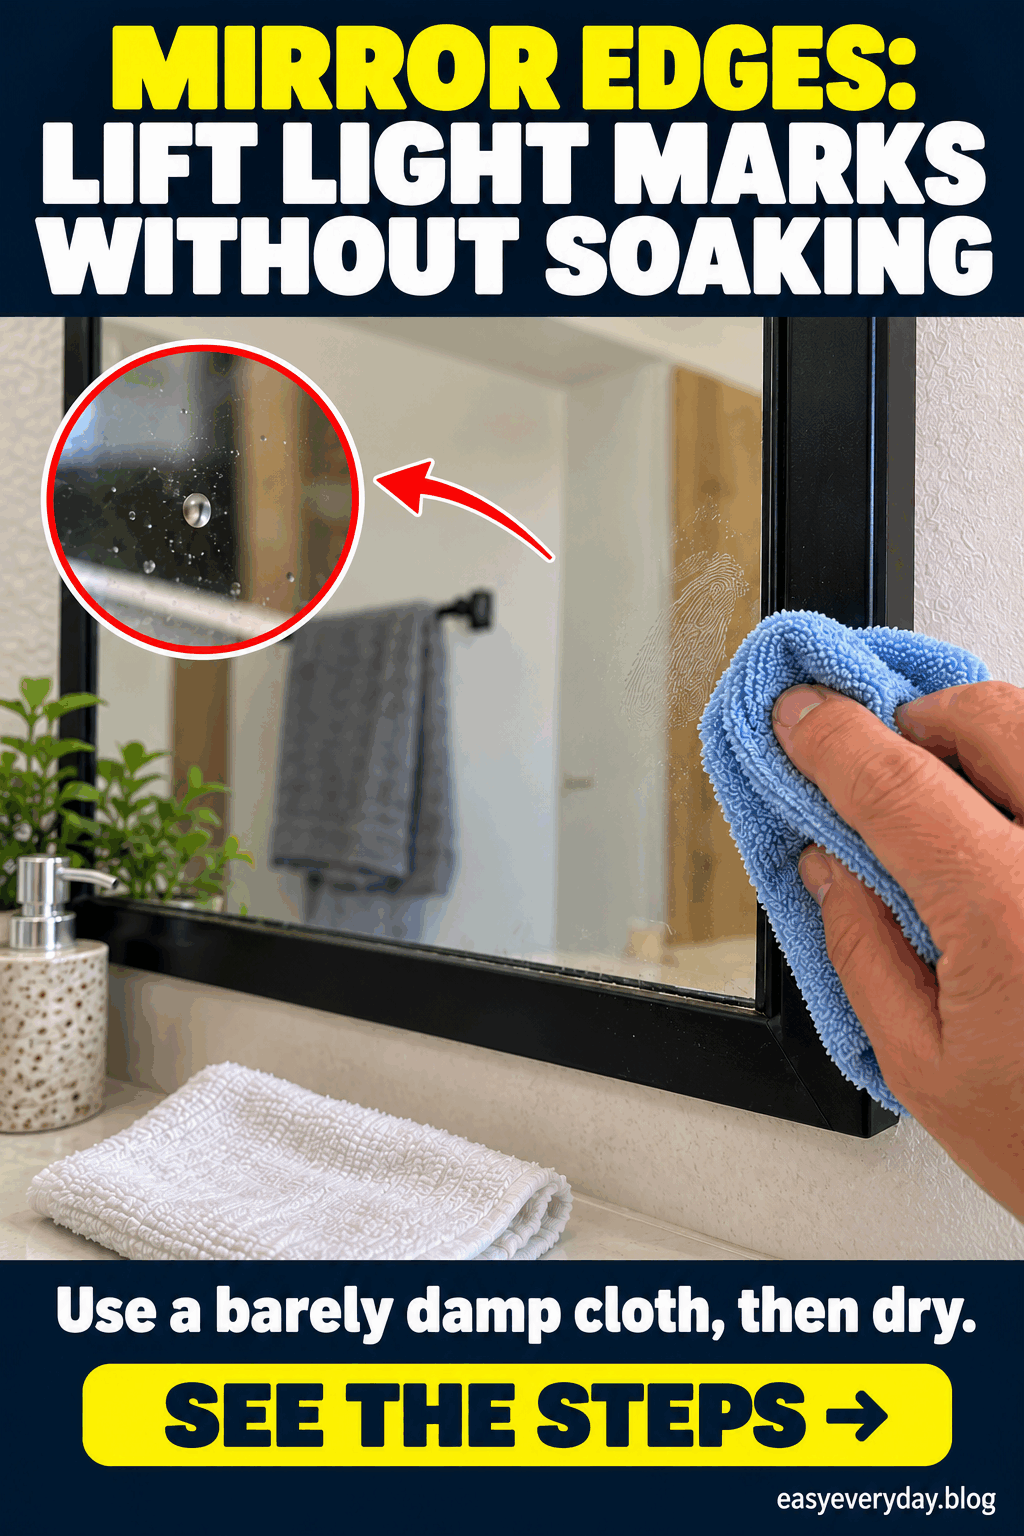
Light marks around a bathroom mirror’s edges can often be wiped with a slightly damp microfiber cloth, followed immediately by a clean, dry cloth. Keep the moisture on the cloth rather than spraying or pouring it onto the mirror. Work in small sections, paying attention to the lower edge so water does not collect near the backing or inside the frame.
This is a gentle surface-cleaning routine for a mirror and frame whose care instructions allow it. It does not repair dark edge spots, peeling backing, scratches, or a damaged frame. Those marks may be material damage rather than dirt. Identify the frame material and follow the mirror manufacturer’s directions before treating visible marks, especially around decorative finishes or built-in lighting.
Look closely at the edges first
Check the mirror while it is dry and the bathroom has good light. Ordinary fingerprints, small water spots, and dust usually sit on the surface. Dark patches appearing beneath the glass at the edge may be backing deterioration. Do not keep rubbing simply because a dark mark remains: a cloth cannot restore the reflective layer behind the glass.
Look at the frame too. Painted wood, coated metal, plastic, and an unframed glass edge can need different care. Check for gaps, loose finish, or a section that already holds moisture. If the mirror has lights, a demister, or other electrical features, follow its instructions for switching off or disconnecting before cleaning. Do not wet switches, connectors, or hidden parts.
Prepare two clean cloths
- A clean, soft microfiber cloth for loosening light marks.
- A second clean, dry, lint-free cloth for finishing.
- A small amount of clean water to dampen the first cloth.
- A stable place to set supplies away from the sink edge.
- The mirror and frame care instructions, if available.
- A clean protective towel for a water-sensitive surface below.
Remove toothbrushes, cosmetics, and other items directly beneath the mirror so you can work without knocking them over. Keep the water container on a stable surface. You are not washing the whole mirror with a bowlful of water: you need only enough moisture on the cloth to lift a small surface mark. Do not bring an abrasive pad or a stiff brush into the routine.
Check both cloths for grit, dried cleaning-product residue, or rough stitching. Microfiber can hold particles from an earlier job, so a cloth used on a dusty floor is not ready for glass without suitable washing. Fold the cleaning cloth to create several fresh faces. Keep the dry cloth separate so it stays dry until you need it at the edge.
Dampen the cloth, not the mirror
Moisten one part of the microfiber with clean water and wring it out well. It should feel slightly damp, with no drops falling when you hold or lightly squeeze it. Use a dry section to pick up loose dust first if needed. Starting with a wet cloth at the lower frame can send water into a seam before you have a chance to wipe it away.
If the manufacturer’s directions require a particular cleaner for another type of mark, follow those instructions separately and apply it to the cloth as directed, not directly to the mirror. This routine does not add vinegar, ammonia, or a homemade mixture. A product that cleans ordinary window glass is not automatically suitable for a mirror’s edge and backing.
The cleaning sequence
-
Start with a small, easy-to-reach area. If the frame has a delicate finish, test the barely damp cloth in a discreet spot, then dry and inspect. Stop if color transfers, a coating softens, or the finish changes in a way the manufacturer does not describe as normal.
-
Use the slightly damp cloth to wipe a visible surface mark with a light, controlled movement. Do not press hard against the edge or push the cloth into the gap between glass and frame. Work on the surface you can see, rather than trying to clean behind the mirror.
-
Follow immediately with the dry cloth on the section you have just wiped. Pay attention to the bottom edge and any accessible corner where a small drop could remain. Finish that area before moving on to another one.
-
Turn the microfiber to a clean face as marks are picked up. A dirty section can spread residue across the glass and make it look streakier. If the cloth becomes too wet, wring it out again away from the mirror rather than squeezing over the frame.
-
Wipe the frame only by the method allowed for its material. Keep the cloth barely damp and dry accessible surfaces promptly. Do not run a wet cloth around the entire frame repeatedly or leave moisture sitting in a joint.
-
Step back and inspect once the surface is dry. Look from a different angle to distinguish a remaining smear from a reflection or a mark under the glass. Put supplies away and replace the items below only after the area is dry and stable.
Why the lower edge needs care
A mirror has a reflective layer behind the glass, and its edge can be a vulnerable point. Water that gathers at the bottom is different from a light film removed promptly from the front. Keeping the cloth only slightly damp and following with a dry cloth helps you control where that moisture goes. You should not need liquid running down the face for this small job.
Do not soak the frame, wrap it in a damp towel, or try to rinse it by pouring water over the glass. Avoid pushing the cloth behind the mirror or lifting a mounted mirror to chase a mark you cannot reach safely. If the installation is loose or an inaccessible edge holds water, arrange appropriate advice instead of improvising a cleaning position.
When a mark does not lift
Give a light surface mark another gentle pass with a fresh, barely damp part of the cloth, then dry. Do not increase pressure automatically. A scratch, a worn coating, or deterioration behind the glass will not disappear through polishing. Repeated hard rubbing can add a new problem without removing the original mark.
If the residue needs a product beyond water, check the care directions for that exact mirror and frame. Hairspray, cosmetics, mineral deposits, and damaged backing are not one cleaning problem. Avoid transferring a method from a tile, faucet, or ordinary window to the mirror edge. A suitable professional or the manufacturer can help identify persistent marks.
Keep the routine simple between cleanings
After the bathroom is used, deal with accessible water droplets in the way the mirror instructions allow, rather than leaving them along the edge. Keep the room ventilated according to its normal setup. This does not guarantee that a mirror will never age, but it avoids deliberately leaving water pooled against a vulnerable seam.
Store the glass cloths clean and dry, separate from cloths used for greasy or gritty tasks. Wash them according to their own care instructions and avoid using a rough cloth simply because it is close at hand. A clean, soft surface is more useful here than extra cleaner. There is no need to turn a few fingerprints into a large wet-cleaning session.
Finish with a dry check
Before putting the supplies away, run a visual check along the lower edge and the frame corners. Do not push a finger or tool behind the mirror; inspect only the accessible surface. If you see a drop, collect it gently with the dry cloth. Confirm that no water has spilled onto a shelf, wooden vanity, or electrical fitting beneath.
The goal is a clean-looking surface without unnecessary moisture at the backing. A mirror can retain ordinary signs of age after the visible dirt is removed. Accept that difference rather than chasing a factory-new appearance with harsher products. The cloth should finish the job, not become a tool for scraping or repairing the mirror.
Frequently asked questions
Should I spray water directly on the edge?
No. Dampen the cloth and wring it out first. Work locally and follow with a dry cloth so water does not collect around the backing or frame.
Can wiping remove dark spots under the glass?
Not if they are backing deterioration. Surface cleaning cannot restore the reflective layer. Check the manufacturer’s advice instead of rubbing harder.
Is the frame cleaned the same way as the glass?
Not automatically. Identify its material and follow its instructions. Use only the permitted gentle method and keep moisture out of seams and electrical parts.
What if a smear remains after drying?
Try one fresh, barely damp cloth face and dry again. If the mark persists, identify the residue or damage before choosing any additional product.