
Removable laundry-basket liner: wash by the label and dry before refitting
A removable fabric laundry-basket liner can be washed separately from the basket, provided its care label allows washing. Lift it out, empty loose debris, and follow the label’s washing and drying instructions with a suitable mild detergent. The final check matters: the seams, folded rim, and base should be completely dry before the liner goes back into a clean, dry basket.
This is a routine for a liner designed to be removed and cleaned, not a way to soak a whole wicker basket or wash a fixed fabric covering. The fabric, coating, elastic, and attachments can all affect what is allowed. Start with the information supplied for your liner rather than assuming every pale cotton-looking bag can use the same temperature or dryer setting.
Check the liner before removing it
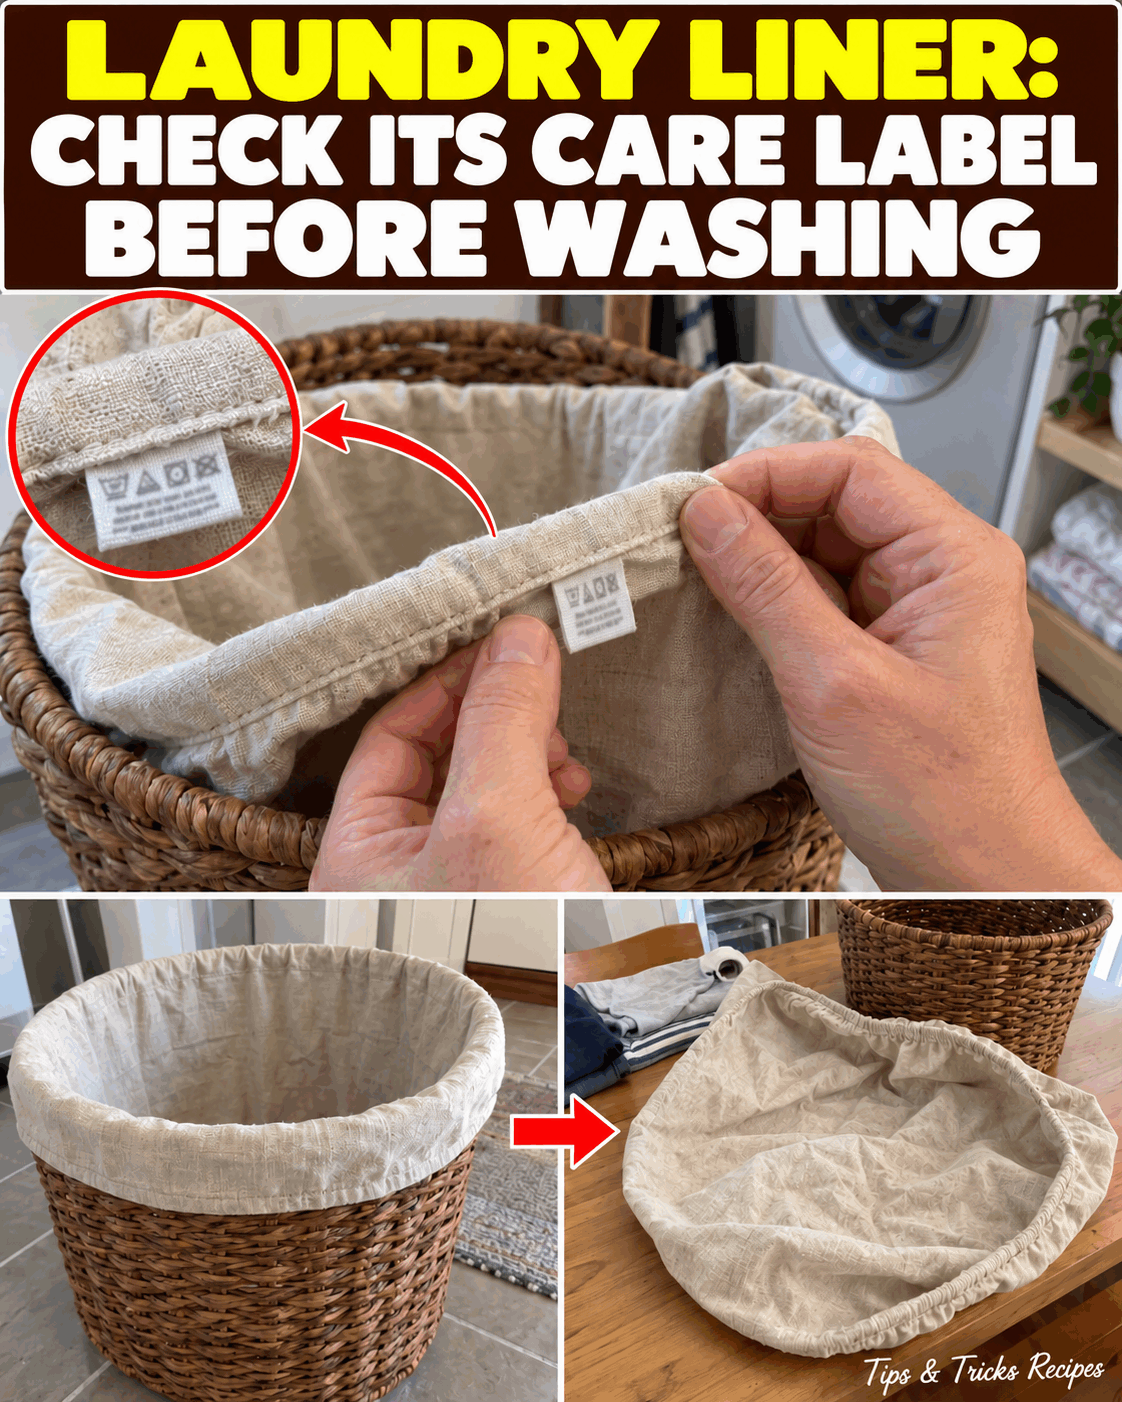
Empty the laundry basket and find the care label on the liner. Read the washing, bleaching, and drying instructions before preparing any water. A hand-wash symbol, a machine-wash instruction, and a do-not-wash mark are different directions. If the label is missing or unclear, check the basket manufacturer’s product information or ask for care advice rather than choosing a hot cycle by default.
Look at how the liner attaches to the rim. It may fold over the edge, tie in place, or connect with removable fasteners. Undo only the parts intended to release. Do not pull hard on an elastic opening or tear fabric away from a glued surface. Check for loose seams, damaged elastic, or attachments that might catch during washing, and deal with those issues according to the product’s instructions.
Gather a small set of supplies
- The removable liner and its care instructions.
- A mild laundry detergent suitable for the fabric and chosen washing method.
- A clean basin if hand washing is allowed, or a washing machine if machine washing is allowed.
- A clean surface for setting the empty basket aside.
- A drying rack or other drying arrangement permitted by the label.
- A clean, dry place to check and refit the liner.
Allow time for removal, washing, and full drying rather than treating the job as a quick wipe. The drying time varies with fabric weight, seams, room conditions, and the permitted method. Do not schedule a fixed hour for putting it back if the base is still damp. Have an alternative place for dirty laundry while the liner is out, so you are not tempted to refill it early.
Read the detergent label as well as the fabric label. Choose the amount for the actual load or hand-washing water volume. More detergent is not automatically more effective and may make rinsing harder. A small liner does not necessarily need the same dose as a full machine load. Do not combine detergent with homemade cleaning mixtures or add bleach unless the care directions specifically allow it.
Remove loose material first
Lift the empty liner out and check the corners for tissues, lint, or small objects. Tip loose material into a suitable waste container without spreading it around the room. If a seam holds a small piece of debris, ease it out without pulling threads. Do not scrape the fabric with a blade or use a stiff brush on a coating you have not identified.
Inspect the basket separately. Loose dust can be removed using the method suitable for its material, but the basket is not part of the liner’s wash. Keep wicker, wood, electrical accessories, and other nonwashable parts away from the basin or machine. The basket should be clean and dry before refitting, so set it where it will not receive splashes during the next steps.
Wash according to the care label
-
Choose the washing method stated for the liner. If machine washing is allowed, follow its temperature, cycle, and loading guidance. Do not overload the machine or add items that could snag the fabric. Wash new or strongly colored material separately when its instructions call for that precaution.
-
If hand washing is allowed, prepare the water temperature specified for the fabric and add the measured mild detergent according to its label. Submerge only the removable washable liner. Move it gently so the solution reaches folds and the base, without twisting the opening or pulling hard on seams.
-
Pay attention to the base and the folded top rim, where lint and ordinary marks may collect. Use gentle movement rather than aggressive scrubbing. If the product allows a stain treatment, follow that treatment’s directions and check fabric compatibility; do not improvise a stronger chemical mix for a stubborn spot.
-
Complete the machine cycle as directed, or rinse a hand-washed liner in clean water until detergent has been removed. Replace rinse water when necessary. Do not leave a visibly soapy liner to dry in the hope that the residue will disappear.
-
Remove excess water only in a way permitted for the fabric. Some pieces can tolerate a spin setting; others need gentler handling. Avoid forceful wringing that may stretch seams or elastic. Support the damp fabric when lifting it so its weight does not hang from one small attachment.
-
Reshape and dry using the label’s directions. Arrange an air-dried liner so folds are open and air can reach the base. If the label requires flat drying, follow that instruction instead of hanging it. Use a tumble dryer only when the label allows it and with the permitted setting.
Check dryness where moisture hides
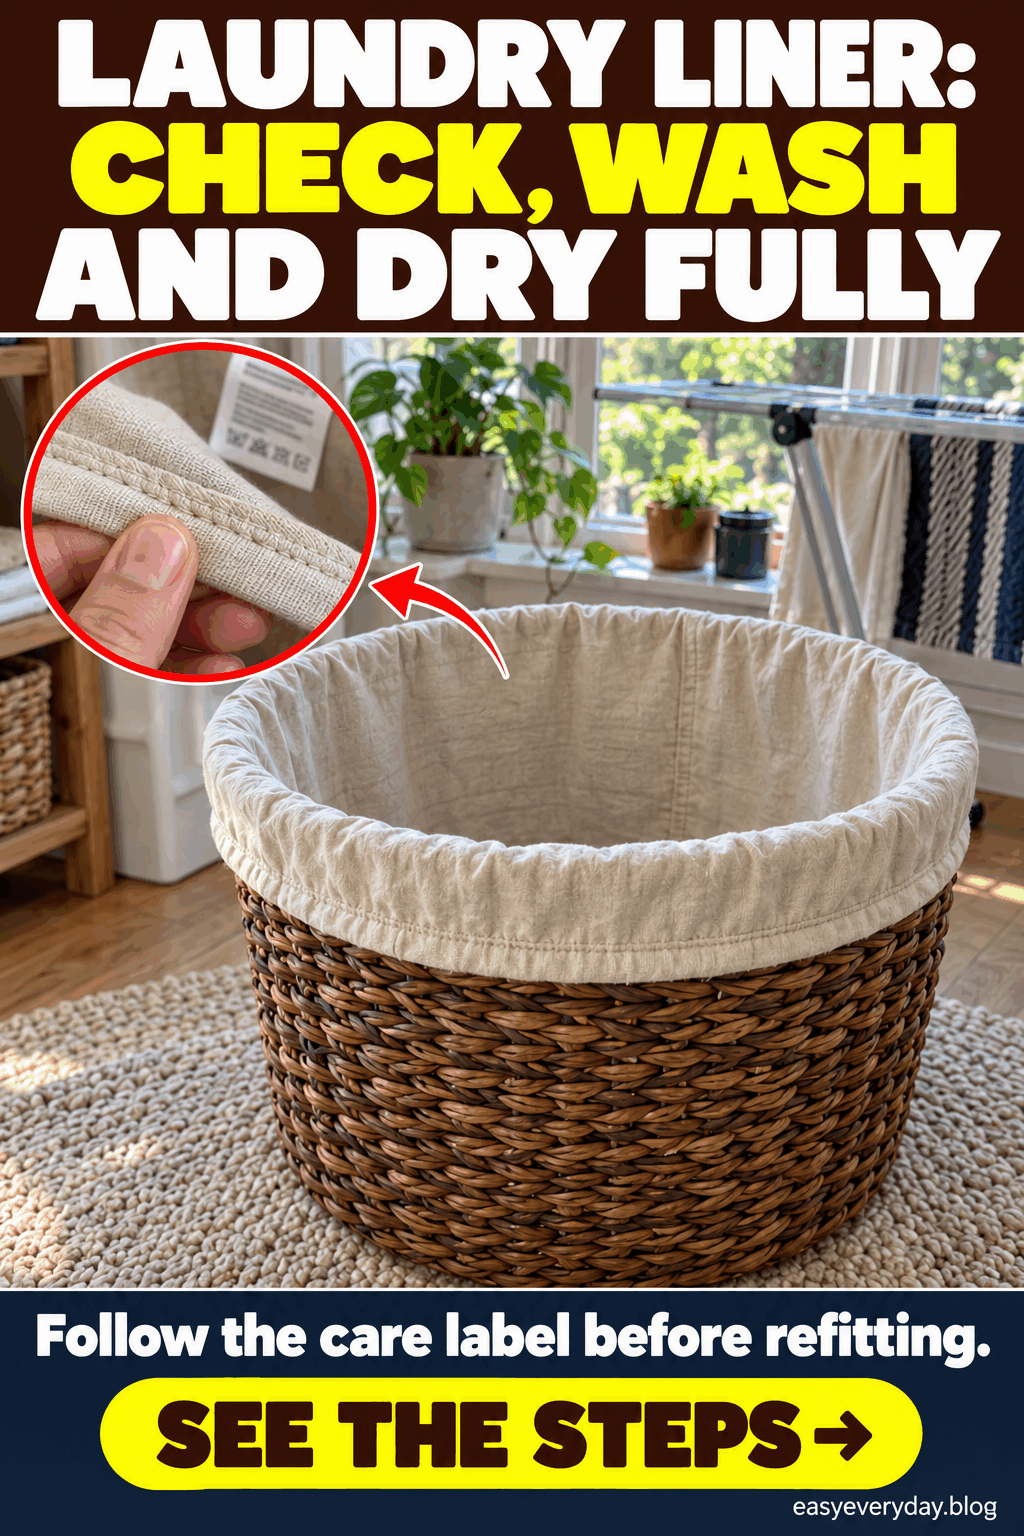
The broad fabric panels may feel dry before a thick seam or folded edge does. Open the rim and feel along the lower corners, stitching, and any fabric-covered elastic. Check both the inside and outside of the base. These small areas are easy to miss when you look only at the front panel or judge drying from the elapsed time.
If any part still feels damp, leave it out and continue the allowed drying method. Do not fit a damp liner into a tight basket, where air circulation becomes more limited. Keep it away from a direct heat source unless the product specifically permits that method. A hot radiator or an improvised high dryer setting is not a substitute for following the care label.
Refit without stretching the fabric
Confirm the basket itself is dry, including the base and the rim where the liner sits. Lower the dry liner into position and unfold it gently into the corners. Reattach ties or fasteners as designed, without pulling the opening tighter than before. The liner should sit normally rather than hanging under tension from a seam.
If it no longer fits after washing, stop and check for shrinkage or a folded section caught out of place. Do not force it over a sharp rim or stretch it while damp to make it reach. A damaged liner may need replacement. Cleaning should leave the fabric usable and the basket stable, not create a new strain on attachments.
A practical routine between washes
Check the liner when the basket is empty and remove loose debris before it builds up. Avoid leaving wet towels or other soaking items pressed into the base for long periods. Follow the care label and the liner’s actual condition when deciding it needs washing. There is no single washing frequency that suits every fabric, household, and laundry routine.
Keep the care information available for the next wash, especially if the label is tucked beneath a folded rim. A quick photo of the label for your own reference can help you read it before removal next time. Clean and dry the supplies after use, and store the liner only when it is dry if you rotate between two washable liners.
Frequently asked questions
Can I wash the entire basket with the liner inside?
Not as part of this method. Remove only the liner designed to be washed and clean the basket separately according to its material and instructions.
What temperature should I choose?
Use the temperature and method stated on the liner’s care label. Appearance alone does not tell you whether the fabric, coating, or elastic tolerates a particular setting.
Can it go back in while the seams are slightly damp?
Wait until the whole liner is dry, including seams, folds, and the base. Refitting can reduce airflow around those areas and trap remaining moisture.
What if the care label says not to wash?
Do not soak it or put it in the machine. Follow the stated cleaning method or ask the manufacturer for advice specific to the liner.