
Clean your fridge door seal gently, including the folds that catch crumbs
A refrigerator can look tidy from the front while crumbs and sticky drips collect along the door seal. The narrow folds are easy to miss during a quick wipe of the shelves. Cleaning them gently gives you a clear view of the gasket without removing it, stretching it, or reaching for a strong cleaner.
This routine is for everyday food residue on an intact refrigerator gasket. It uses a soft cloth, warm water, a little mild dish soap, and a separate drying pass. The aim is a cleaner surface and an undisturbed seal, rather than a promise to repair damaged rubber or solve every door-closing problem.
Plan a short cleaning session
Set out the cloths and water before opening the refrigerator. Work in small sections so the door does not need to stay open while you search for supplies. Check the appliance care guide first, including any instruction to disconnect power for cleaning, and keep the refrigerator closed during preparation to protect the chilled contents.
What you need
- Two or three clean, soft cloths
- Warm water in a small bowl
- Mild liquid dish soap suitable for the appliance instructions
- A clean, dry towel
- Your refrigerator care instructions
Choose cloths that feel smooth rather than scratchy, and keep the final drying cloth separate from the soapy one. A small bowl makes it easier to control the amount of water. Use mild soap according to its label and the appliance instructions; a highly foamy mixture only creates more residue to wipe away afterward.
The method, step by step
-
Look along the seal while the door is open, starting at the upper corner and following the edge downward. Notice where crumbs, sticky spots, or moisture have collected. Do not detach the gasket or pull it away from its mounting. If you see a split or a section hanging loose, pause and consult the appliance guidance.
-
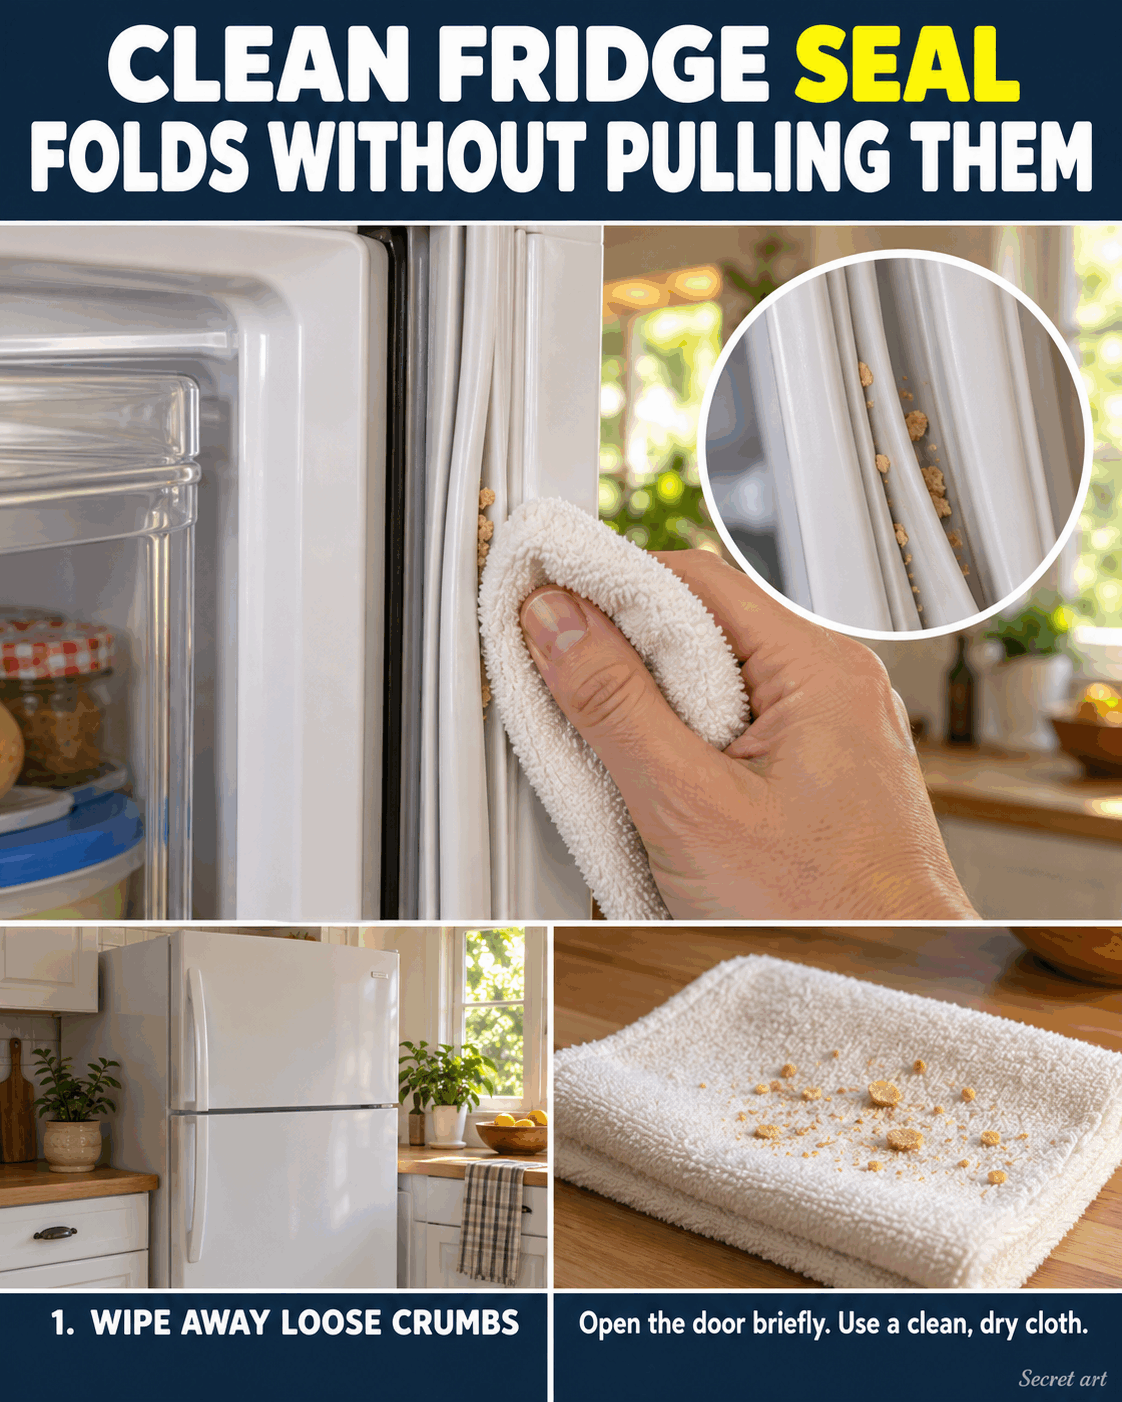
Use a dry, soft cloth to pick up loose crumbs before adding water. Fold the cloth into a small pad and move gently along the accessible crease. Lift away the debris rather than pushing it deeper into a corner. Close the door between sections if you need a moment to rearrange supplies or rinse a cloth.
-
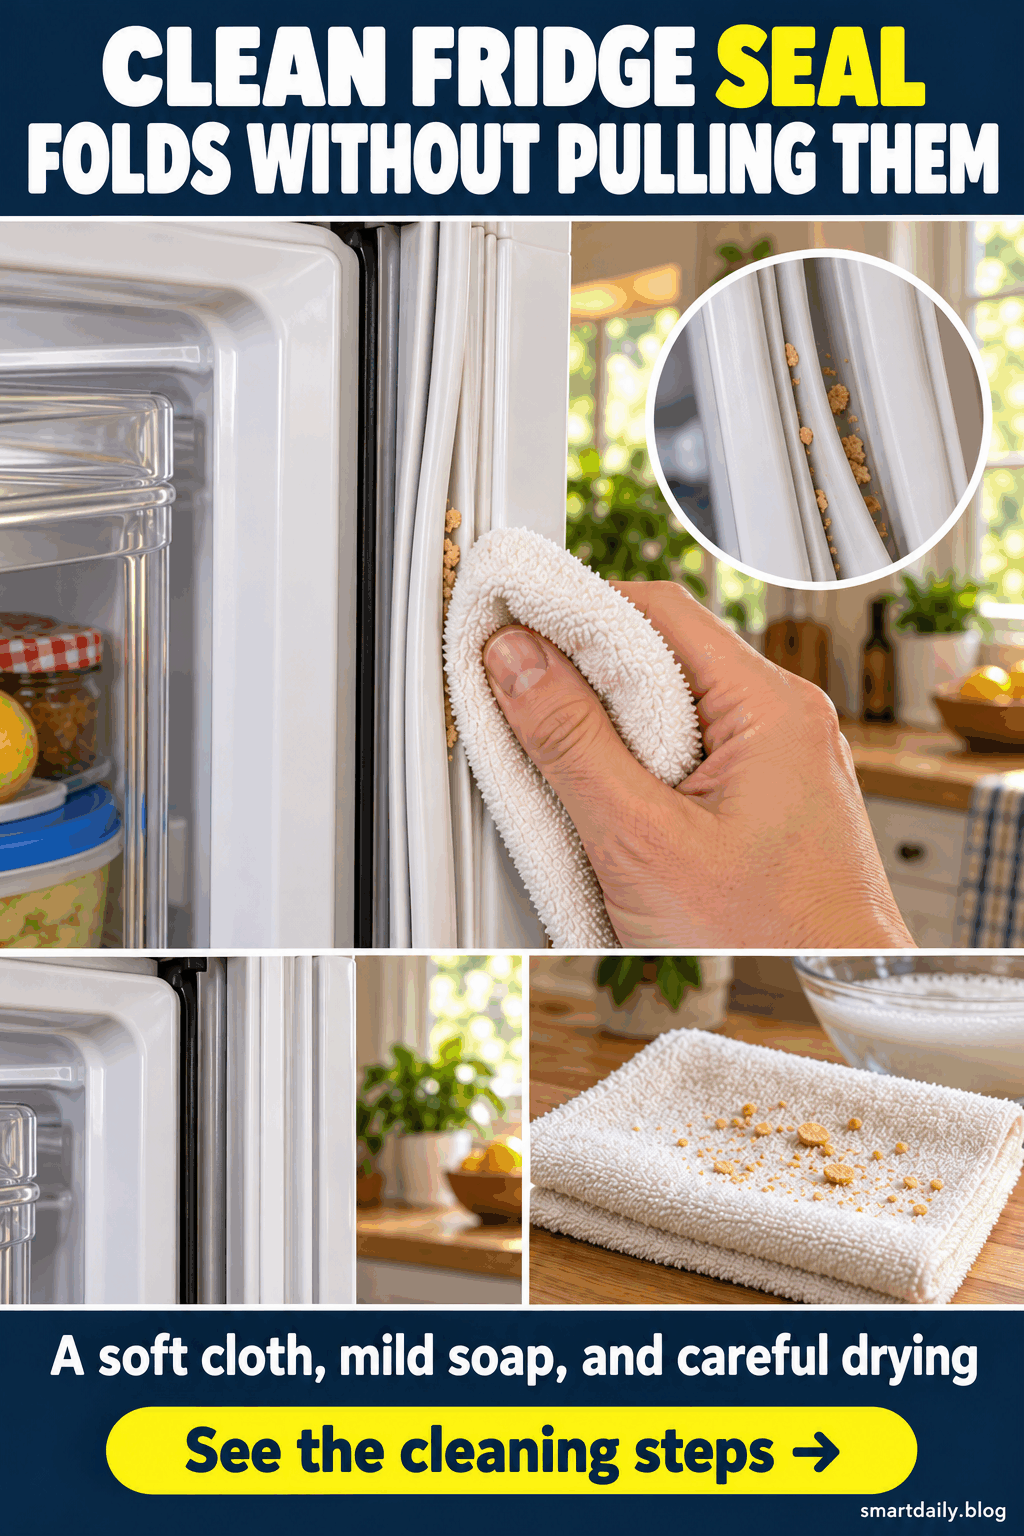
Dampen a second cloth with warm water and mild dish soap, then wring it out well. The cloth should feel damp, not drip when squeezed. Support the flexible fold lightly with your fingertips and wipe the visible surface. Avoid digging underneath the gasket, twisting its corners, or pushing a tool into the narrow space.
-
For a sticky food spot, hold the damp cloth against the accessible surface briefly, then wipe again with gentle pressure. Repeat with a clean section of cloth instead of scrubbing harder. Keep the water in the bowl, not on the appliance, and move carefully near the hinge or any nearby controls, lights, and electrical parts.
-
Wipe the cleaned area with another cloth dampened with plain water and thoroughly wrung out. This removes the soap film and lifted residue. Refold the cloth often so you are not simply moving grime around the perimeter. If the wipe still feels slippery, make another light pass with fresh water rather than adding more detergent.
-
Dry the visible gasket and its accessible folds with the reserved soft towel. Check the lower corners, where moisture can gather, without tugging on the rubber. Close the door gently and confirm that nothing is trapped along the edge. Restore power if your care instructions required disconnecting it, and return the appliance to its normal setting.
Why gentle wiping is useful
Loose crumbs are easier to lift before they become wet, while mild soapy water helps loosen ordinary food residue. Working in this order keeps the job controlled. The gasket is a flexible fitted part, so the cleaning method should adapt to its shape rather than force it flat or treat it like a hard countertop.
A separate plain-water pass matters because a visible clean surface can still carry soap. Drying then removes the moisture left by those damp cloths, especially near the bottom corners. These are simple housekeeping steps, not a way to sterilize the gasket. You do not need several cleaners competing with one another to finish this small job.
Mistakes to avoid
Do not use a knife, screwdriver, or stiff scraping edge to chase a speck out of a fold. A sharp tool can damage a part that must remain flexible and continuous. Reposition the cloth instead, or leave an inaccessible area for the appliance service guidance. Better access is not worth creating a nick in the seal.
Skip bleach, abrasive powders, and improvised mixtures when the manufacturer specifies mild detergent for the gasket. More aggressive does not automatically mean more suitable for flexible materials. If a stain remains after ordinary cleaning, identify the material and consult the care guide rather than layering another household product over the first one on the same spot.
Do not mistake cleaning for a repair when the door still closes poorly. A warped, cracked, or detached seal needs assessment beyond a cloth. Containers protruding from a shelf can also interfere with closure. Once the surface is clean and dry, check for a simple obstruction, then follow model-specific advice if the problem continues.
Make the routine fit your kitchen
You can clean one accessible side during a quick spill cleanup and finish the rest at a planned maintenance session. There is no need to wet the entire perimeter at once. Keeping the work small is especially useful in a busy kitchen, where opening the door repeatedly for unrelated tasks can otherwise interrupt the careful wiping.
If a shelf spill has reached the gasket, clean the source of the spill as well, using the refrigerator instructions for that surface. A fresh drip left above the seal can simply run down again. Treat the shelf and the flexible gasket as separate materials, even if both can be wiped with a mild cleaning solution.
Keep it clean between sessions
After dealing with a food spill, glance at the lower seal and wipe any fresh trace while it is still easy to lift. A quick check does not require a full deep clean. Let the visible condition guide your routine, along with the maintenance schedule in the appliance manual, rather than waiting for a heavy buildup.
Wash reusable cleaning cloths according to their care labels and let them dry fully before storing. Keep a cloth used on the floor or around raw-food spills away from this task until it has been properly laundered. Starting with clean tools makes the final plain-water and drying passes more useful and avoids transferring visible dirt back.
Frequently asked questions
Should I remove the gasket to clean it?
Not for this routine. The steps are designed for an intact seal that remains fitted to the door. Removing or stretching it can create a separate installation problem, and mounting methods vary. If your model has a removable component, follow its exact instructions rather than assuming that a flexible edge should pull free.
Can I spray cleaner directly into the folds?
A damp, well-wrung cloth offers better control for this job than spraying into a narrow space. Apply the mild solution to the cloth, then wipe accessible surfaces. This keeps excess liquid from running along the seal or toward nearby parts. Follow the refrigerator care guide if it gives a more specific cleaning procedure.
What if a dark mark does not wipe away?
Do not keep escalating the cleaner on an unidentified mark. Dry the area, check the gasket condition, and consult the appliance instructions for persistent staining or suspected growth. A photograph can help when asking the manufacturer for advice. The routine here addresses ordinary food residue, not every possible cause of discoloration on aging material.
Will cleaning fix a gap in the seal?
Removing crumbs may reveal what is underneath, but it cannot guarantee that a gap will disappear. Damage, distortion, an obstruction, or an alignment issue may require another solution. Close the door after drying and inspect without forcing it. If the seal still does not sit normally, use the appliance service guidance for your model.
Should I apply oil or another coating afterward?
Do not add a coating just because the surface looks dry. Some manufacturers describe a particular treatment for particular gasket locations, while others give different care directions. Use only what your own appliance instructions specify. The general cleaning routine ends with a plain-water wipe, careful drying, and gently closing the refrigerator door.
A soft cloth, mild soap, and careful drying make this a manageable refrigerator-care job. Keep the folds intact and let the condition of your own seal guide what happens next.