
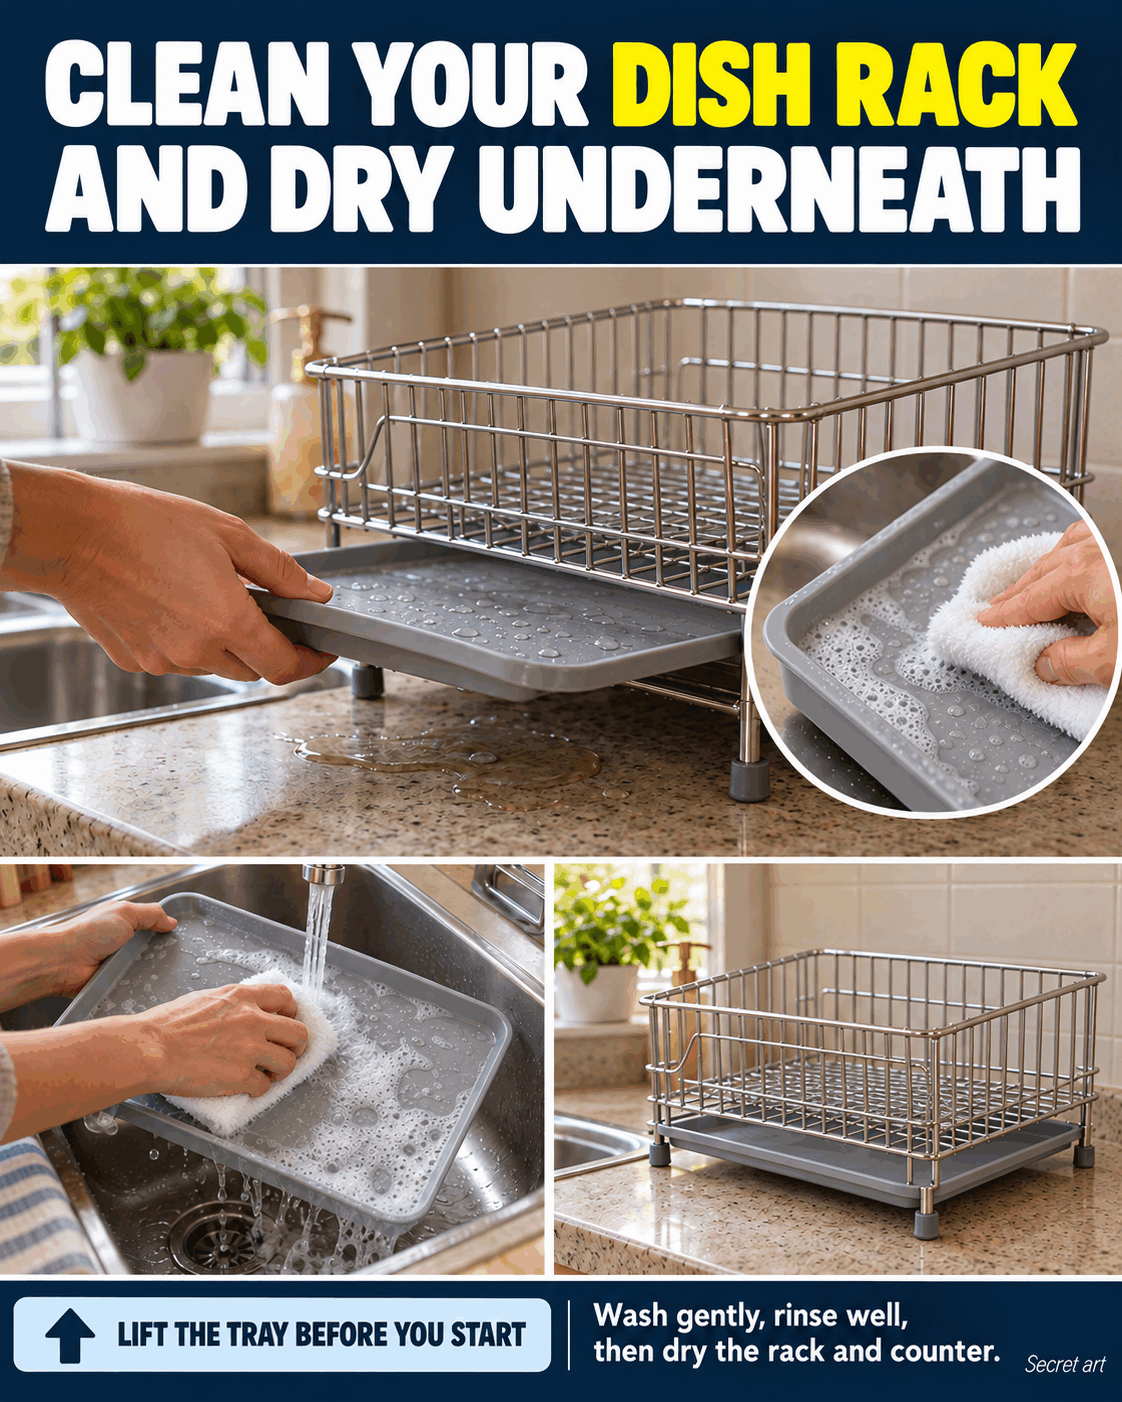
Lift the dish rack tray first to clean the water and residue underneath
A dish rack gets attention when its plate slots look messy, but the removable tray and the counter underneath can be easier to overlook. Water may collect out of sight even when the top looks fairly clean. Lifting the parts first makes the job more thorough without relying on a harsh cleaner or a complicated mixture.
This method is for a hand-washable rack with a removable drip tray and compatible plastic or stainless-steel parts. Check the care instructions before separating anything, because designs and finishes differ. You will wash ordinary residue, rinse away soap, clear the visible drain path, and dry the pieces and counter before putting the rack back together.
Start with an empty sink and rack
Put away the clean dishes before you begin, then clear a space for the rack components. An empty sink gives you room to rinse without balancing parts on dirty cookware. Keep a towel nearby for the counter, but leave enough open space for the washed pieces to air-dry rather than stacking them while still wet.
What you need
- Mild liquid dish soap
- Warm water
- A soft sponge or clean cloth
- A small soft cleaning brush, if the care instructions allow it
- A dry towel and a place for parts to air-dry
- The care instructions for your particular dish rack
A soft sponge is the starting tool, not an abrasive scrub pad. Use a small brush only where the rack instructions permit it and where it fits without bending a wire or scraping a coating. Choose a mild detergent suitable for hand washing, and keep different cleaners out of the same bowl or sink during this routine.
The method, step by step
-
Remove loose dishes and utensils, then take off only the components designed to come apart, such as the cutlery cup and drip tray. Notice how they fit so reassembly is straightforward. Do not pry apart fixed joints or force an expanding frame beyond its normal movement. Set delicate pieces on a towel while you work.
-
Lift the tray and check the counter underneath before starting the wash. Pour collected water into the sink, then wipe visible moisture from the counter with a clean cloth. Look at the rack feet and tray underside as well as the upper surface. Residue can gather at contact points that remain hidden when everything is assembled.
-
Wash the tray with warm water, mild dish soap, and a soft sponge, following its care instructions. Work around corners, raised ribs, and the edge where water drains out. If ordinary residue has dried onto a washable plastic area, keep it damp briefly and wipe again rather than scraping with a knife or abrasive pad.
-
Clean the rack frame and removable utensil cup with the same gentle approach, adapting to each material. Use a folded cloth around accessible rails and a permitted soft brush in the cup corners. Pay attention to the visible drain channel or spout. Remove loose debris without forcing a tool into a fixed opening or mechanism.
-
Rinse each washable component thoroughly with clean water until no visible suds remain. Turn the tray to let water run through the drainage route and check that the exit is not obstructed by a loose crumb. Avoid assuming that any remaining white mark is soap: persistent mineral deposits may need separate, material-specific care guidance.
-
Dry the counter and the tray contact area, then let the washed components finish drying with space between them. Reassemble the rack according to its design, placing the drain outlet where it can empty as intended. Check that the tray sits flat and the rack is stable before returning clean plates, cups, and utensils to it.
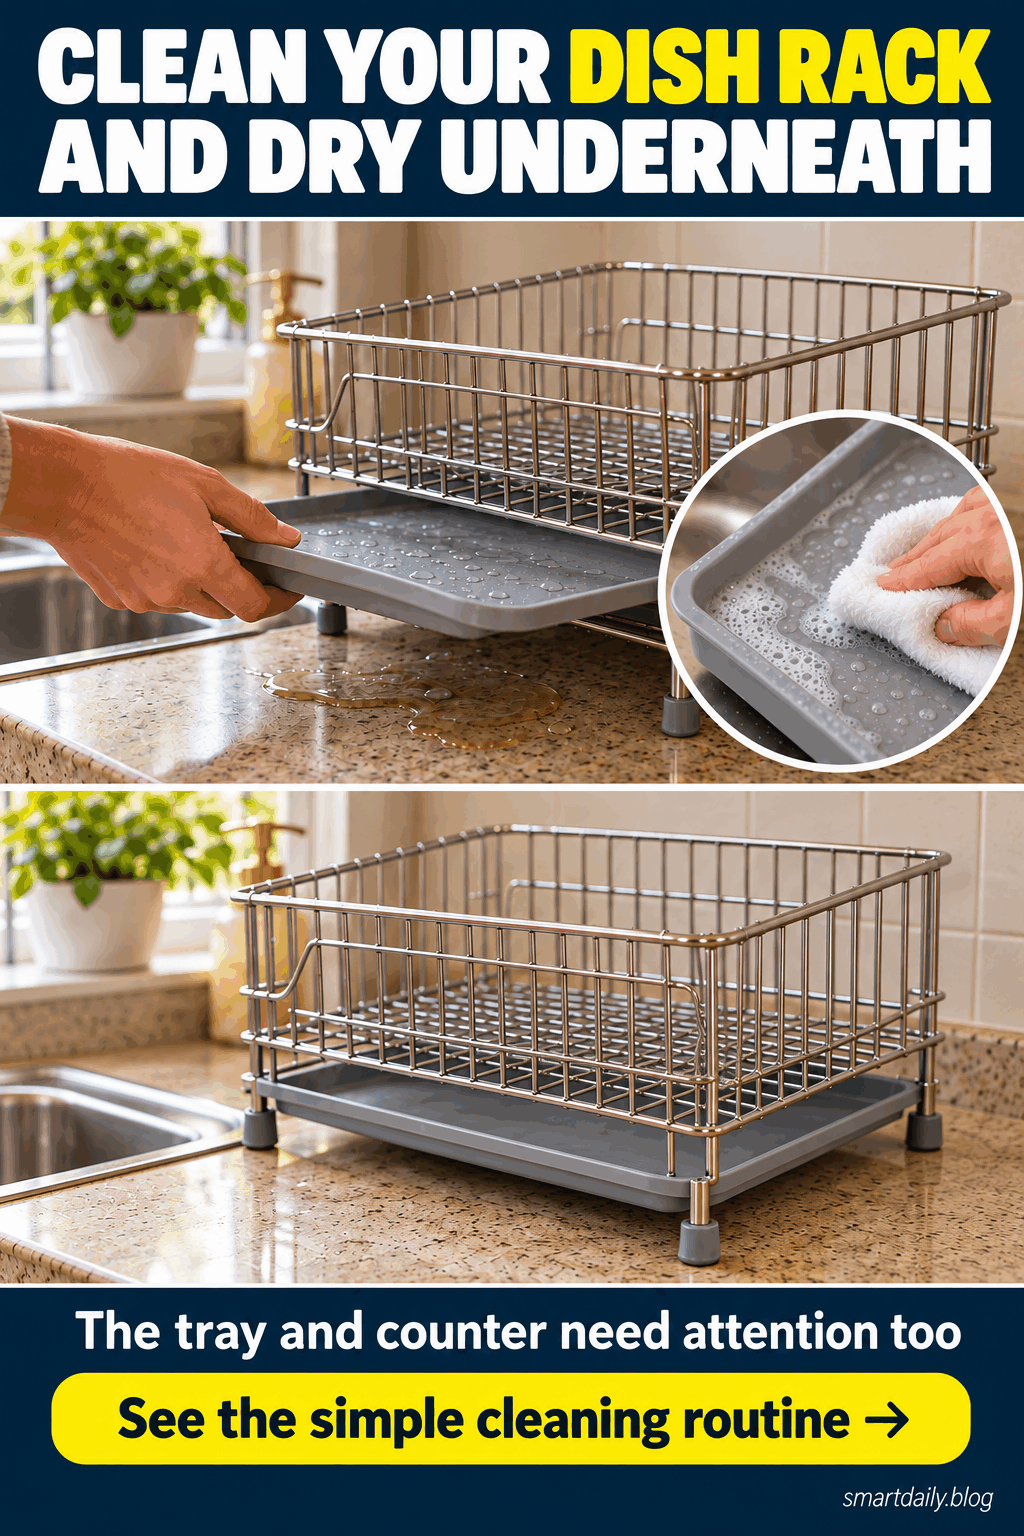
Why the tray changes the cleaning job
Wiping only the top rails misses the surface that collects runoff. Separating the removable pieces exposes both sides of the tray and the counter footprint, so you can see where ordinary residue remains. It also prevents dirty rinse water from being trapped underneath a frame that looks clean from above but has not actually been moved.
The drainage route deserves a close look because a rack cannot direct water away properly when a visible outlet is blocked or pointing toward the counter. Cleaning does not redesign an awkward setup, but it makes the intended path easier to inspect. Follow the product arrangement instead of adding homemade wedges or bending the frame into position.
Avoid these common shortcuts
Do not put every component in the dishwasher simply because it fits on a rack. Some models allow selected pieces in a dishwasher, while others specify hand washing for the whole product. Heat and detergent compatibility are separate from physical size. If you cannot confirm the care instructions, stay with the permitted gentle hand-washing method for this routine.
Avoid strong descalers or acidic soaking solutions on an unidentified finish. Plastic trays, coated wires, and stainless-steel panels do not all have the same care requirements. The first cleaning pass should remove everyday grime with mild soap and water. For a mineral mark that remains, identify the material and use only a treatment approved for it.
Do not reassemble the rack over a wet counter just to finish sooner. A tray can hide the remaining water again, making it hard to tell whether the rack is draining normally later. Dry the footprint with a clean towel, let the parts drain, and take a moment to check the area once the rack is back in use.
Adapt the routine to your setup
If your rack has a small removable utensil cup, wash its base separately and check the drainage holes from both sides. Place it where utensils will not obstruct the tray outlet when loaded. A cup packed too tightly is harder to inspect, so return only clean items and leave room for water to move through its intended openings.
For an extendable rack, open it only within the range described by the manufacturer and wipe the surfaces that become accessible. Close it again after the pieces have dried and confirm that it moves normally. Do not dismantle sliders or release hidden clips unless the instructions specifically describe that step as part of routine cleaning at home.
Keep the area easier to maintain
After a heavy dishwashing session, check whether the tray needs emptying or whether its outlet has shifted away from the sink. A quick correction can keep fresh runoff from reaching the counter. You do not need to repeat the full wash every time you rinse a cup, but visible residue and standing water deserve attention when you notice them.
Let reusable sponges, brushes, and cloths dry in the way their care instructions recommend, and replace damaged tools when needed. Do not finish the job with a cloth that has just wiped a dirty floor or an unrelated spill. Clean tools are especially useful for the last rinse, the counter wipe, and the final handling of the washed rack.
Frequently asked questions
Can I wash a stainless-steel dish rack this way?
Many stainless-steel rack surfaces can be cleaned with a soft cloth, warm water, and mild detergent, but check the particular product instructions first. A rack may combine steel with coated wires, plastic, and other parts that need different treatment. This routine relies on gentle hand washing rather than treating every visible surface as the same material.
What if the tray does not come out?
Do not force it. Some racks have an integrated base or a drain arrangement that is not designed for removal. Check the care instructions and clean the accessible surfaces in place if that is the specified method. The removable-tray steps in this article apply only when the product is meant to separate that way.
Why are white marks still visible after washing?
A white mark may be a mineral deposit rather than leftover food or soap, especially in an area that repeatedly dries after contact with water. Rinse well first and let the surface dry before judging it. If a mark remains, use the manufacturer care guidance for that material instead of reaching automatically for an acidic household mixture.
Should I disinfect the rack after every use?
This article describes routine cleaning, not a disinfection procedure. Follow the product guidance and any specific household needs rather than adding a disinfectant automatically. Clean, rinse, and dry the compatible parts as instructed. If a special treatment is necessary, confirm that both the surface and the chosen product are suitable and follow the product label.
How do I know the rack is positioned correctly?
Check that it sits steadily on a dry, level surface and that the tray or spout directs runoff where the manufacturer intends, usually toward the sink. No plate or utensil should block the visible outlet. After the next small load, look underneath again to see whether water is collecting where you did not expect it.
A clean dish rack works best when its tray and the counter underneath are included in the routine. Wash gently, rinse thoroughly, and let every part dry before putting it back together.