Creative Jade Flower Garden Ideas – How To Grow Beautiful Jade Flowers For The Garden
Creative Jade Flower Garden Ideas – How To Grow Beautiful Jade Flowers For The Garden
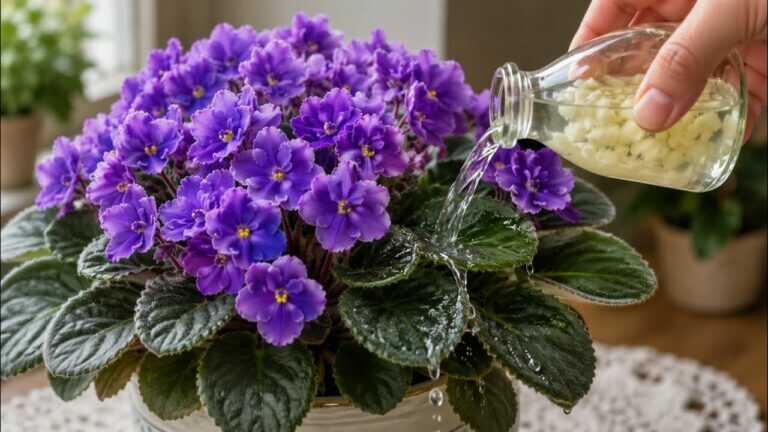
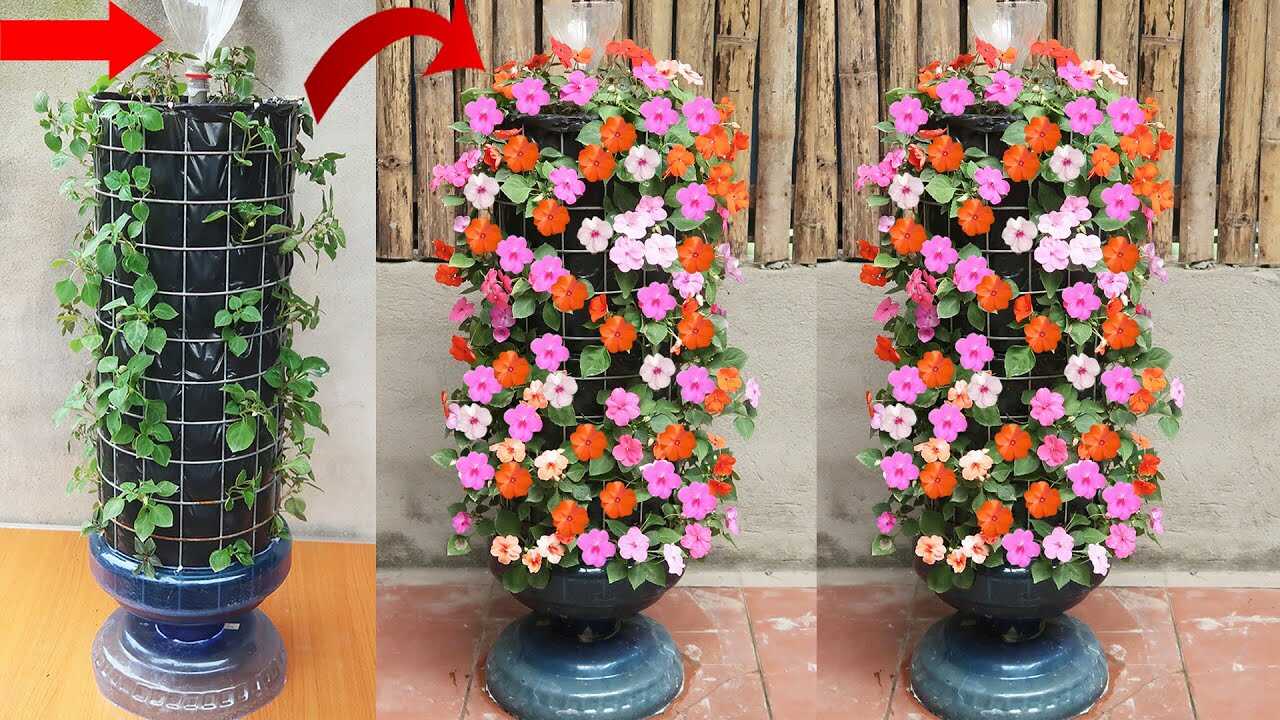
In the photo you can clearly see a simple DIY vertical planter topped with an inverted clear **plastic water bottle** used as a slow-drip reservoir. This tiny, inexpensive trick keeps the potting mix more consistently moist — exactly what many bedding flowers (the “jade flower” style shown) need to set abundant blooms. Below I walk you through a factual, step-by-step method to build and use that bottle irrigation system with precise doses, seasonal frequency, and real botanical reasoning.
Why the inverted plastic bottle works for flowering plants
The inverted bottle provides a controlled, continuous supply of water that helps maintain **even soil moisture**. Even moisture improves root function and nutrient uptake (mineral transport requires water), reduces transplant shock, and supports steady flower production. Many shade-loving annuals and bedding plants perform best with steady moisture rather than wet–dry cycling, which can stress roots and reduce blooms.
Botanical note
Consistent moisture aids root hair activity and the movement of dissolved nutrients (nitrate, phosphate, potassium) into roots; this is a verifiable plant physiological effect. Using a slow-drip reservoir is therefore a horticulturally sound complement to light, drainage, and feeding—it is not a substitute for good cultural care.
Materials and exact measurements
- 1.5 L (or 2 L) clear plastic bottle with cap
- Sharp awl or 2 mm drill bit (for holes)
- Scissors or utility knife
- Vertical planter tower (wire cage + plastic liner as pictured) or a deep pot
- Quality potting mix with good drainage (peat-free or peat-based with perlite)
- Balanced soluble fertilizer (e.g., 10-10-10 or 20-20-20) and watering can
Step-by-step: prepare and install the bottle reservoir
Follow these steps exactly to replicate the system visible in the picture.
- Clean the bottle and keep the cap on. Using a heated nail or an awl, make six holes of 1.5–2 mm diameter around the shoulder/neck area (just below the cap). Space the holes evenly around the circumference. These holes create a slow, even drip.
- Cut off the bottom of the bottle (about 4–6 cm) so you can refill from the top without removing the bottle. Keep the cap tightened when the bottle is full so water only exits via the small side holes.
- Place the bottle upside-down in the center of the planter so the neck points down and the drilled holes are in contact with the potting mix but not completely buried. For a 1.5 L bottle, push it into the soil so about 6–8 cm of the neck and shoulder are embedded; this stabilizes the bottle without blocking the holes.
- Fill the planter with a free-draining potting mix and plant your jade flowers (or bedding plants) around the bottle, keeping crowns slightly above the soil line to avoid crown rot.
- Fill the bottle for the first time with water (and dissolved fertilizer at recommended strength if you choose — see dosing below). Replace the cut-off bottom when refilling or keep it off to pour directly into the bottle top.
Exact dosing and fertilizer schedule
Be precise to avoid nutrient burn or mildew.
- Water volume per fill: fill the 1.5–2 L bottle completely. For a typical 30–40 cm vertical tower, one full 1.5 L bottle will supply moisture for roughly 4–7 days in hot summer conditions and about 10–14 days in cool, humid weather (observe and adjust).
- Fertilizer: use a water-soluble balanced fertilizer at half the label strength (for example, if the label calls for 10 g/L, use 5 g/L) and add this to the water in the bottle once every two weeks during the main growing season (spring through early autumn).
- Flush: once every 6 weeks, water the soil thoroughly from the top until water drains free to prevent salt build-up in the root zone.
Seasonal frequency and monitoring
- Spring/Autumn (cooler): refill the bottle every 10–14 days; feed with half-strength fertilizer every 2 weeks.
- Summer (hotter): refill every 4–7 days; feed every 2 weeks at half strength. Increase monitoring for pests and mildew.
- Winter/dormant period: remove or empty the bottle to avoid prolonged saturation; reduce watering to maintain slightly moist but not wet soil.
Practical tips from experience
- Hole size matters: 1.5–2 mm holes give a gentle drip. Bigger holes will flood the root zone and risk root rot; smaller holes can clog. If clogging occurs, ream holes gently with the awl.
- Placement: place the bottle centrally but avoid direct contact with plant crowns. Center placement distributes moisture evenly outward through the soil.
- Mulch lightly: a thin surface mulch (1–2 cm of fine bark or coconut coir) reduces evaporation from the top layer and improves the bottle’s efficiency.
- Clean bottle regularly: every 3–4 weeks rinse the bottle and holes to prevent algae or biofilm that can slow dripping.
Common botanical mistakes to avoid
- Over-deep planting: burying crowns leads to crown rot—keep the crown at soil level.
- Too-large holes or too many holes: causes constant saturation, reduced oxygen in the root zone, and root rot.
- Using concentrated fertilizer in the bottle: never add full-strength fertilizer; roots next to the bottle receive the highest concentration.
- Ignoring drainage: the bottle does not fix poor drainage. Ensure potting mix and container have free drainage to avoid waterlogging.
Expected timeline and results
With correct installation and consistent care you should see improved vigor and steadier flowering within 4–8 weeks. The bottle’s steady moisture helps buds set and reduces flower drop—remember this is an aid, not a miracle cure. Combine the reservoir with correct light, regular deadheading, and appropriate feeding for best results.
Conclusion — try it and iterate
The simple inverted clear plastic bottle shown in the image is a low-cost, effective tool to keep a vertical planter evenly moist and productive. Follow the hole sizes, placement, refill volumes, and feeding schedule above, and you’ll have a reliable micro-irrigation system that supports continuous blooms over several weeks. Give it a try on one tower, observe the soil moisture and plant response for 4–8 weeks, and adjust hole count or refill frequency as needed. Happy gardening—share your results and experiment with color mixes and seasonal planting!