
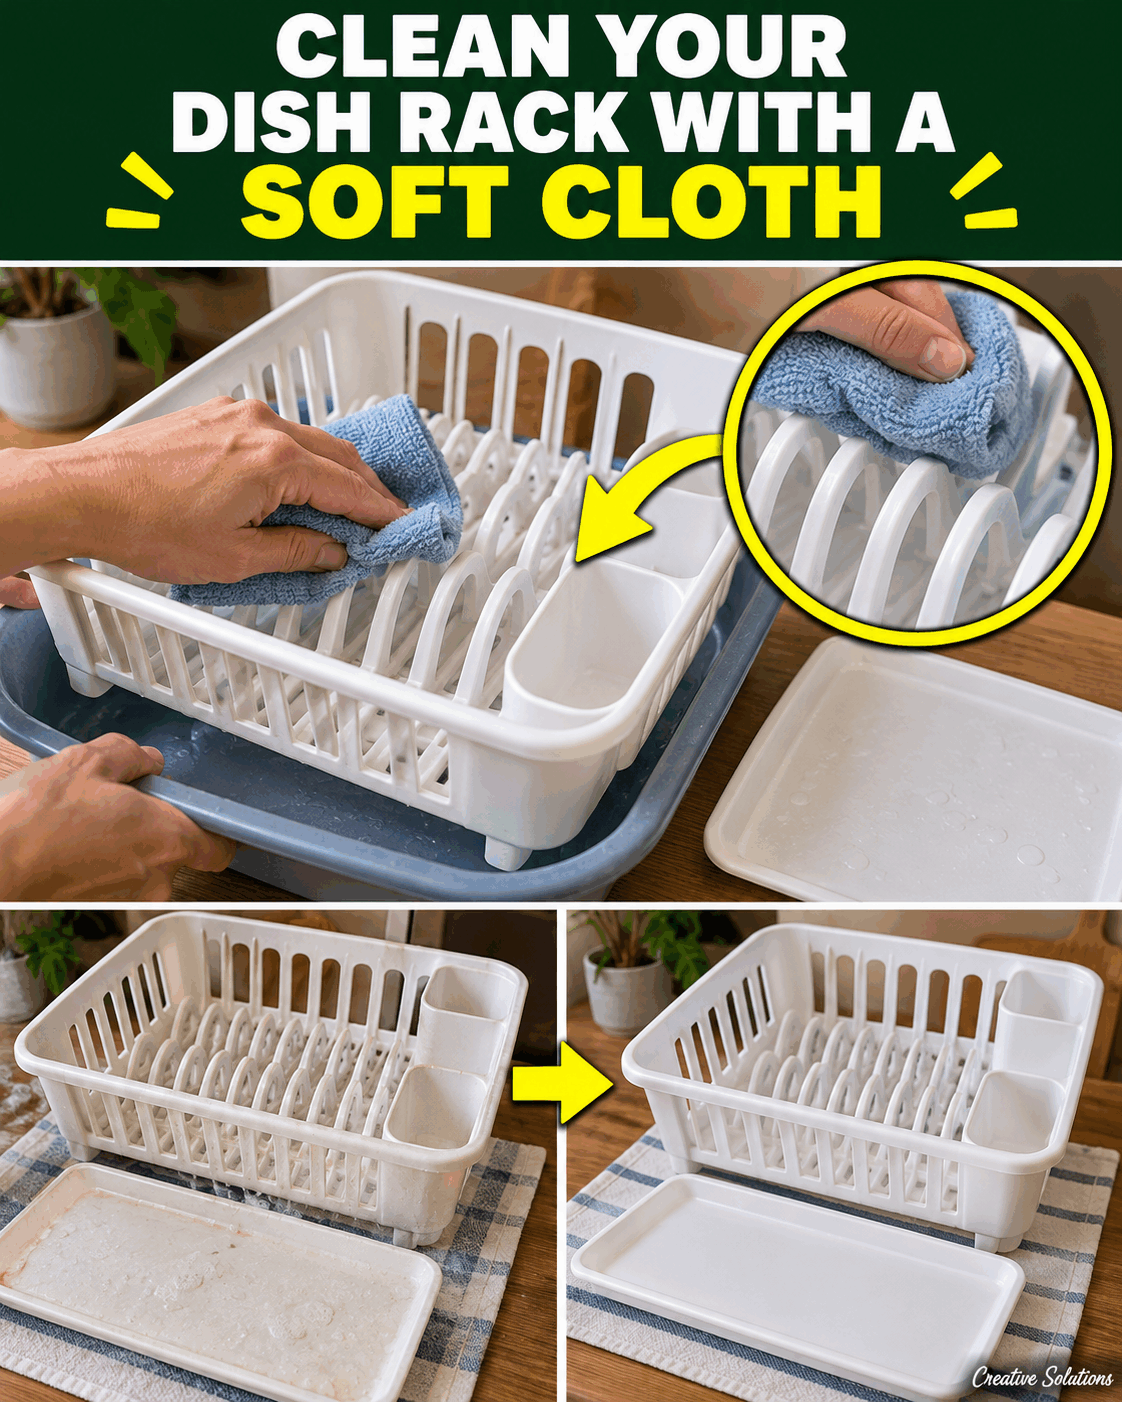
An easy dish rack clean with dish soap and a soft cloth
Dish soap and a soft cloth are enough for a simple clean of a lightweight, washable dish rack and its removable tray. Set up the empty rack at a comfortable height, wash the parts you can reach easily, then rinse and dry them thoroughly. The aim is to remove ordinary surface dirt without awkward lifting or hard scrubbing.
This routine is for a rack whose maker allows washing with mild dish soap and water. A lightweight plastic rack is a useful example, but bamboo, coated metal, electrical drying equipment and damaged finishes may need different care. Check the instructions before filling a basin. A familiar kitchen item is not automatically safe to soak.
Make the work comfortable before you start
Choose a sturdy table or work surface where you can sit comfortably and keep both feet supported. Place the basin within easy reach rather than at the far side of the table. Leave space for the rack, the tray and a dry towel. A little preparation makes it easier to finish without stretching over a wet surface.
Empty the rack completely before moving it. Put plates, cups and utensils away first, and remove any detachable cutlery holder only if it comes away as intended. Do not carry the rack with dishes still balanced on it. If the empty rack is heavier or more awkward than you can manage comfortably, ask for help with moving it.
Use a shallow basin with a modest amount of warm water instead of filling a large container to the brim. Water adds weight, and you do not need a deep bath for this task. Place a protective towel under the basin if the table surface needs it, while keeping everything stable and away from an edge.
Check the rack and gather a few supplies
Look over the empty rack and tray in good light. Check for cracks, loose pieces, sharp edges or a coating that is lifting. Ordinary washing will not repair these problems. Rust, a deep mineral buildup or persistent staining also needs separate attention based on the material. Do not promise yourself a brand-new finish from a gentle surface clean.
Gather mild dish soap, a clean soft cloth, a second cloth for rinsing if needed, and a dry towel. Read the soap label and use only a small amount suited to the water in your basin. A thick mound of foam is unnecessary. It makes rinsing take longer and can hide the areas you are trying to see.
Keep other cleaning products out of the work area. This method does not call for bleach, vinegar, scouring powder or a homemade mixture. A cloth that contains residue from another cleaning job should be washed before reuse. Check the rack instructions for any particular restrictions, including whether removable parts can be immersed or should only be wiped.
The seated cleaning routine, step by step
1. Place the empty rack and its removable tray in front of you. Take apart only the pieces designed to come off easily. Keep small parts together in a clear area so they cannot roll away. If a joint resists, leave it in place. Cleaning is not a reason to force clips or bend the rack out of shape.
2. Add a few drops of dish soap to the warm water, following the product instructions, and gently mix. Wet the soft cloth and squeeze out excess water. Start with a small, less visible area to check the finish. If color transfers or the surface changes unexpectedly, stop and consult the rack maker before doing the whole item.
3. Wipe the open bars or slots with light pressure. Turn the rack only as far as you can manage comfortably, keeping it supported. Work on a small section at a time and use a clean fold of the cloth when it becomes dirty. Do not push your hand into a narrow space where it may become stuck.
4. Wash the removable tray and any approved detachable holder in the same gentle way. Pay attention to corners where water usually collects, but avoid scraping with a knife or other hard tool. If you cannot reach a small corner safely with the cloth, check the maker’s recommended brush or method rather than improvising a sharp cleaning tool.
5. Rinse all washed surfaces with clean water in the way the material allows. A small rack may be easy to rinse at the sink, while another may be better wiped several times with a fresh damp cloth. Do not lift a full basin across the kitchen. Change water in manageable amounts and get help if necessary.
6. Dry the rack, tray and holder with a clean towel, then leave them in a well-ventilated place until fully dry. Check the corners and the underside of the tray, not just the visible top. Put the pieces back together as intended and return dishes only when the rack is dry and sitting securely on its usual surface.

Why the rinse and drying steps matter
Soap loosens ordinary grease and surface dirt, but it should not remain as a film on a rack that holds clean dishes. Rinsing removes the loosened material along with the soap. Using fresh water matters more than adding extra product. A quick wipe with the same dirty, soapy cloth cannot take the place of a proper rinse.
Water can collect underneath a tray even when the top looks dry. Lift and check only the lightweight parts you can handle safely, then allow air to reach the remaining damp areas. Do not immediately cover the rack with a towel or return a stack of dishes. The drying time depends on the shape, material and airflow in your kitchen.
This routine is a cleaning method, not a claim of sterilization. A better-looking surface does not prove that every kind of contamination has been removed. If the manufacturer gives specific care requirements, follow them. Persistent slime, an unpleasant smell or damage that prevents proper cleaning deserves attention instead of simply repeating a light wipe and putting dishes back.
Keep the work gentle and manageable
Avoid metal scouring pads and stiff tools that can scratch plastic or remove a protective coating. A scratch can make later cleaning harder, even if the surface looks brighter at first. Do not increase force to chase a permanent mark. Decide whether the remaining spot is dirt, mineral residue or damage before choosing any further treatment.
If standing at the sink is uncomfortable, arrange help with the rinse or choose an allowed wiping method at the table. Keep the task within a comfortable reach and take a break when needed. A smaller section cleaned and dried carefully is more useful than finishing in a hurry while holding an awkward item over a slippery basin.
A simple habit between fuller cleans
Empty the removable tray when water collects and check underneath it regularly, following the rack’s care instructions. Wipe fresh splashes before they build up, and let the area dry. How often you need a fuller clean depends on use and the rack design. There is no benefit in aggressive daily scrubbing of an already clean, intact surface.
Keep a clean soft cloth for this job and store the rack instructions within reach. If you replace the rack, consider whether its tray is easy to remove and whether you can reach the corners. Ease of handling is a practical feature. A lightweight, stable design can make ordinary cleaning simpler without adding extra products or complicated steps.
Frequently asked questions
Can I clean the rack while sitting down?
Yes, if you can set up a stable work surface at a comfortable height and keep the lightweight parts within reach. Do not lift a full basin or carry a rack loaded with dishes. Arrange help for moving or rinsing anything awkward. A seated routine still needs a secure setup, clear space and a way to handle water safely.
How much dish soap should I use?
Use a small amount appropriate to your basin and the product label. A few drops may be enough for a small amount of water, but formulas differ. More foam does not mean better cleaning. The important steps are gentle washing, removal of loosened dirt, a clean-water rinse and complete drying before the rack holds dishes again.
Will this remove hard white mineral marks?
Not necessarily. The method is intended for ordinary surface dirt and light grease. Mineral deposits may need a material-specific treatment approved by the rack maker. Do not automatically add vinegar or scrape with a blade. First identify the material and finish, because a treatment suitable for one rack may damage another or remove a protective coating.
Can I soak a bamboo or metal rack this way?
Only if its manufacturer allows that specific treatment. Bamboo, coated metal, joints and glued parts can have different limits. The example here is a lightweight washable rack with approved detachable parts. Read the instructions before immersing anything. If the material is uncertain, start by finding its care information rather than assuming a warm basin is harmless.
When can I put the dishes back?
Wait until the rack, tray and holders are rinsed, fully dry and assembled securely. Check corners and the underside where water can linger. Do not judge only by the visible top surface. If anything remains damp, give it more air and time, keeping the rack stable and clear of dishes until the clean parts are ready for normal use.