Growing Tomatoes in plastic bottles for high yields, surprisingly easy
Growing Tomatoes in plastic bottles for high yields, surprisingly easy
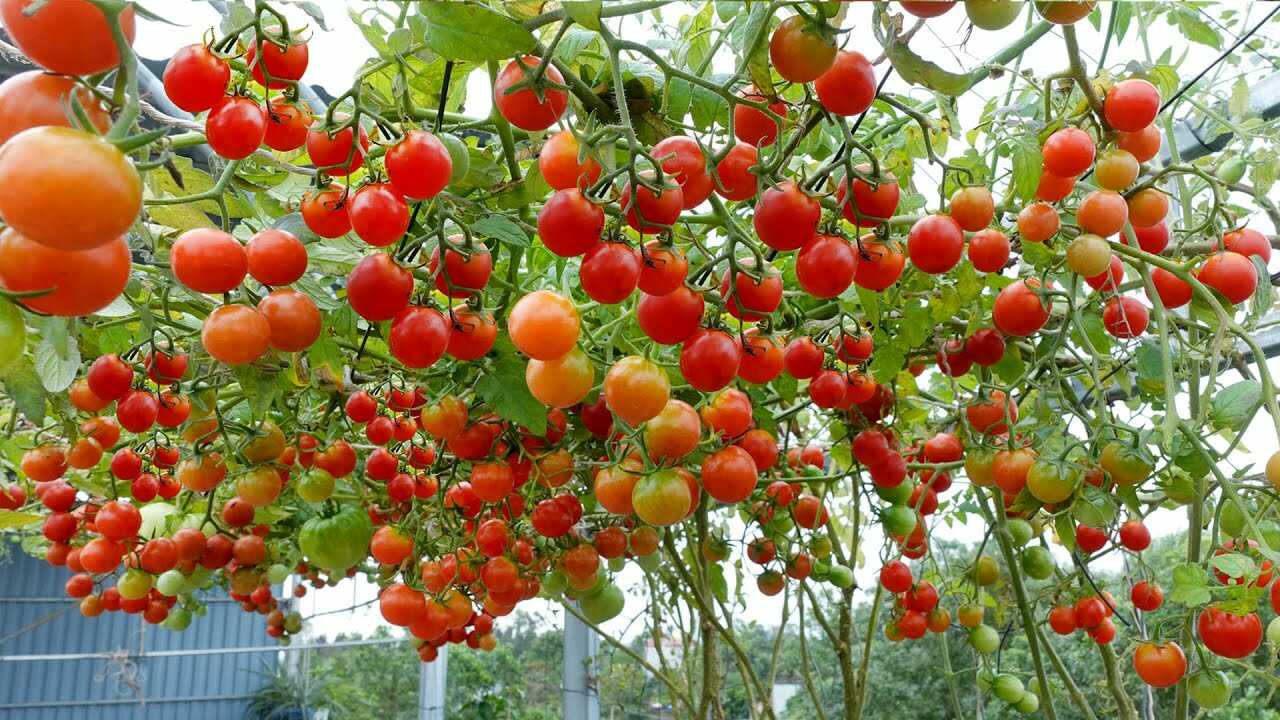
Cherry tomatoes cascading in tight clusters—just like the photo—are the target crop for this method. The image shows abundant, vine-ripened cherry tomatoes on indeterminate stems: small, round, thin-skinned fruits borne in clusters. This guide teaches you how to reproduce that heavy cluster production using recycled plastic bottles as compact, high-yield containers.
Why cherry tomatoes suit plastic-bottle systems
Cherry tomatoes are naturally productive and tolerant of container culture because they set many small fruits per truss and fruit steadily. Botanically, they respond well to high light, consistent moisture and a timely switch from nitrogen-rich feed (for foliage) to potassium-rich feed (for fruiting). The technique below uses those botanical facts to maximize clusters while keeping roots healthy in limited volume.
Materials and exact mix (per 5‑liter bottle)
- One clean 5‑liter plastic bottle (or combine two 2‑L bottles to reach similar volume).
- Soil mix (exact volumes): 3 L high-quality potting mix (coir or peat-free), 1 L well‑rotted compost, 1 L perlite or pumice.
- Plant: one healthy cherry tomato seedling (4–6 true leaves).
- Slow-release fertilizer (N‑P‑K 14‑14‑14): 15 g per 5 L bottle mixed into the soil at planting.
- Water‑soluble tomato feed and calcium source (see feeding schedule).
- Strong string or twine and an overhead support to hang or trellis the bottles.
Step-by-step setup
1) Prepare the bottle: wash and cut an access window along one side for planting. Drill or punch 4–6 drainage holes in the bottom. If hanging, add two holes opposite each other at the neck and run a loop of twine to suspend it; if upright, leave the neck up for evaporation control.
2) Fill: pack the mixed substrate into the bottle so it’s slightly loose but stable. Mix in the 15 g slow‑release fertilizer evenly into the top 10 cm of the potting mix.
3) Transplant: plant a single seedling deep enough to bury the first true leaves—tomatoes develop roots from buried stems, increasing root volume and drought resilience.
4) Install support: tie the main stem gently to the overhead string every 10–15 cm. For heavy cherry loads, train plants as single or double stem systems to concentrate energy into vertical growth and truss production.
Watering and feeding — precise regimen
- Watering (volume & frequency): In warm seasons, apply ~400 ml per 5 L bottle once daily in the morning until water drains from the bottom. In cooler or cloudy periods, water ~400 ml every 48 hours. Adjust if bottles stay wet >24 hours (reduce) or dry out within 12 hours (increase). Always water until slight drainage to flush salts.
- Regular feed (weeks 2 onward): Use a balanced water‑soluble fertilizer (e.g., 20‑20‑20) at 1 teaspoon (≈5 ml) per 3.8 L of water applied every 7 days. Begin two weeks after transplant to avoid burning roots.
- Fruit‑set feed (after first truss forms): Switch to a higher‑potassium formula (e.g., 5‑10‑10 or a “tomato feed”) at the same dilution: 1 teaspoon per 3.8 L every 7 days until the end of the season.
- Calcium to prevent blossom end rot: Apply a foliar calcium nitrate spray at 2 g per 1 L of water every 14 days starting at first flowering. Spray leaves in the cooler part of the day to avoid scorch.
Pruning, training and timing
Prune to a single or double leader: remove side shoots (suckers) weekly when 2–3 cm long. This focuses carbohydrates into cluster formation rather than excess foliage. Tie stems to the overhead support every 10–15 cm. Expect first ripe clusters about 8–12 weeks after transplant, with continuous harvest over several weeks to months depending on variety and season.
Practical tips from the greenhouse
- Place bottles where plants receive 6–8+ hours of direct sun. Less than 6 hours reduces cluster set and sweetness.
- Ensure good airflow between bottles to prevent fungal disease—space hanging bottles 20–30 cm apart horizontally.
- Mulch the bottle surface with a small layer of grit or fine bark to slow surface evaporation.
- Rotate older bottles out after a season or two—plastic degrades and root compaction reduces yield.
Common botanical mistakes to avoid
- Over‑fertilizing with nitrogen during fruiting — produces lush leaves but fewer fruits. Switch to higher potassium once fruiting begins.
- Poor drainage or waterlogging — causes root rot and sudden yield collapse. Always have several drainage holes and never let bottles sit in standing water.
- Ignoring calcium needs — blossom end rot is a physiological disorder caused by calcium deficiency at the fruit, not a pathogen. Regular calcium foliar applications and consistent soil moisture reduce incidence.
- Over‑pruning flowering trusses — removing too many flowers or trusses reduces total harvest. Prune only vegetative suckers and thin crowded leaves for airflow.
Seasonal adjustments
In summer, water daily and monitor for salt buildup—flush with extra water once every 2 weeks. In shoulder seasons (spring/fall), reduce feed to every 10–14 days and water every 2–3 days depending on temperature. In cold climates move bottles into a protected spot when night temperatures drop below 10°C to maintain fruit set.
Conclusion — small containers, big clusters
Recycling plastic bottles into small, well-managed containers is an efficient way to produce the abundant cherry tomato clusters shown in the photo. Using the precise soil mix, exact planting and feeding doses, consistent watering and disciplined pruning above will reproduce high yields in a compact footprint. Remember: this method complements basic care—good light, steady water, proper drainage and timely nutrients—not a shortcut. Try two bottles the first season, follow the schedule for several weeks to establish rhythm, and you’ll soon enjoy continuous, vine-ripe clusters of cherry tomatoes.
Ready to start? Gather two 5‑L bottles, the soil mix ingredients and a cherry tomato seedling—plant this weekend and track growth weekly for best results.