How to propagate leaves in sand to produce many roots at home
How to propagate leaves in sand to produce many roots at home
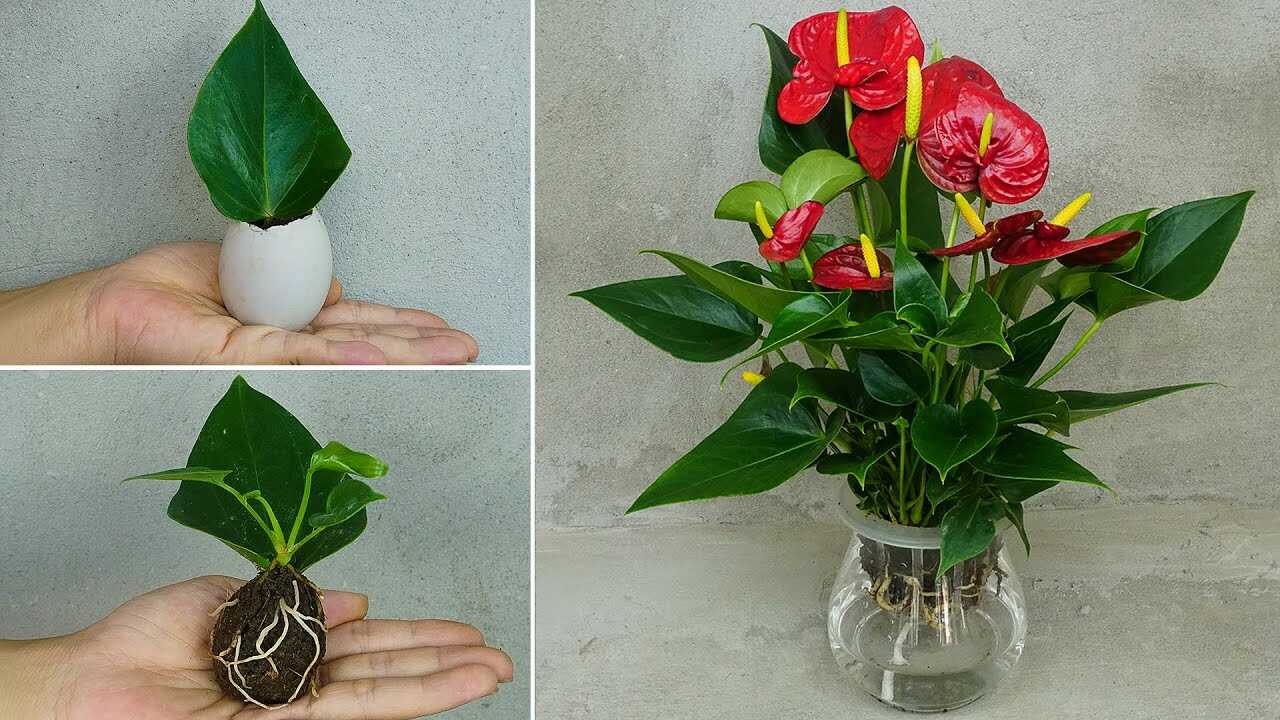
In the photo you can see a cluster of green leaves bearing small, round beige adventitious tubers/plantlets at the leaf base, each already producing fine roots. This article shows how to use those exact leaf bases (or similar leaf cuttings) planted in coarse sand to encourage many new roots and, ultimately, independent plantlets. The technique relies on the leaf’s natural ability to form adventitious roots and on sand’s excellent aeration to prevent rot while roots form.
Why sand and these leaf tubers work
Those bead-like nodules are pockets of meristematic tissue and stored reserves that readily produce roots when given the right conditions. Sand (preferably coarse horticultural or sharp sand) keeps the cut surface aerated and reduces fungal pressure compared with heavy soil. Using a rooting hormone containing IBA (indole‑3‑butyric acid) can speed and increase rooting because IBA is a well-documented auxin that stimulates root initiation in cuttings.
Materials and exact preparations
- Leaves with tuberous bases: healthy, disease-free leaves as pictured.
- Coarse horticultural sand: sharp/silica sand — not beach or untreated play sand (avoid salts). Use sterile sand: rinse, then heat-sterilize by spreading on a tray and baking at 82°C (180°F) for 30 minutes, or pour boiling water over the sand and let drain; allow to cool.
- Optional mix: 70% coarse sand + 30% perlite for extra drainage (use when sand is very fine).
- Rooting hormone: IBA powder or liquid. Prepare a 1000 ppm IBA solution (follow product directions) or use a commercial rooting gel per label.
- Container: shallow tray or small pots with drainage, filled with 3–5 cm (1–2 in) of moist sand.
- Humidity cover: clear plastic dome or a zip bag to raise humidity without sealing completely.
- Spray bottle: for gentle watering.
Step-by-step propagation method
Follow these precise steps to encourage many roots from the leaf bases shown in the photo.
- 1. Prepare the cutting: Select firm, healthy leaves with the tuber/plantlet at the base. If detached, leave a short stub of petiole to avoid tearing tissue.
- 2. Sterilize and dip (optional but recommended): Lightly dust the tuber/leaf base in powdered IBA or dip the base in a 1000 ppm IBA solution for 5–10 seconds, then allow excess to drip off. Do not soak the whole leaf—just the rooting point.
- 3. Fill the container: Place 3–5 cm of sterile coarse sand (or 70:30 sand:perlite) into a tray or pot and moisten until it clumps when squeezed but no free water drains out.
- 4. Planting depth and spacing: Lay each leaf flat or slightly angled so the tuber/plantlet just contacts the sand surface (tuber should be at or just below the sand surface). Space each 2–3 cm apart to allow roots to spread.
- 5. Create humidity: Cover with a clear dome or a loose plastic bag to keep humidity high but not sealed—propagation needs air exchange to limit fungal growth.
- 6. Light and temperature: Place in bright, indirect light (no direct hot sun) and maintain a warm range of 20–25°C (68–77°F). Spring–summer is ideal for faster results.
- 7. Watering frequency: Mist the sand surface every 3–5 days to keep it lightly moist. Check the substrate; if it feels dry an inch down, mist more. Do not keep sand waterlogged.
- 8. Ventilation: Remove the cover briefly once every 2–3 days for 10–15 minutes to prevent condensation buildup and mold.
- 9. When to transplant: Expect clear root development in 4–8 weeks. When roots are 2–3 cm long and new shoots or leaflets appear, carefully pot each plantlet into a light, well-draining potting mix (peat-based with perlite) and begin regular acclimation to lower humidity.
Practical tips from experience
- Use coarse sand: Fine beach sand compacts and suffocates tender roots. Sharp sand or horticultural silica sand gives the best aeration.
- Sterility matters: Rinsing and heat-treating sand reduces competing fungi and increases success rates.
- Just the base needs hormone: Applying IBA only to the tuber/root zone decreases chemical stress to the leaf and is more effective than soaking the whole leaf.
- Keep the leaves intact: Some species root better from the whole leaf base rather than small leaf pieces because stored carbohydrates in the leaf feed the new roots.
- Label and date: Note the start date and variety so you can judge timing and success rates per species.
Common mistakes to avoid
- Overwatering: Keeping sand saturated causes rot of the tuber and leaf. Aim for lightly moist sand; never standing water.
- Using salty sand: Beach sand and some play sands contain salts harmful to young roots—always rinse and choose horticultural sand.
- Sealing completely: A totally airtight cover encourages mold. Use occasional ventilation.
- Planting too deep: Burying the tuber entirely delays oxygen access and invites decay. Keep the rooting point at the surface or just below it.
- Wrong season: Propagating in cold, dormant seasons will stretch the timeline. Expect much slower rooting in winter; best results in active growth months (spring–summer).
Timeline to expect
Be consistent: roots commonly appear in 4–8 weeks under warm, bright conditions. In cooler conditions allow up to 8–12 weeks. After roots reach 2–3 cm and new leaves or plantlets form, move to potting mix and reduce humidity over 1–2 weeks.
Conclusion — try it and share results
This sand propagation method takes advantage of the exact little tubers and leaf bases shown in the photo: they are natural rooting centers that, in coarse sterile sand and with correct moisture and light, will produce many roots and new plantlets. Remember this is a complement to basic care—good light, warmth, and later appropriate fertilizer will ensure healthy established plants. Try a small batch (6–12 leaf bases) this season, note dates and conditions, and adjust your routine based on your results. Happy propagating — and share your progress to refine techniques further!