How to Revive Any Dying Orchid with One Simple Trick 100% Effective
How to Revive Any Dying Orchid with One Simple Trick 100% Effective
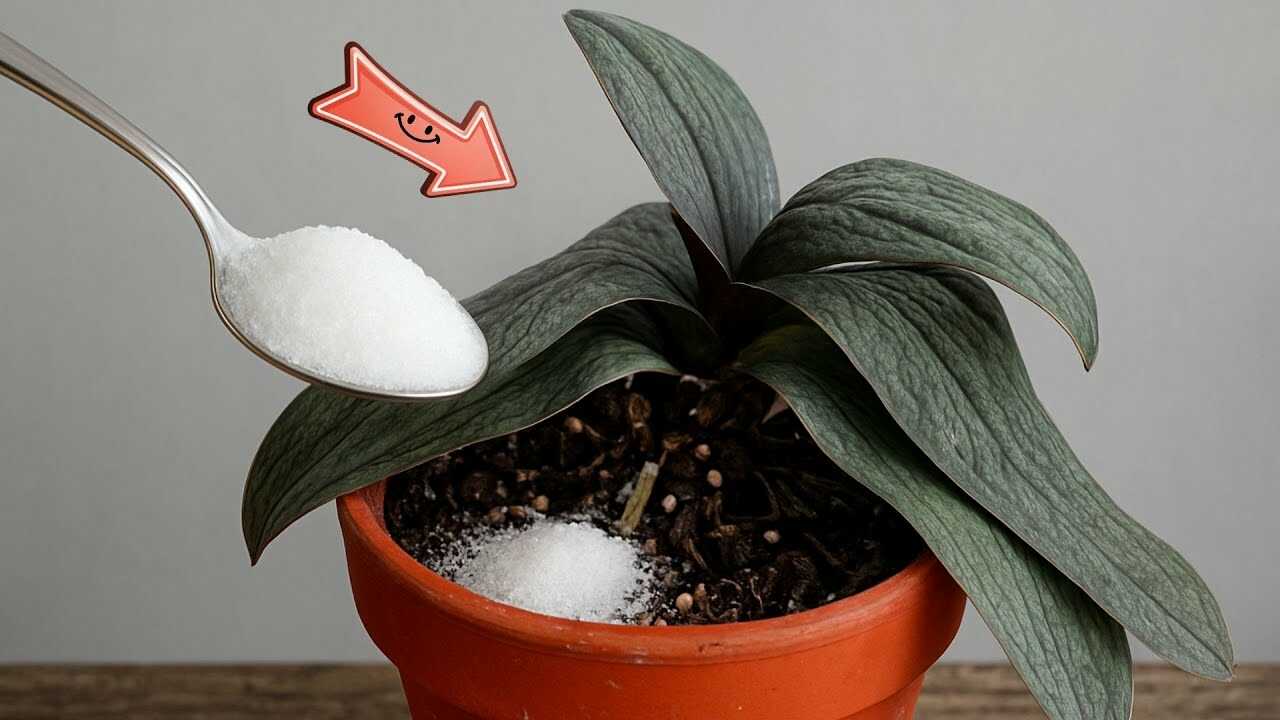
In the photo you can see a spoonful of white crystalline powder being added to an orchid pot — that powder is most visually consistent with Epsom salt (magnesium sulfate). This simple, inexpensive mineral provides plant-available magnesium and sulfate, two nutrients that support chlorophyll production and enzyme activity in orchids. Below is a step-by-step, evidence-based method to use Epsom salt as a targeted supplement to help weak or yellowing orchids recover, always as a complement to correct light, watering, drainage and potting medium care.
Why Epsom Salt for Orchids?
Magnesium (Mg) is an essential macronutrient in the chlorophyll molecule and in many metabolic enzymes. Sulfate (SO4) supplies sulfur, needed for amino acids and proteins. If an orchid shows pale leaves with green veins (interveinal chlorosis) or slowed flowering, a magnesium supplement can help restore normal leaf color and vigor — provided the underlying causes (light, root health, fertilization) are addressed.
Step-by-step: Safe Epsom Salt Treatment for Orchids
- Step 1 — Inspect the plant: Carefully lift the orchid from its pot (if practical). Check roots: firm, white-green roots are healthy; brown/black mushy roots indicate rot. If rot is present, trim dead roots and repot into fresh orchid bark before applying any supplements.
- Step 2 — Do NOT sprinkle dry crystals: The image shows dry salt on potting mix — avoid that. Undissolved crystals can cause localized root burn and salt buildup.
- Step 3 — Prepare the solution (precise dose): For a foliar spray: dissolve 1/2 teaspoon (~2.5 g) of Epsom salt in 1 U.S. quart (≈0.95 L) of warm water. For a root drench: dissolve 1 teaspoon (~5 g) per 1 U.S. gallon (≈3.8 L) of water.
- Step 4 — Application frequency (seasonal): During active growth (spring–summer) apply foliar spray every 2 weeks or give a root drench once every 4 weeks. In fall and winter reduce to every 6–8 weeks or stop if growth is minimal.
- Step 5 — How to apply: For foliar use a fine mist sprayer; spray leaves and the crown lightly in the morning so foliage dries during the day. For a root drench, water with the gallon solution until it runs through the pot, then allow full drainage.
- Step 6 — Flush periodically: Every 2–3 months flush the potting medium thoroughly with plain water to prevent mineral buildup (run water through pot for a minute or two).
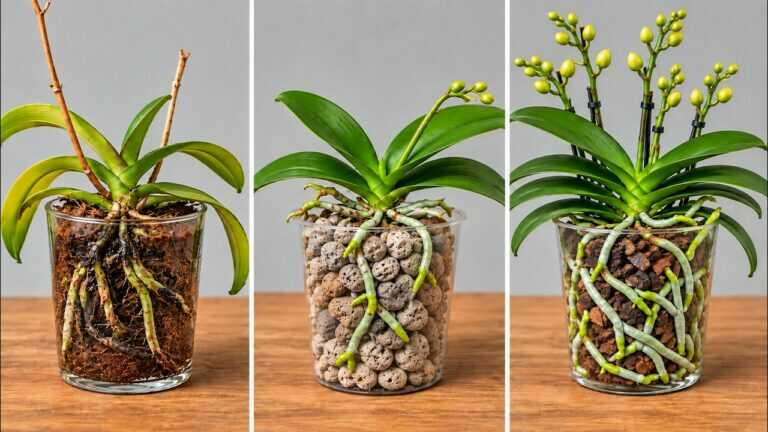
- Step 7 — Monitor results over time: Look for gradual improvement in leaf color, leaf turgor and later stronger new growth or spike formation over several weeks to a few months.
Practical tips from experience
- Always label treatments: Note date and dose so you don’t overapply.
- Combine with balanced care: Use Epsom salt as a supplement to a balanced orchid fertilizer (use full-strength fertilizer only as recommended; do not double-dose minerals).
- Prefer bark or well-draining mixes: Orchids in compact, water-retentive mixes are more likely to suffer root rot; ensure good drainage before supplementing.
- Use lukewarm water: Cold water can shock roots; lukewarm promotes even dissolution and uptake.
Common mistakes to avoid
- Applying table salt or fertilizer salts: Do NOT confuse Epsom salt (magnesium sulfate) with sodium chloride (table salt) — table salt damages plants.
- Sprinkling dry crystals: As shown in the image, dumping dry Epsom salt on the pot surface risks burning roots and creating high localized salt concentrations.
- Overuse: Excessive or too-frequent applications can cause nutrient imbalances and salt buildup. Stick to the doses and schedule above.
- Ignoring root health and light: If roots are rotted or the plant lacks adequate light, magnesium won’t fix those core issues.
Expected timeline and realistic outcomes
From a properly applied Epsom salt regimen you may see leaf color stabilization and healthier new growth within several weeks, with clearer improvement (new leaves, stronger spikes) over 6–12 weeks. This is a supportive treatment — not an instant cure. If there is no improvement after two to three months, re-evaluate roots, potting medium, watering routine and light, and consider repotting or professional diagnosis.
Conclusion — Try it the right way
The white crystals in the picture are best used as dissolved Epsom salt (magnesium sulfate), applied carefully and periodically to correct magnesium deficiency and support chlorophyll production. Follow the precise doses and seasonal frequency above, never apply dry crystals, and remember this trick complements basic orchid care (light, water, drainage, balanced fertilization). Try one properly dosed treatment cycle and monitor for steady improvement over several weeks — your orchid has a good chance to recover when nutrition and basic care are aligned.
Ready to try it? Prepare the solution, note the date, and check roots and leaves regularly. If you see greener new growth within a few weeks to months, you’ll know the supplement helped — and you’ll have used the pictured ingredient the safe, horticulturally sound way.