I’ve Saved So Much Time Since I Learned This Simple Cleaning Trick
I’ve Saved So Much Time Since I Learned This Simple Cleaning Trick
Cleaning a bathroom often takes longer than expected. The sink, shower, toilet, and floor usually get plenty of attention, but bathroom walls and high tiles are frequently forgotten.
Over time, dust, moisture, soap residue, and tiny particles can settle on these surfaces. The buildup may not always be visible from a distance, but it can make the entire room look dull.
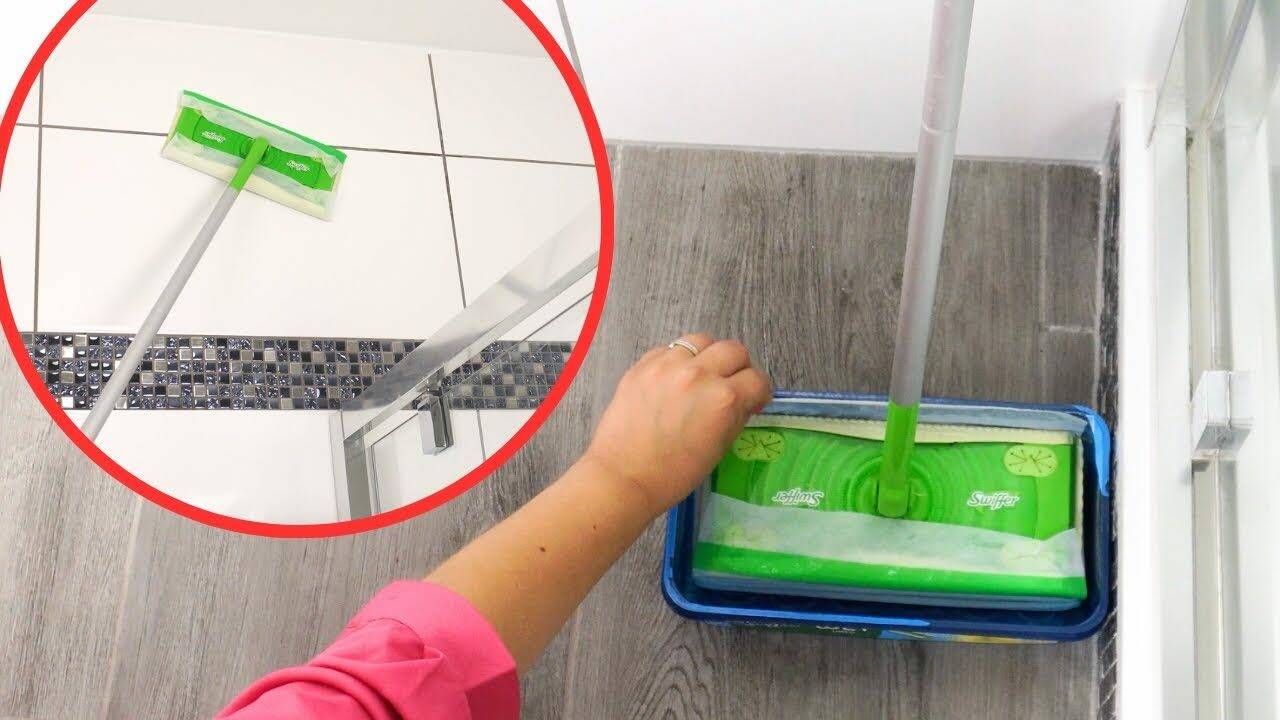
Fortunately, there is a simple way to clean large tiled walls without climbing a ladder or scrubbing every section by hand. All you need is a flat mop and a clean microfiber cloth.
Since discovering this method, I’ve been able to clean my bathroom walls in just a few minutes—and the same tool can be used throughout the house.
Why Bathroom Walls Need Regular Cleaning
Even when tiles appear clean, they can collect:
- Dust and lint
- Soap residue
- Moisture marks
- Hairspray and cosmetic residue
- Greasy particles
- Light mildew around damp areas
Steam from showers can cause these particles to cling to tiled surfaces. If they remain there for months, the walls gradually lose their shine and become more difficult to clean.
Wiping them regularly prevents heavy buildup and makes deep cleaning much easier.
The Flat-Mop Bathroom Wall Trick
A flat mop allows you to clean a large surface quickly while reaching areas close to the ceiling.
Unlike a small handheld cloth, it distributes pressure evenly and reduces the need to stretch, bend, or climb onto a stool.
What You’ll Need
Prepare:
- A clean flat mop
- Two microfiber cloths or compatible mop pads
- A bucket of warm water
- A small amount of mild dishwashing liquid
- A dry towel
Before starting, check that the cleaning solution is suitable for your type of tile and grout.
Step 1: Remove Loose Dust
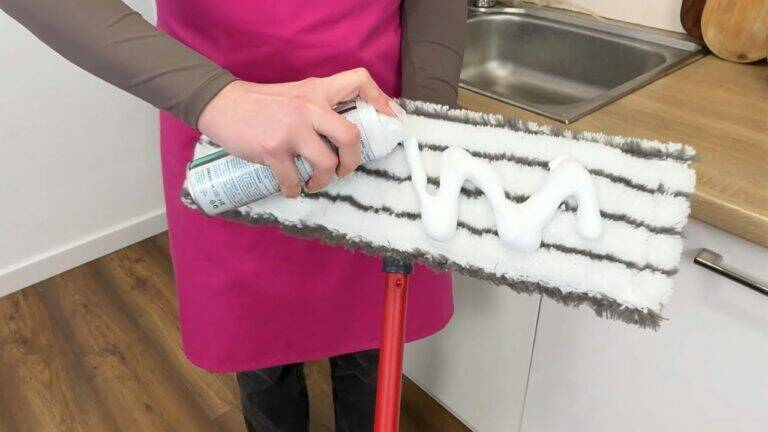
Attach a clean, dry microfiber cloth to the flat mop.
Pass it over the bathroom walls from top to bottom. Pay particular attention to corners, the area above the shower, and sections near ventilation openings.
You may be surprised by how much dust the cloth collects, even when the walls looked clean.
Removing dry dust first prevents it from turning into muddy streaks when water is applied.
Step 2: Prepare a Gentle Cleaning Solution
Fill a bucket with warm water and add only a few drops of dishwashing liquid.
Too much soap can leave a sticky film that attracts more dust, so keep the mixture mild.
For natural stone, marble, or other delicate surfaces, use only a cleaner approved for that material. Avoid vinegar and acidic products, as they can damage certain tiles and grout.
Step 3: Wipe the Walls
Attach a fresh microfiber cloth to the mop and lightly dampen it with the cleaning solution.
The cloth should be moist but not dripping.
Wipe the walls using smooth overlapping strokes. Start at the top and work downward so dirty water does not run onto areas you have already cleaned.
Rinse the cloth regularly if it becomes visibly dirty.
Step 4: Remove Soap Residue
Once the walls have been cleaned, rinse the mop cloth or replace it with a fresh one dampened with plain water.
Pass over the tiles again to remove any remaining detergent.
This second wipe is important because soap residue can leave streaks and make tiles appear cloudy.
Step 5: Dry the Surface
Use a dry microfiber cloth on the mop to remove moisture.
Drying helps prevent water spots and leaves glossy tiles looking cleaner and brighter.
It also reduces lingering dampness around grout lines, where mildew is more likely to develop.
How Often Should You Do This?
For most bathrooms, wiping the walls once a month is enough to prevent major buildup.
Bathrooms that are used frequently or have poor ventilation may benefit from a lighter cleaning every two weeks.
You should clean more often when you notice:
- Water marks
- Dull tiles
- Dust near the ceiling
- Soap residue around the shower
- A musty odor
- Dark spots forming around grout
Regular quick cleaning is much easier than waiting until the walls require heavy scrubbing.
Other Ways to Use a Flat Mop Around the House
The same tool can simplify several cleaning jobs.
Clean High Windows Safely
A flat mop can help you reach the inside of tall windows without standing on a chair.
Attach a clean microfiber window cloth, lightly spray it with glass cleaner, and wipe the glass from top to bottom.
Do not soak the cloth, as excess liquid may run into the window frame.
Finish with a clean, dry cloth to reduce streaks.
For exterior windows at significant height, use proper professional equipment rather than leaning out or using an unstable extension.
Dust High Walls and Ceilings
Use a dry microfiber cloth to collect dust and cobwebs from:
- Ceiling corners
- The tops of walls
- High shelves
- Areas above cabinets
- Large doors
- Behind tall furniture
Move the mop slowly so the cloth captures dust instead of spreading it through the air.
Clean Large Shower Screens
A flat mop can also make cleaning large glass shower panels easier.
Use a cloth dampened with warm water and a small amount of dish soap. Wipe the glass, rinse with plain water, and finish with a squeegee or dry microfiber cloth.
Avoid abrasive powders and rough sponges that may scratch the surface.
Refresh Tiled Kitchen Walls
Kitchen wall tiles often collect grease and cooking residue.
Use warm water with a small amount of grease-cutting dish soap. Clean from top to bottom, rinse with a separate damp cloth, and dry thoroughly.
Keep moisture away from electrical outlets and switches.
A Safe Method for Cleaning Shower Grout
If grout around the shower has become dirty, begin with a gentle approach.
Mix warm water with a small amount of dish soap and apply it using a soft brush. Allow it to sit briefly, scrub gently, and rinse thoroughly.
For mildew, use a product specifically approved for bathroom mold and follow the label instructions.
Never mix different cleaners, particularly bleach with vinegar, ammonia, or acidic products. These combinations can release dangerous fumes.
If mold repeatedly returns, the bathroom may have a ventilation or moisture problem that needs to be addressed.
How to Keep Bathroom Walls Cleaner for Longer
A few simple habits can slow down the return of dirt and mildew:
- Run the exhaust fan during showers.
- Leave the bathroom door open afterward when appropriate.
- Wipe shower walls with a squeegee.
- Repair leaking taps and shower fittings.
- Wash mop pads after every use.
- Avoid using too much cleaning product.
- Dry damp corners and grout lines.
- Clean ventilation covers regularly.
Good airflow is particularly important. Removing moisture helps protect the walls, grout, ceiling, and bathroom furniture.
What Not to Use on Bathroom Walls
Avoid aggressive methods that can damage surfaces or create unnecessary risks.
Do not use:
- Metal scrubbers on tiles or glass
- Undiluted bleach without checking the surface
- Vinegar on marble or natural stone
- Excessively wet electrical cleaning tools
- A single dirty cloth for the entire bathroom
- Strongly scented fabric softener as a wall cleaner
- Unstable chairs or furniture to reach high areas
Always test a new cleaner on a small, hidden section before applying it to the entire wall.
Final Thoughts
The simplest cleaning tricks are often the most useful.
Attaching a microfiber cloth to a flat mop allows you to clean bathroom tiles, tall walls, shower screens, and other hard-to-reach surfaces without spending hours scrubbing or climbing a ladder.
The method works best when used regularly. A few minutes of maintenance each month can prevent heavy residue, keep tiles looking bright, and make the entire bathroom feel fresher.
Once you begin using a flat mop for walls as well as floors, you may wonder why you didn’t try it sooner.