Place this under the roots! No need to water, Orchids will bloom all year round
Place this under the roots! No need to water, Orchids will bloom all year round
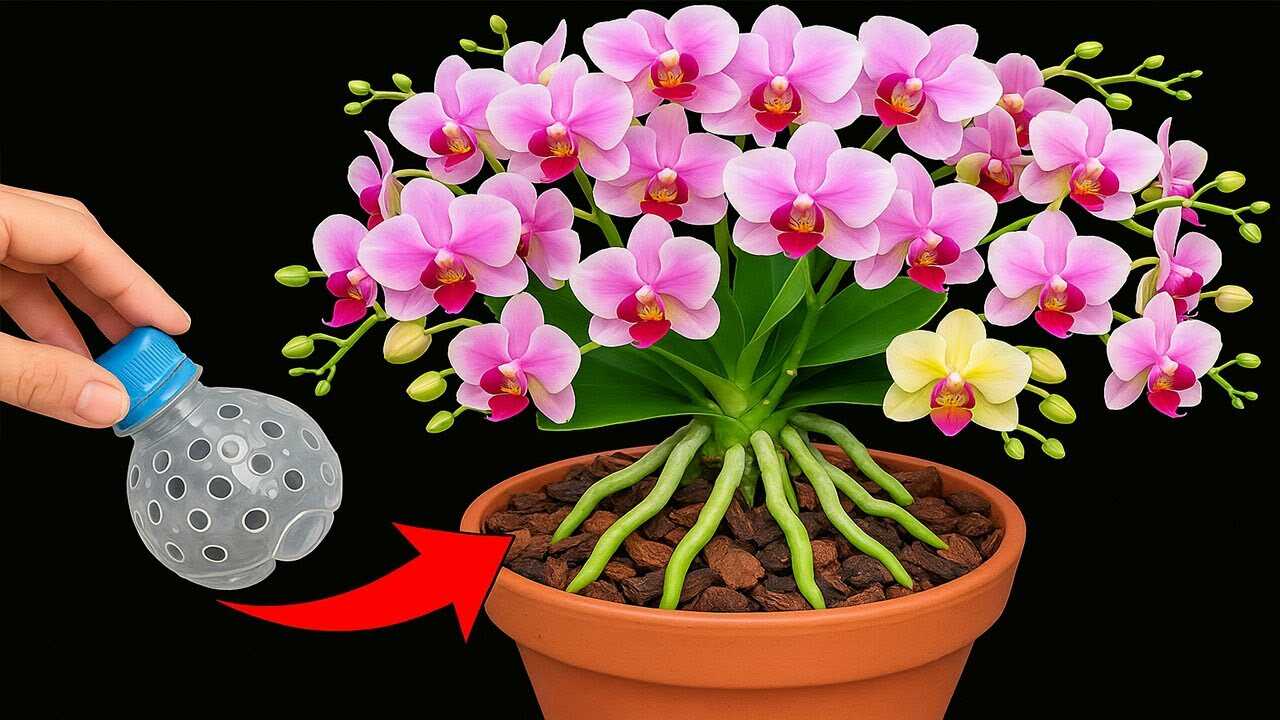
In the photo you can clearly see chunky brown pieces of orchid bark packed around the roots of a Phalaenopsis-style orchid. This is not ordinary potting soil — it’s a coarse, woody pine/fir bark mix designed for epiphytic orchids. Used correctly, this bark improves air circulation at the roots, reduces fungal rot, and cuts watering frequency — helping orchids produce stronger, more frequent blooms over several months.
Why orchid bark works (botanical facts)
- Aeration: Coarse bark creates large pores around roots. Orchid roots are adapted to oxygen-rich air; bark prevents suffocating waterlogged conditions that cause root rot.
- Drainage: Bark sheds excess water rapidly, so microbes that cause crown and root diseases don’t proliferate.
- Micro-environment: Bark pieces retain small pockets of moisture while letting most of it drain away — this mimics the tree-bark habitat many orchids evolved in.
- Longevity: Fresh, chunky bark resists compaction for months; replace it on a schedule to keep the substrate breathable.
Step-by-step: repot with orchid bark under the roots
- Gather materials: fresh orchid bark chips (chunk size 1–2 cm / 3/8–3/4 in), a terracotta or plastic pot with drainage holes, sterile scissors, and room-temperature water.
- Prepare the bark: rinse the bark to remove dust. Soak in clean water 30–60 minutes to hydrate the chips — fully dry bark will repel water initially. Optionally rinse briefly with a 1:10 solution of 3% hydrogen peroxide to reduce surface microbes, then rinse with plain water.
- Remove the orchid from its pot, gently shake off old medium, and trim any soft or blackened roots with sterile scissors. Healthy roots are firm and green/silvery.
- Place a 2–3 cm (0.8–1.2 in) layer of drained, hydrated bark at the bottom of the pot to create a well-draining base.
- Position the plant so roots fan naturally over that base. Add bark around and between roots, filling the pot until roots are supported but not packed. Aim for a loose fill with visible air gaps; leave ~1 cm (0.4 in) below pot rim.
Precise doses and frequency — watering, repotting and feeding
- Watering after repotting: water thoroughly once right after repotting so the bark is evenly moist. Thereafter, reduce frequency: in warm, bright conditions water every 7–10 days; in cooler, lower-light conditions water every 14–21 days. Always allow roots to dry slightly between waterings — never keep bark soggy.
- Repotting schedule: replace the bark every 12–18 months for Phalaenopsis (sooner if it breaks down). Fresh bark maintains aeration; decomposed bark holds too much moisture and invites rot.
- Fertilizer: use a balanced orchid fertilizer at 1/4 strength applied every 7–14 days during the active growing season (spring–summer); reduce to once monthly in autumn–winter. Flush the pot with plain water once a month to prevent salt build-up.
Practical tips from experience
- Choose chunkier bark rather than fine nuggets — chunks keep air spaces open and are less likely to compact.
- Terracotta pots help bark dry faster than plastic; choose them when you want to reduce watering frequency further.
- Top up with a thin fresh layer (1–2 cm) of bark every 6–9 months instead of full repotting if roots are healthy — this keeps the surface from breaking down quickly.
- Increase humidity around leaves (tray of pebbles or a humidifier) rather than keeping bark constantly wet — orchids like moist air but airy roots.
Common mistakes to avoid (real botanical pitfalls)
- Using regular potting soil: it retains too much moisture and suffocates epiphytic orchid roots, causing rot.
- Packing the bark tightly: compacted medium kills the oxygen flow roots need. Always err on the side of looser packing.
- Not replacing broken-down bark: decomposed bark acts like soil and will demand more frequent watering and promote disease.
- Overfeeding: concentrated fertilizers and poor flushing cause root burn in bark mixes; stick to diluted feed and monthly flushes.
- Burying the crown: keep the plant’s crown at or slightly above the bark surface to prevent crown rot.
Timeline: when to expect results
Root health improvements are often visible in 4–8 weeks (firmer, plumper roots). Improved spike initiation and more reliable blooms typically follow over a full growth cycle — expect noticeable flowering benefits within several months, and more consistent seasonal blooms across the next year when bark and care are maintained.
Conclusion — realistic, actionable outcome
Placing coarse orchid bark under and around the roots gives your orchid the airy, draining environment it needs. It won’t make the plant completely water-free forever, but it will significantly reduce watering frequency, lower the risk of root and crown rot, and encourage healthier, more frequent blooms when combined with correct light, humidity, and diluted fertilization. Try repotting with fresh bark and follow the dosing schedule above — check roots monthly, and you’ll likely see stronger growth and better flowering within a few months.
Try it now: gather quality orchid bark, repot following the steps above, and mark your calendar to reassess watering in 2–3 weeks — then enjoy healthier roots and more reliable blooms.