
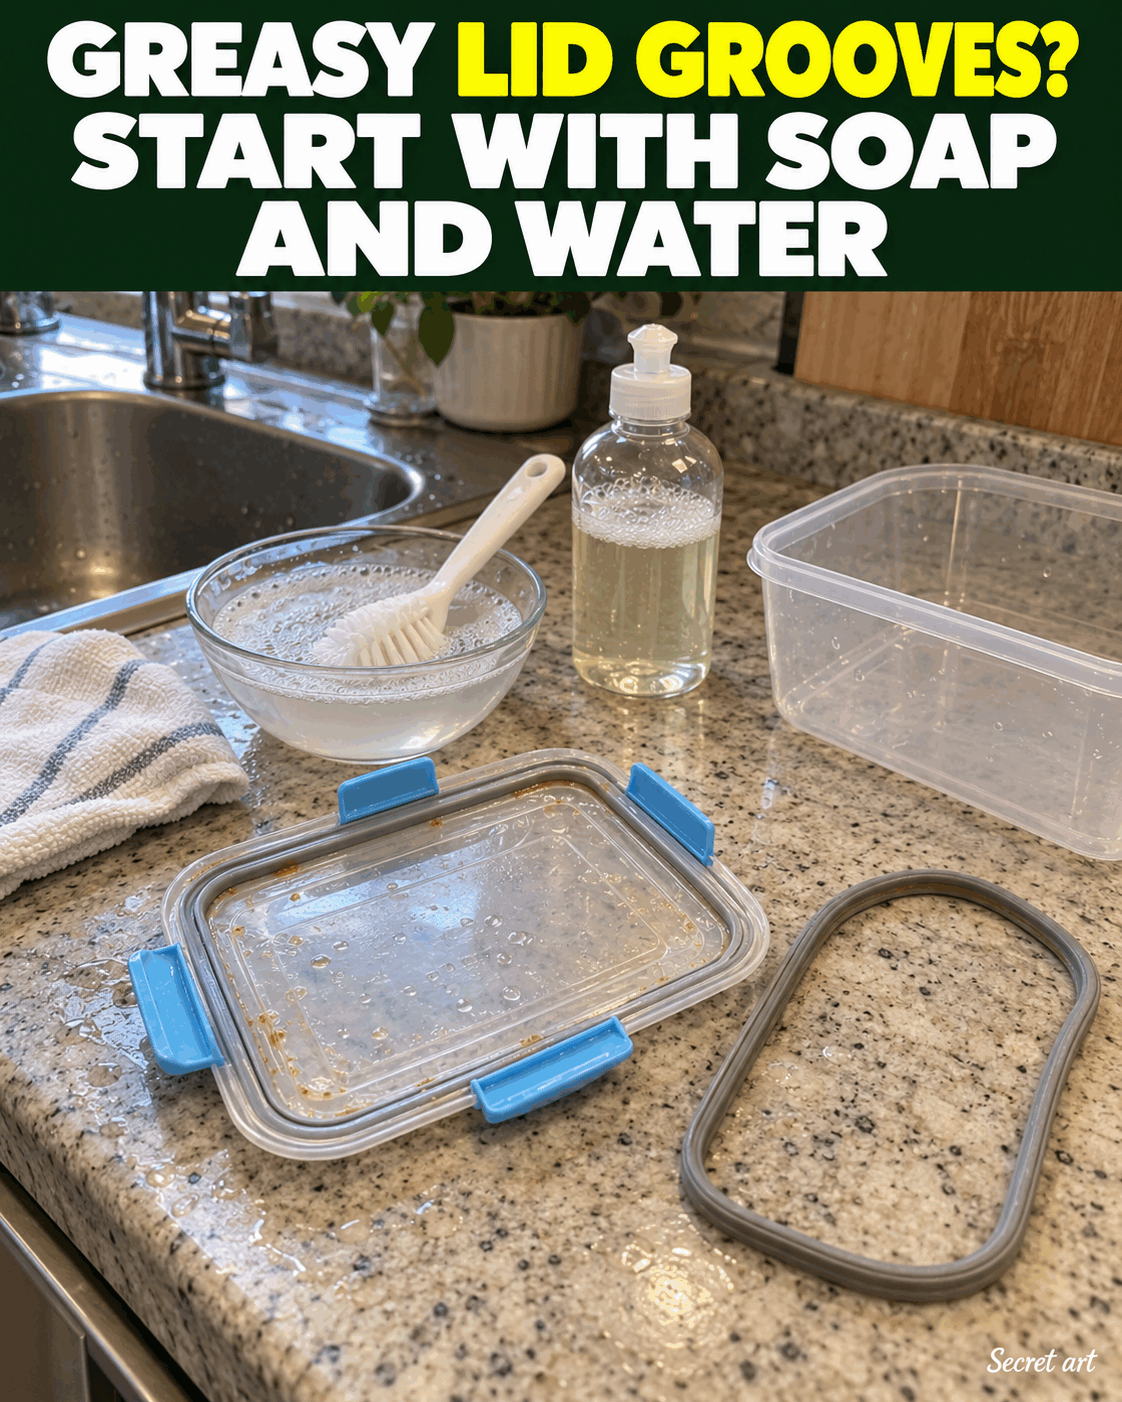
Greasy Plastic Lid Grooves? A Gentle Way to Wash Them
Dish soap and a dedicated soft brush can help lift ordinary grease from the accessible grooves of removable plastic food-storage lids. The useful detail is the order: wash the broad surfaces, gently work along the reachable channels, rinse away the loosened residue, then let every part dry before reassembly or storage. Only remove a seal or lid component when the maker designed it to come out for cleaning.
This routine is for intact, washable food-container lids with care instructions that allow hand washing. It is not a method for prying apart a sealed valve, an electronic vacuum lid, or a bonded rim. You do not need a sharp tool or a stronger chemical mixture to make the basic wash worthwhile. The aim is a clean, rinsed lid, rather than a promise to erase every stain or make old plastic look new.
Identify the lid before taking anything apart
Some lids are a single molded piece. Others have a removable flexible seal, clips, a button, or several parts that fit together in a particular order. A visible line around the edge does not automatically mark a part you should pull out. Check the instructions for the exact container and identify which pieces are intended to be removed.
If removal is allowed, note the original position of each part before you start. A quick photograph can be useful for reassembly. Keep the components from one lid together so that similar seals do not get swapped between containers. If the construction is unclear, clean only the accessible surfaces and contact the maker rather than experimenting with a knife or screwdriver.
A small washing kit
- Mild dish soap suitable for hand washing kitchenware.
- Warm water within the lid maker’s care limits.
- A clean soft dish brush small enough for the accessible grooves.
- A soft cloth or nonabrasive sponge for the broad surfaces.
- A clean drying rack or towel and a clear space for the separated parts.
Use a brush reserved for kitchenware, with intact soft bristles. It should fit the groove without being forced into it. Check for trapped food or a damaged hard edge before use. A tool that is too large for the channel does not become suitable when you press harder. Its job is to move loose residue, not reshape the rim.
Use the dish soap according to its label and the lid’s instructions. More foam is not a reliable measure of a better wash. There is no need to add vinegar, bleach, powders, or another cleaner to this routine. Keeping the method to soap and water also makes the rinse easier to follow and avoids an unnecessary collection of products beside the sink.
Start with the easy surfaces
Empty the container and remove loose food before washing. Keep scraps out of the groove rather than pushing them around the edge with the first wipe. Separate the lid from the container so that you can see both faces. Remove a permitted seal only with the maker’s described movement, not by digging under it with a pointed object.
Wash the broad plastic surfaces with the soft cloth or sponge and warm soapy water. Work around clips and other fixed pieces without bending them back farther than their normal travel. This first pass takes away the larger film of food and gives the smaller brush less material to move through the narrow channel.
Work through the grooves, then rinse and dry
- Check the care instructions. Confirm hand washing is allowed and identify any removable seal or component. Leave bonded or nonremovable parts in place. Set out the correct pieces for one lid together, with a clear space to dry them.
- Remove loose food and wash both faces. Use the soft cloth or nonabrasive sponge with the permitted warm soapy water. Wipe the inside and outside, including the accessible edge. Do not substitute boiling water for the recommended wash temperature.
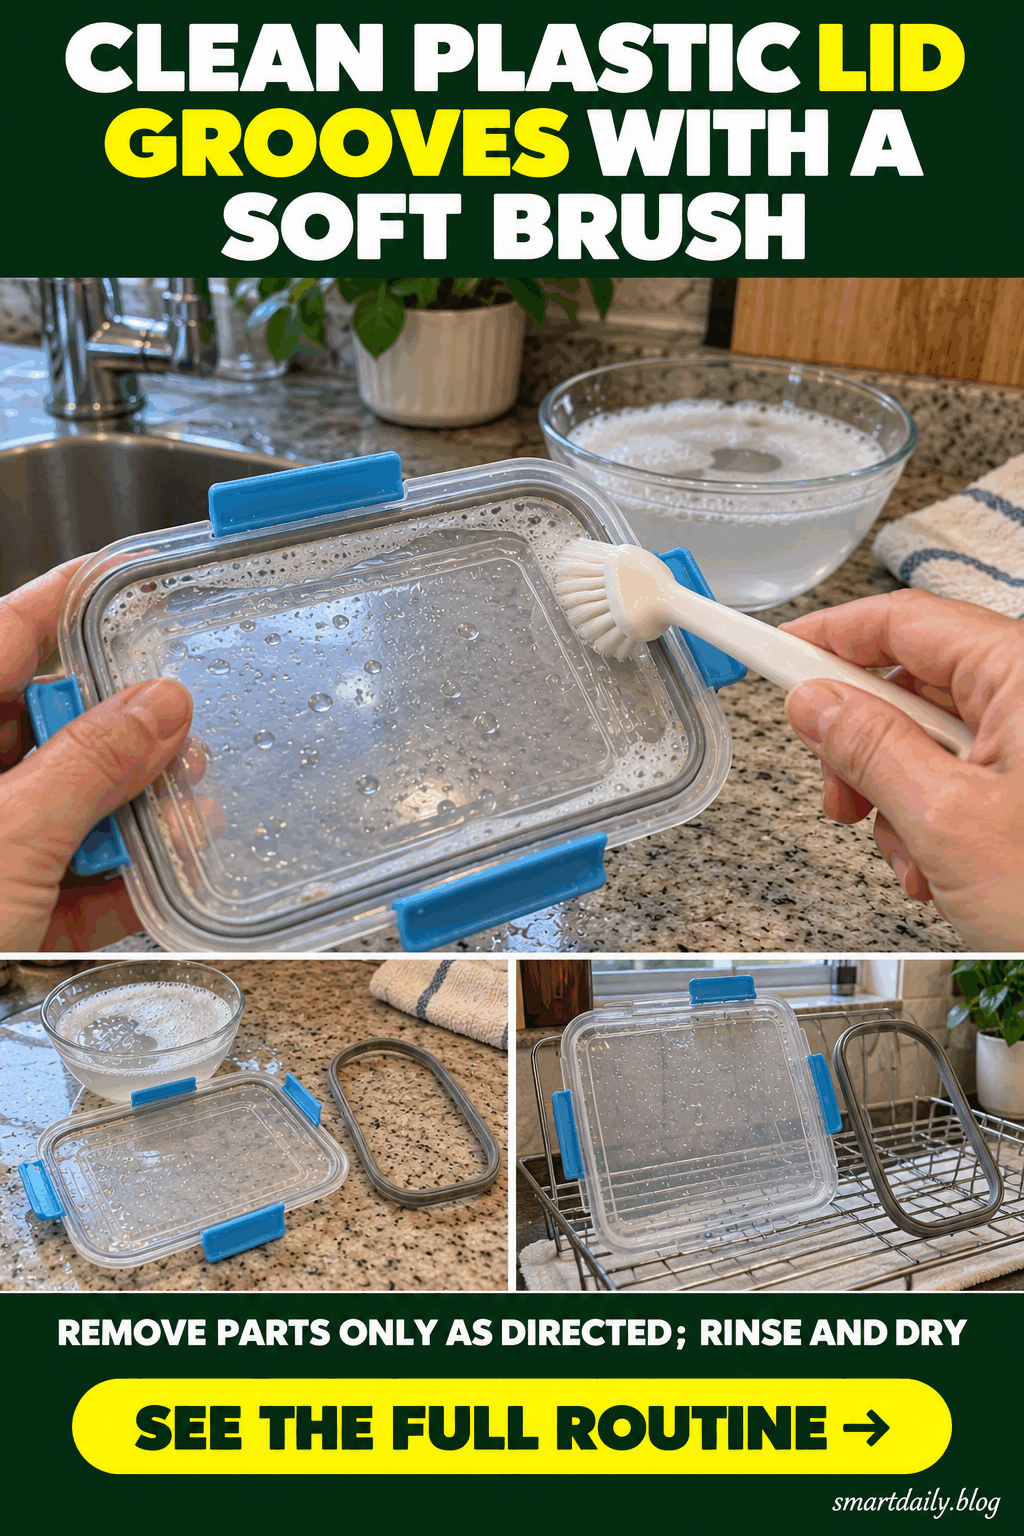
- Gently brush the reachable channel. Hold the lid steadily and guide the soft bristles along the groove. Use short controlled strokes with light pressure. Work around the rim in sections, lifting the brush to rinse it when it collects food or greasy residue.
- Clean a removable seal separately. If the instructions permit removal, wash the seal gently and check both sides. Do not stretch it to reach a stain or scrub it with a sharp edge. Leave fixed seals alone and clean only the parts you can safely reach.
- Rinse all washed surfaces. Follow the channels with clean water so that loosened food and soap are carried away. Turn the lid to see both faces and inspect the edge in ordinary light. If residue remains, repeat the same gentle wash rather than immediately changing to a harsher tool.
- Dry before putting parts back. Let the lid and permitted separate components dry fully on a clean rack or towel. Check the grooves where water can collect. Reassemble exactly as directed and confirm the seal sits correctly before returning the lid to use.
Why the brush needs to stay gentle
The edge of a lid helps it fit its matching container. Scraping or forcing a tool along that edge can damage a surface you need to remain intact. A soft brush gives you a way to reach the exposed channel with more control than a bulky sponge, but it does not justify probing behind fixed parts.
Pause if the bristles catch or the lid begins to flex strongly under your hand. Change your angle, rinse the tool, and look at the obstruction. A piece of food and a fixed part of the lid should not be treated the same way. If the channel cannot be reached without force, ask the maker about the appropriate cleaning method.
Judge grease, staining, and damage separately
A washed lid can retain a food stain even after removable residue is gone. That is different from a visible piece of food still sitting in the groove. Look closely after rinsing and drying rather than judging only through a layer of foam. The routine does not promise to bleach plastic or remove every smell from every material.
A cracked rim, a torn removable seal, or a distorted clip is also different from ordinary dirt. Cleaning cannot restore the original shape of a damaged piece. Follow the maker’s advice about replacement or continued use. Do not try to improve the appearance by trimming, sanding, or scraping a part that helps the lid fit.
Make the drying step easy to finish
Place separated pieces where air can reach them rather than stacking damp seals inside wet lids. A folded clean towel can provide a stable drying area, as long as water is not left trapped underneath. Turn the lid when needed to check the channel and underside. Visible dry broad surfaces do not prove a deep groove has finished drying.
Once dry, put the components back in the correct order and orientation. The container should close in its normal way without an unusual bulge or extra force. If something does not fit, reopen it and check the instructions. Do not press harder to compensate for a seal that may have been fitted upside down or moved out of its channel.
A practical routine after the next use
Washing reasonably soon after emptying the container keeps food from sitting unnoticed in the rim. That does not mean dismantling every lid after every snack if its maker does not recommend it. Use the appropriate regular wash and inspect accessible grooves as part of the job. A small repeatable routine is easier to finish than an occasional aggressive treatment.
Frequently asked questions
Should I pull every rubbery rim out of its lid?
No. Remove a seal only when the maker designed it to come out and explains how. Some rims are fixed or bonded, even when a separate-looking edge is visible. Clean accessible surfaces without prying. If you cannot identify the construction, use the care instructions or ask the maker rather than testing it with a sharp tool.
Can I use a stiff brush to make the job faster?
This routine uses soft bristles that fit the accessible groove without force. A stiff or oversized tool can scrape or distort a part of the lid. Use light controlled strokes and rinse the brush as it collects residue. If you cannot reach a channel gently, look for the maker’s recommended method instead of increasing pressure.
Does a remaining stain mean the lid is still greasy?
Not necessarily. A lasting color mark is different from removable food or a greasy film. Inspect the rinsed and dried surface and repeat a gentle wash if actual residue remains. Do not expect the method to make old plastic look new. Damage, persistent odor, and uncertain surface changes should be assessed using the product’s care guidance.
Why wait until the parts are fully dry before reassembly?
Water can remain in channels and beneath removable components even when the broad plastic surface looks dry. Let the pieces dry separately and inspect the edge before refitting them. Reassemble in the specified order and check the fit. Do not use extra pressure to hide a misplaced seal or a component that is not seated correctly.
Product-care references
Sistema describes warm soapy washing and removable seals for its compatible designs. OXO’s model-specific instructions show why disassembly and reassembly must follow the particular lid. These examples do not make every lid removable; use your own product’s directions.