This simple method transforms a plastic bucket into a stunning storage solution…
This Simple Method Transforms a Plastic Bucket into a Stunning Storage Solution
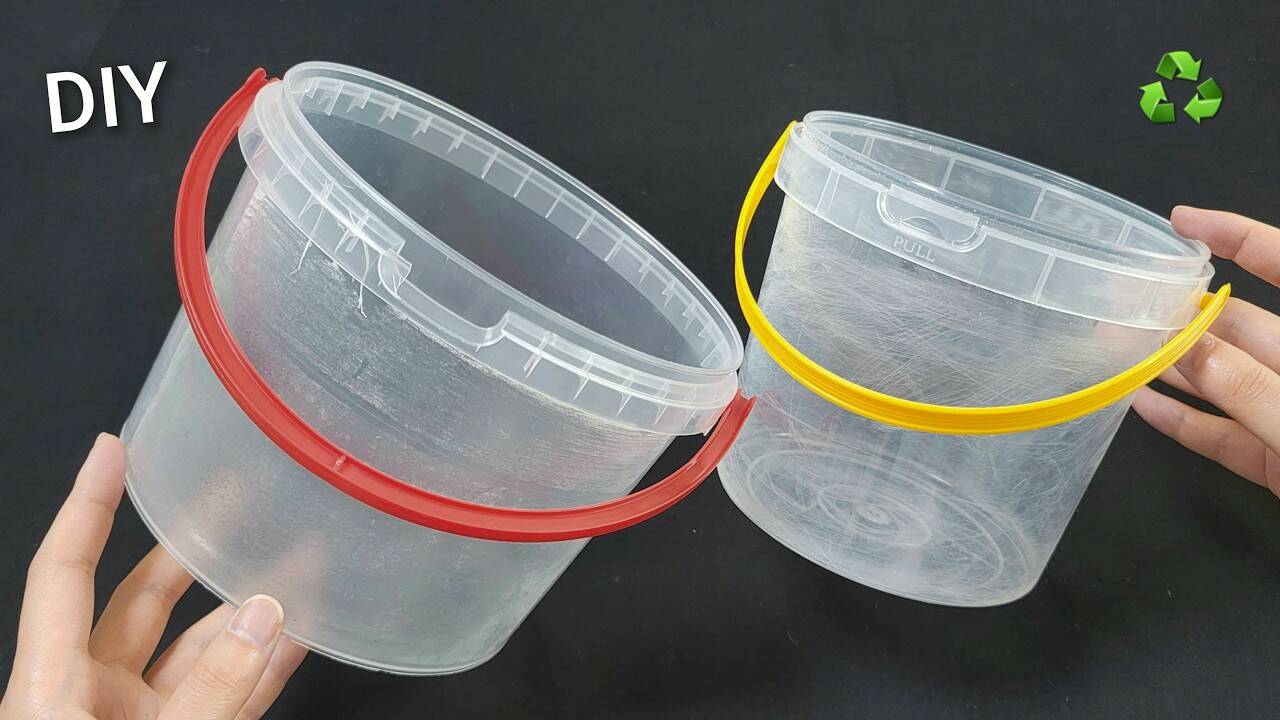
Are you ready to elevate your home organization game with a creative and eco-friendly DIY project? Transforming a simple plastic bucket into a stunning storage solution is easier than you think! With just a few materials, you can create a chic basket perfect for organizing clutter or adding a decorative touch to your space. Let’s dive into this fun and practical project!
What You’ll Need:
- Plastic basket
- Rope
- Fabric
- Napkin paper
- Bathroom mat
- Glue gun
Step-by-Step Instructions:
Step 1: Prepare Your Bucket
Start by cleaning your plastic bucket thoroughly to remove any labels or residue. This ensures that the paint or glue adheres properly. Choose a bucket that fits your storage needs—whether for toys, craft supplies, or blankets.
Step 2: Add Fabric for a Soft Touch
Cut the fabric into the desired size to cover the outer part of your bucket. Use your glue gun to attach the fabric securely around the bucket, making sure to smooth out any wrinkles. This will give your bucket a textured, stylish look.
Step 3: Create the Rope Detail
Take your rope and start wrapping it around the bucket’s rim. Attach it with glue for a secure hold. This not only adds a decorative element but also enhances the grip. Experiment with different colors or thicknesses of rope for a unique finish!
Step 4: Enhance with Napkin Paper
Using napkin paper, you can decoupage sections of your bucket for added flair. Choose patterns that complement your fabric. Apply a thin layer of glue on the bucket, place the napkin, and cover it with another layer of glue for durability.
Step 5: Add a Bathroom Mat Base
If you want to give your basket a more finished look, you can cut a piece of bathroom mat to fit the bottom. This provides a soft base that also helps prevent slips when placing your new basket on different surfaces.
Practical Tips Based on Experience:
- Always start with a clean surface; it makes all the difference.
- Don’t rush the drying time for glue—it ensures everything holds better.
- Test your color combinations before committing, especially with fabric and rope.
Common Mistakes to Avoid:
- Skipping cleaning—this leads to peeling and lifting of materials.
- Using too much glue, which can create a messy finish.
- Not allowing enough drying time, causing parts to come apart.
Conclusion: Get Creative and Transform Your Space!
With just a few materials, you can transform a simple **plastic bucket** into a stunning storage solution that not only serves a practical purpose but also adds a personal touch to your decor. So grab your supplies and get started today! Remember, the joy of DIY lies in the process and the beautiful results that follow. Join our community at Merry Life Happy for more DIY inspiration and projects. Let’s turn waste into wonderful creations together!
”