
Milk and Chocolate Dessert Cups: No Wheat Flour, Oven or Gelatin Needed
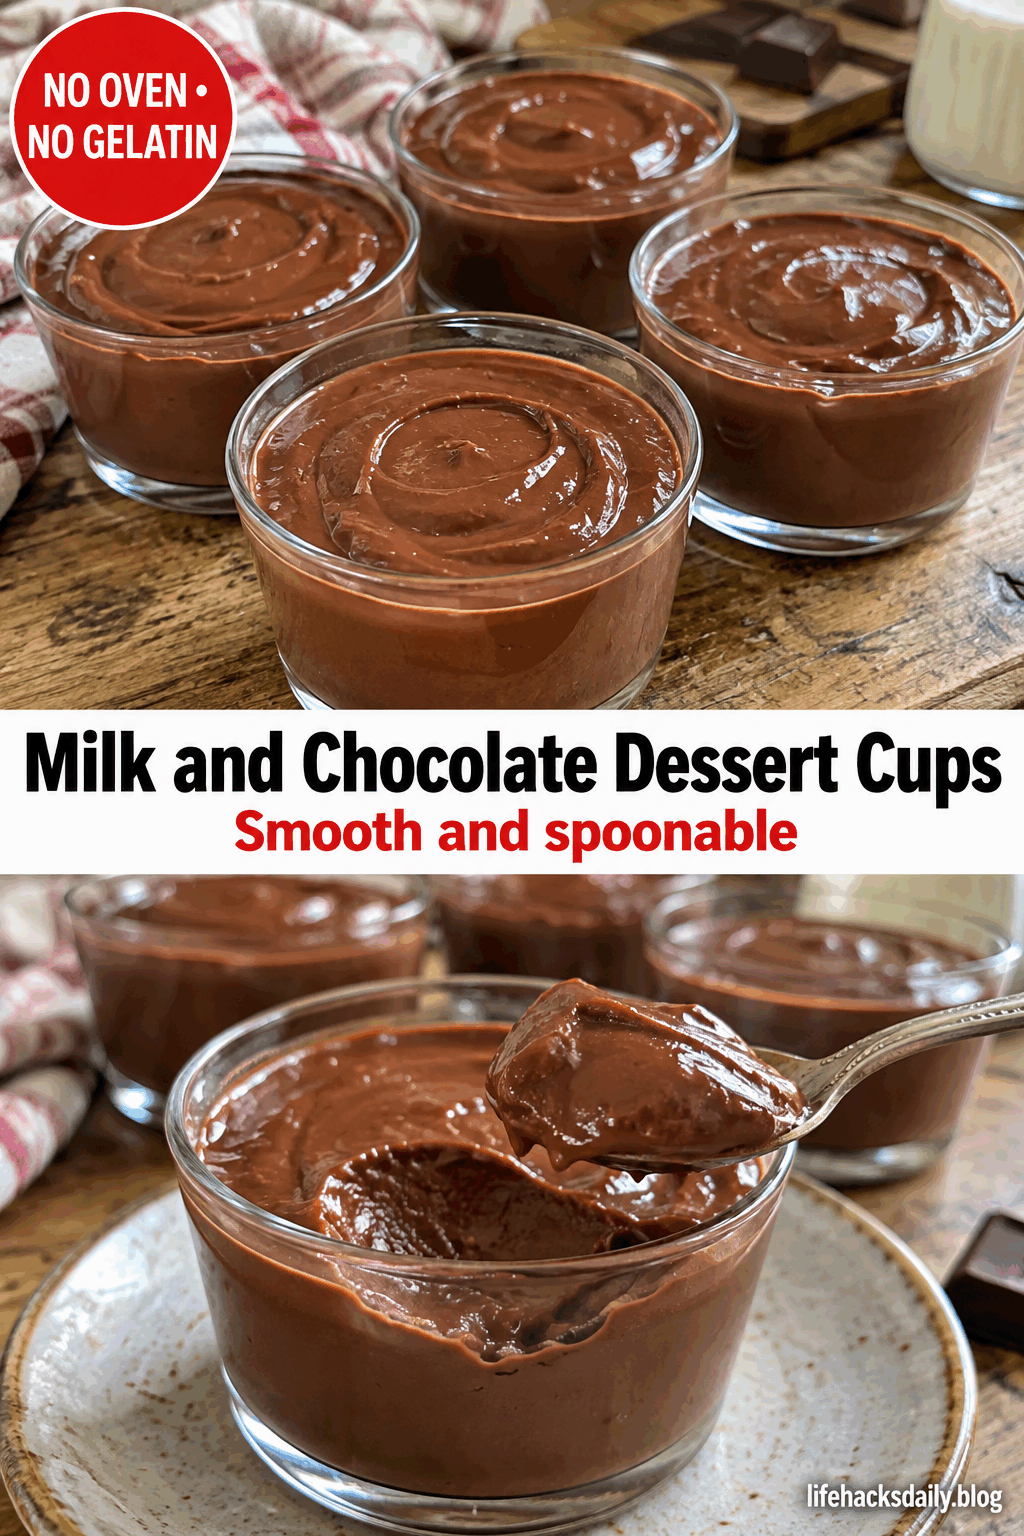
Milk and chocolate are the starting point for these smooth dessert cups. A little cornstarch thickens the mixture on the stove, so there is no wheat flour, oven baking or gelatin involved. The finished texture is softly set and spoonable, with a clean chocolate flavor and a gentle milky finish.
These are pudding-style cups rather than a firm sliced chocolate loaf. The mixture is cooked until properly thickened, portioned into glasses and chilled before serving. That waiting time matters: although the saucepan work is simple, the dessert needs several hours in the refrigerator to develop its final texture.
Time, portions and equipment
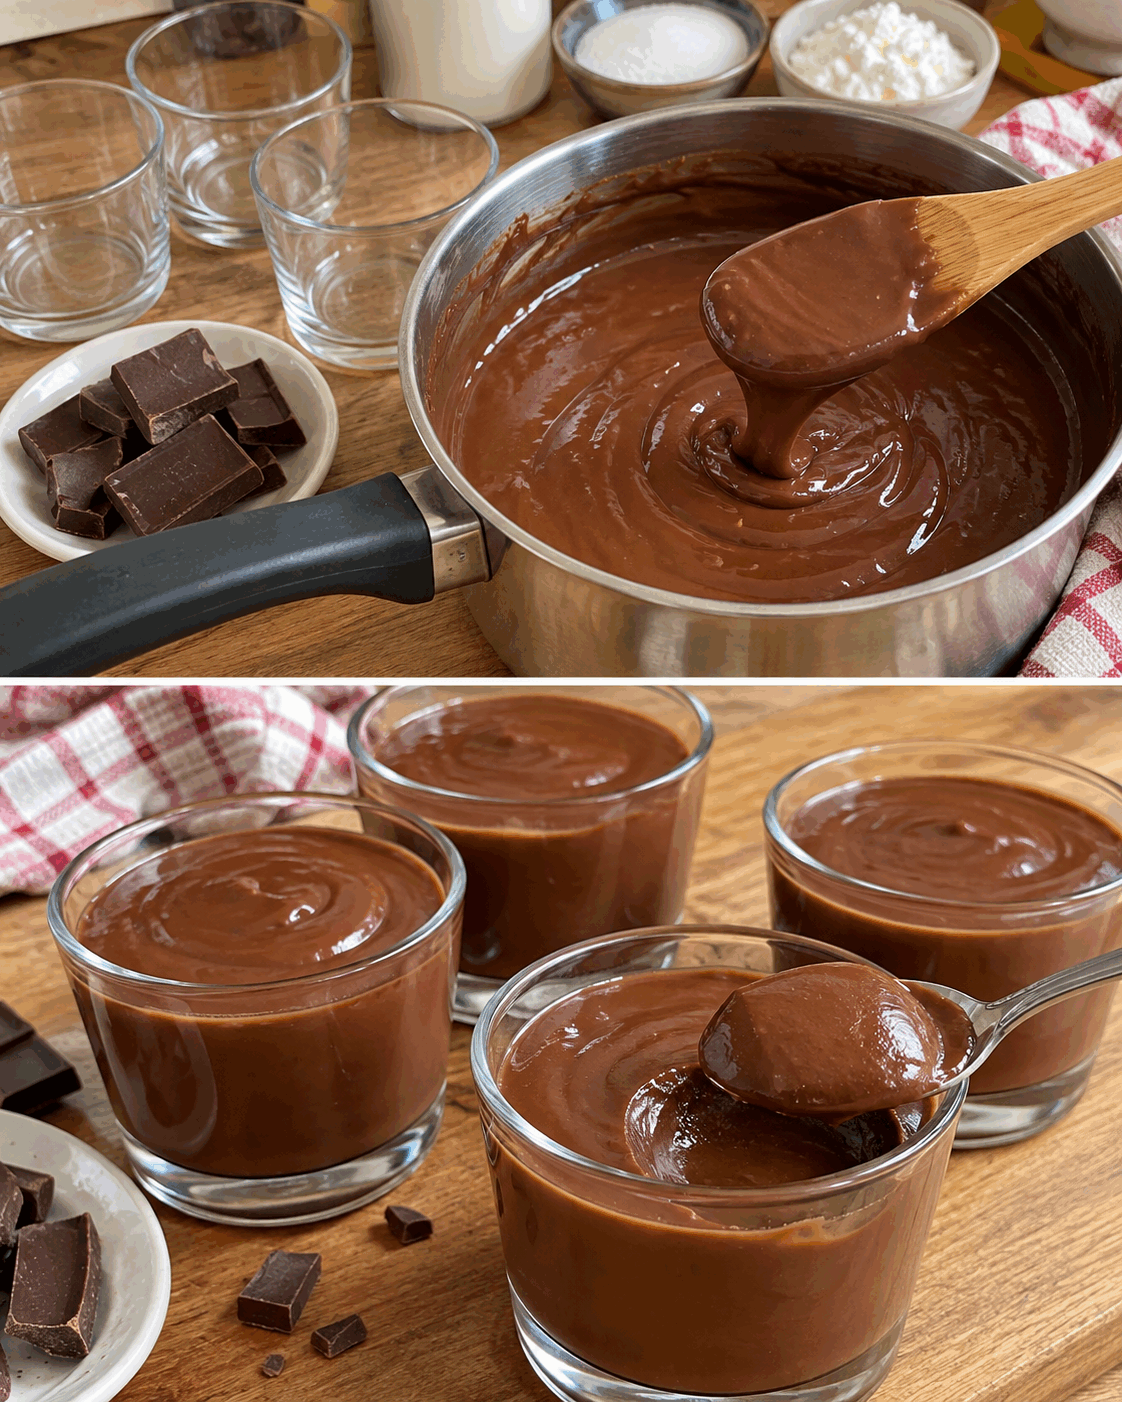
The recipe makes four servings in glasses or ramekins that hold about 180 milliliters each. Allow fifteen minutes for preparation and stovetop cooking, followed by cooling and at least three hours of chilling. Use a medium saucepan with a sturdy base, a whisk, a flexible spatula and a heatproof bowl for the chopped chocolate.
Choose serving glasses that can safely handle a warm mixture and leave some headroom at the top. Do not pour very hot pudding into delicate cold glass. You can let the saucepan stand briefly, stirring occasionally, before portioning. Keep the refrigerator space ready so the dessert can be chilled promptly once the initial steam settles.
Ingredients
- 500 ml whole milk, divided
- 120 g dark chocolate, finely chopped
- 35 g cornstarch
- 25 g granulated sugar
- 1/2 teaspoon vanilla extract
- A small pinch of salt
Dark chocolate gives a full flavor without needing cocoa powder as a separate ingredient. Choose a chocolate you enjoy eating, since it will define the dessert. The added sugar is intentional, so this recipe is not presented as having no added sugar. The cornstarch provides thickening without using ordinary wheat flour.
Step-by-step preparation
- Chop the chocolate into small, roughly even pieces and set aside. Measure all the ingredients before heating the pan. Small chocolate pieces melt into the hot base more easily than large squares, reducing the temptation to keep cooking after the pudding has already thickened enough.
- Pour about 100 milliliters of the cold milk into a bowl. Add the cornstarch and whisk until completely smooth. Check the bottom and corners for dry pockets. Starch disperses best in cold liquid; tipping it directly into hot milk can create lumps that are difficult to remove later.
- Put the remaining milk, sugar and salt in the saucepan. Warm over medium heat, stirring, until the sugar dissolves and the milk is steaming. It does not need a vigorous boil at this stage. Stir the starch mixture again just before using it, because the starch can settle while it waits.
- Pour the cold starch mixture into the warm milk in a thin stream, whisking constantly. Continue cooking over medium-low heat, scraping the base and corners. The mixture will gradually become thicker. Once gentle bubbles appear, cook for about one minute while stirring so the starch is properly heated through.
- Remove the pan from the heat and add the chopped chocolate and vanilla. Let the chocolate soften for a few seconds, then stir until the color is uniform and no pieces remain. Scrape the sides with the spatula. The base should be glossy and thick enough to coat a spoon, without becoming a stiff dough.
- Allow the strongest steam to subside briefly, then divide between the four cups. For a smooth surface without a skin, place food-safe wrap directly against the pudding once it is appropriate for the wrap material. Cool briefly and refrigerate for at least three hours, keeping the total unrefrigerated cooling period short.
Why the mixture thickens
Cornstarch absorbs liquid and thickens as it is heated. Chocolate adds body as it cools, but the two ingredients have different roles. Simply melting chocolate into cold milk would not reproduce this pudding. Proper heating of the starch base is what gives the mixture enough structure to remain creamy after chilling.
The cups will still yield easily to a spoon. Do not judge them against a dessert designed to be turned out and sliced into firm pieces. A loaf mold usually needs a different formulation or more thickener, which can make this particular cream heavy. Serving the recipe in cups avoids that mismatch.
Avoiding lumps and scorching
Keep the heat moderate and pay attention to the bottom of the pan. Milk mixtures can catch in a small area even when the top looks calm. A whisk helps during thickening, while the spatula reaches the corners. If you notice a scorched smell, do not scrape burnt material into the pudding.
If there are a few small lumps before adding the chocolate, you can pass the warm base through a fine sieve into a clean pan or bowl. Avoid using an immersion blender in a shallow hot saucepan, where splashes are more likely. Prevention with a smooth cold slurry is easier than repairing a badly lumpy mixture.
Serving and variations
Serve cold straight from the cups. The plain chocolate surface is enough, though a little finely grated chocolate can be added at serving time if you reserve it separately. Do not add a thick glaze or a whipped topping to the preparation photographs unless you also plan those ingredients in the recipe.
A slightly higher-cocoa chocolate will make the dessert less sweet and a little more intense. Milk chocolate changes both sweetness and texture, so it is not an identical replacement. For a first batch, use the stated dark chocolate and quantities before experimenting, and record any change so you can compare the result honestly.
Storage
Keep the dessert covered in the refrigerator and enjoy within three days. Use clean spoons and return unused cups to the fridge promptly. The recipe is intended for chilled serving, not for keeping on a counter throughout the afternoon. If a cup has been repeatedly warmed and cooled, do not treat it as untouched storage.
Frequently asked questions
Does no wheat flour mean there is no thickener?
No. This recipe uses cornstarch, which is different from wheat flour and is the main thickener. The title describes the absence of wheat flour, oven baking and gelatin, rather than claiming the dessert contains only milk and chocolate. Keeping the full ingredient list visible prevents a misleading two-ingredient expectation.
Can I unmold it and cut neat slices?
This version is designed to be spooned from cups. It has a soft set, so neat slices are not the expected result. A molded dessert requires a different balance of ingredients and should be tested as a separate recipe. Use the four cups here instead of adding extra starch halfway through without a clear target.
Why is my pudding still thin while hot?
Check that the starch slurry was mixed thoroughly and that the base reached gentle bubbling while being stirred. It needs enough heat to thicken. The pudding will gain more body as it cools, but refrigeration cannot fully compensate for a starch mixture that was never properly cooked in the saucepan.
Can I reduce the sugar?
You can reduce the added sugar a little if your chocolate is already sweet, although the flavor will change. This recipe still contains sweetened chocolate unless you choose otherwise, so it should not be relabeled as having no added sugar. For the most predictable first batch, use the quantities listed.
How do I stop a skin from forming?
A surface covering placed directly against the pudding helps, provided it is suitable for contact at the mixture’s temperature. Alternatively, accept the thin skin as part of a homemade pudding. Stirring the cups repeatedly while they chill is not necessary and can spoil the smooth surface you have just portioned.