

One small spoon of THIS for your ZZ plant: follow the next shoots
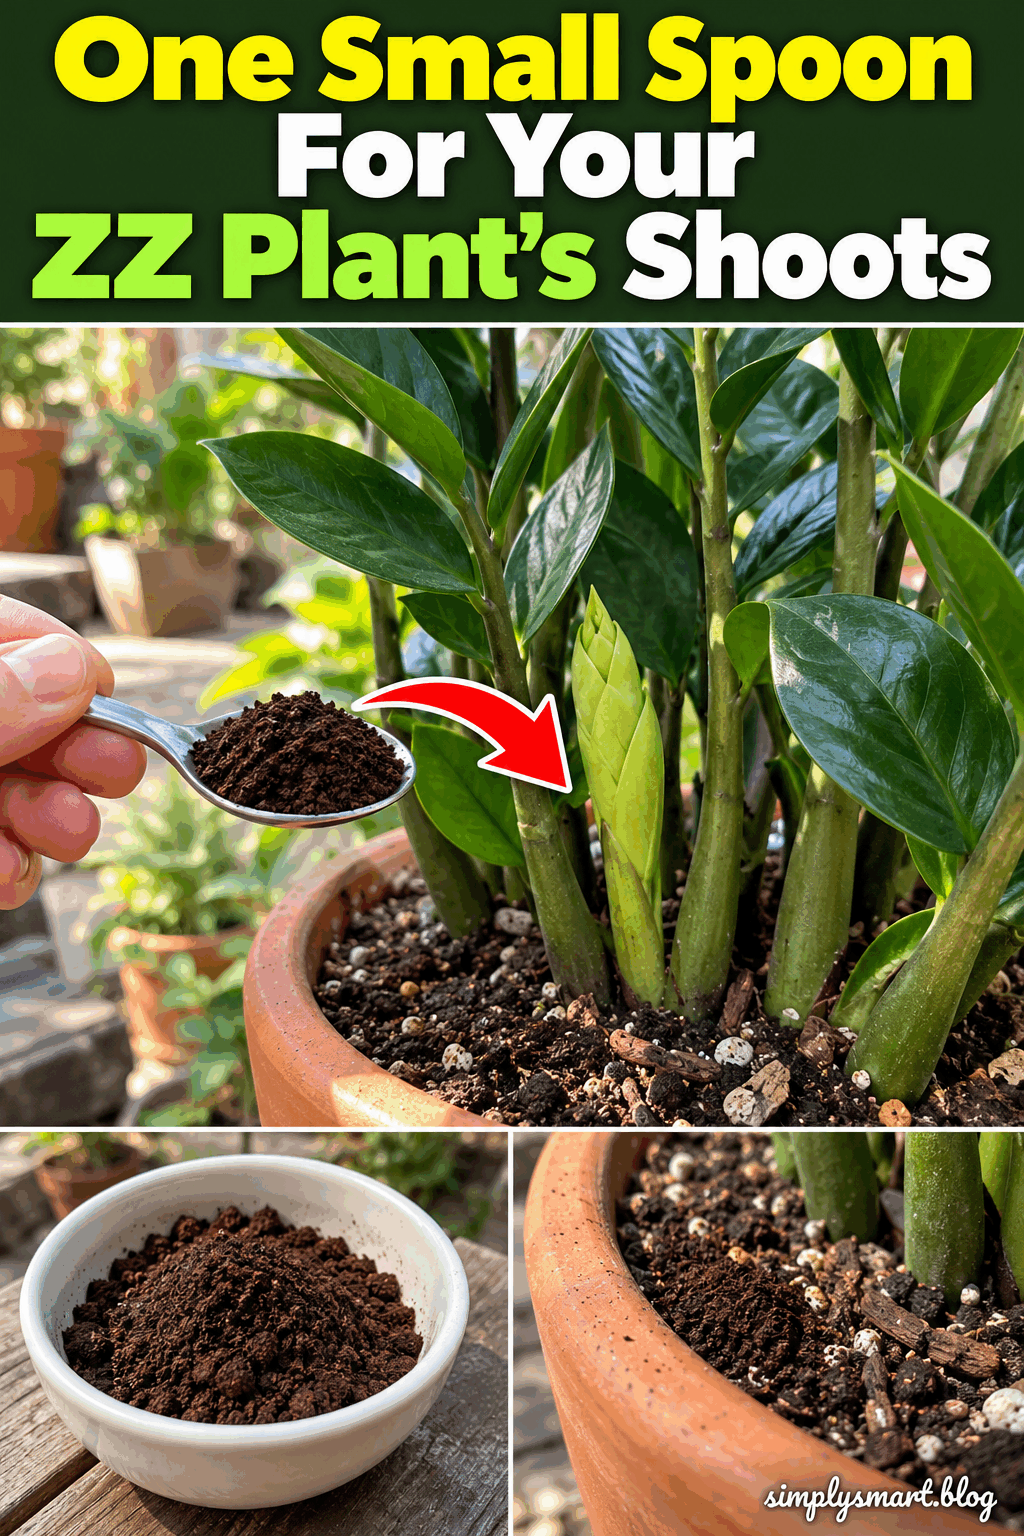
Used coffee grounds are the ingredient behind this small-spoon ZZ plant idea. A tiny amount is easy to show and measure, but the useful part of the routine is watching the next shoots while keeping the pot dry enough. Start with a healthy plant and a clear record, not a promise of instant growth.
A ZZ plant stores reserves below the surface and often grows in bursts. A pale spear can appear after a quiet period, then open into a row of glossy leaflets. Following that change is satisfying, provided you do not confuse the plant’s normal rhythm with a guaranteed response to one kitchen ingredient.
What to prepare
- Used coffee grounds from plain brewed coffee, without milk or sugar.
- A clean, level teaspoon and a small dry dish.
- A healthy ZZ plant with drainage holes.
- A paper label or a dated phone photograph.
- A small spoon for lifting surface material back out if necessary.
Use grounds whose origin you know. Empty a capsule or filter only if it contains plain coffee, and remove the packaging completely. A sweetened coffee drink, a flavoured powder or an unidentified café waste mixture is not the same ingredient. Keep coffee waste away from children and pets.
Set up a limited observation
1. Check the pot before the spoon
Look for a firm stem, a stable pot and a root ball that dries between waterings. Do not add grounds to wet soil, a pot without drainage or a plant with soft, yellowing stems. A kitchen addition cannot correct a container that keeps the underground rhizomes continuously damp.
2. Let the used grounds dry
Spread the fresh used grounds thinly in a clean dish and let them dry completely. Break up clumps before measuring. Discard anything that develops a stale smell or visible mould. Do not store a deep, damp pile in a sealed container and then spread it around an indoor plant.
3. Keep one small spoon genuinely small
If you choose to conduct a trial on a healthy plant in a pot at least twenty centimetres across, limit the amount to one level teaspoon, about five millilitres. That is an experimental ceiling for this routine, not a proven ZZ feeding dose. Do not use a heaped tablespoon.
Place the dry grounds in one very thin, loose patch at the outside edge of the surface, leaving the stem bases clear. Do not form a dark ring or press them into a mat. Keeping the patch visible makes it easier to see whether it stays loose or begins to crust.
4. Water according to the plant
Do not water immediately just because you have added grounds. Wait until the root ball reaches its usual watering point, then water and drain normally. Extra moisture is a poor trade for a small experiment with a drought-tolerant plant. Empty standing water from the decorative cover afterwards.
5. Monitor rather than top up
Mark the date and take a photograph of the same side of the pot each week. Check the surface patch after two days and again at the next watering. Remove it if it crusts, smells musty or encourages persistent surface growth. Do not add another spoon to chase a faster result.
What coffee grounds can and cannot tell you
Grounds contain organic material, but their composition varies and residual compounds can inhibit growth in some plants. There is no established small-spoon treatment shown here to make ZZ plants produce shoots. Keep the trial optional, and judge any new growth alongside the plant’s ordinary light, temperature and watering conditions.
The small visible patch is an observation area, not a replacement for the potting medium and not an invitation to bury kitchen waste. If the surface changes unfavourably, you can lift out the loose material. Avoid disturbing deeper roots just to recover a few particles that have already mixed in.
Help the next shoot develop normally
Give the plant bright, indirect light where possible. A ZZ tolerates a dim corner, but tolerance is not the same as rapid growth. If you improve its position, do so gradually and record the change. Strong direct afternoon sun can mark foliage that has been accustomed to lower light.
Protect a tender new spear from knocks while cleaning or moving the pot. Do not try to open the folded leaflets by hand. Their natural unfolding is a useful sign to photograph, and the new growth often changes colour as it matures. Compare the same shoot over several weeks.
Mistakes to avoid
More grounds do not create a more reliable outcome. A thick layer can interfere with how the surface wets and dries, and indoor pots offer little room for mistakes. Avoid mixing coffee with yeast, lemon, sugar or another homemade preparation during the same observation period.
Do not schedule the trial by the calendar alone. A plant in a cool, dark room may remain quiet for a long time, while a warmer plant under good light may already be preparing a shoot. Wait for active growth rather than repeatedly treating a resting plant.
Keep the observation practical
Use the same level teaspoon in your photograph and your notes, so the amount remains recognisable. A small spoon from a cutlery drawer can vary considerably in size. Measuring the volume once is more useful than describing an unmeasured heap as a tiny amount every time you check the pot.
Keep the grounds patch away from a watering channel or a deep crack at the edge of the root ball. You want to see the surface material, not wash a concentrated clump into one hidden place. If the patch moves, note that change rather than adding more to replace it.
Questions people ask
Can I pour leftover coffee into the pot instead?
This routine concerns a measured quantity of used grounds, not a cup of brewed coffee. Drinks can contain sugar, milk or flavourings, and pouring them in also changes the watering volume. Do not substitute a mug of leftovers for the small, visible patch described here.
Will coffee make the soil more acidic?
Do not assume that used grounds provide a predictable pH adjustment. Their effect depends on the material and the existing medium. If pH is genuinely a concern, use an appropriate test rather than treating colour or smell as evidence. A ZZ plant does not need routine kitchen acidification.
How soon should a new shoot appear?
There is no promised deadline. ZZ plants commonly make growth in spurts and may pause for an extended period, especially under lower light. Watch for a firm emerging spear and normal unfolding, but do not attribute that development to coffee merely because the dates happen to follow one another.
Can I use this on a small cutting?
Keep this trial away from newly rooted cuttings and very small pots. Young root systems have less margin for changes in moisture or surface conditions. Let the plant establish itself under a simple routine first, without extra food residues around the base of the cutting.
What if nothing changes?
Do not increase the spoonful or repeat the application automatically. Remove loose residue if it is no longer useful to the observation and review the plant’s basic conditions. A quiet plant can still be healthy; the next sensible step may simply be more time under consistent care.
Make the next shoot the focus
A small spoon is easy to measure, but a healthy root ball and a clear record matter more. Keep the trial modest and follow the next shoot without forcing the plant’s pace.
Further reading: Washington State University on coffee grounds and Iowa State University ZZ plant care.