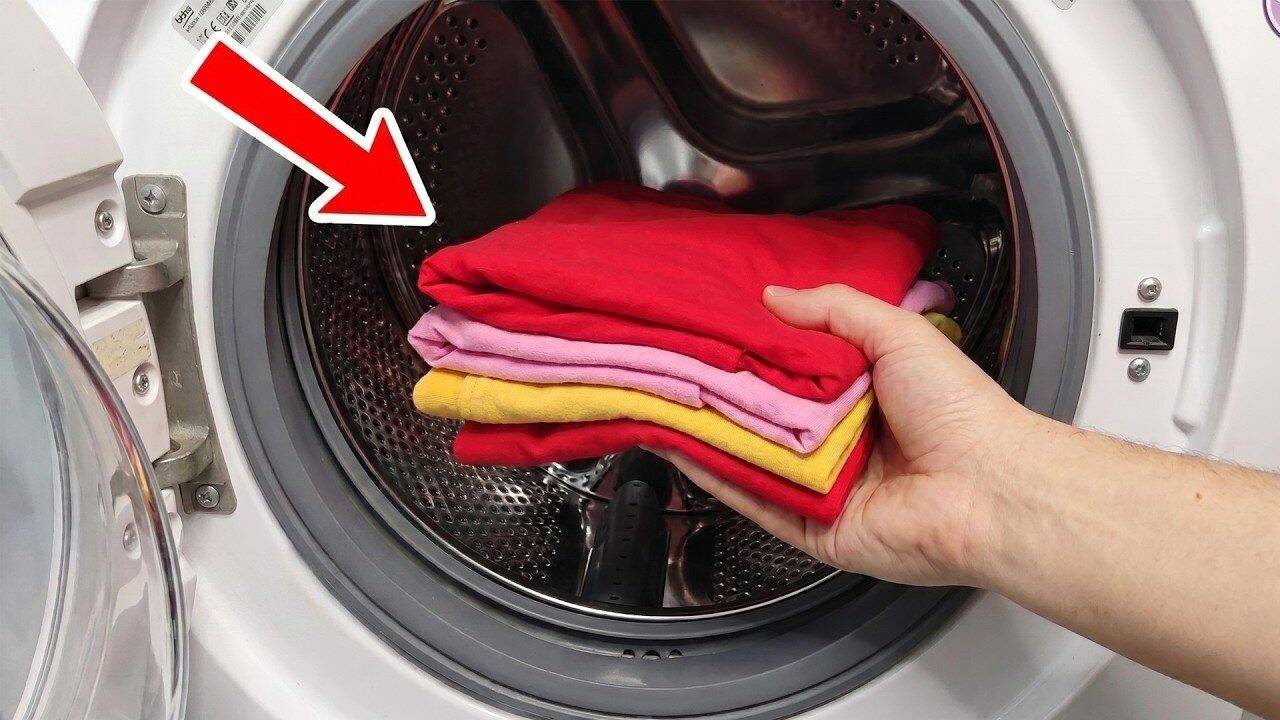
DO THIS! All the Dirt Will Come Out of Your Washing Machine, and Your Clothes Will Smell Fresh Again.
Do This and All the Dirt Will Come Out of Your Washing Machine — Your Clothes Will Smell Fresh Again
If your washing machine smells unpleasant, the problem is usually hidden inside the appliance.
Detergent residue, fabric softener, body oils, dirt, hair, lint, bacteria, and mold can gradually accumulate in the drum, rubber seal, detergent drawer, filter, and drainage system. As a result, freshly washed clothes may smell musty or damp even though they appear clean.
A thorough cleaning can help remove these deposits, reduce odors, and improve the performance of your machine.
Why Does a Washing Machine Smell Bad?
The most common causes include:
- Frequent washing at low temperatures
- Using too much detergent
- Excessive fabric softener
- Leaving wet laundry inside the drum
- Closing the door immediately after washing
- Water trapped inside the rubber seal
- A dirty detergent drawer
- A clogged drain filter
- Mold or mildew
- Hard-water deposits
- Poor drainage
Washing mainly at 30°C or 40°C can allow residue to build up over time, especially when too much detergent is used.
Low-temperature cycles are useful for many fabrics, but they may not remove greasy deposits from the machine itself.
Before You Begin
Check the appliance manual before cleaning.
Different washing-machine models have different instructions for:
- Removing the filter
- Cleaning the detergent drawer
- Running a drum-clean cycle
- Choosing safe cleaning products
- Using high-temperature programs
- Descaling the appliance
Unplug the machine before manually cleaning the filter or reaching into any compartment.
Never mix different cleaning chemicals.
Step 1: Clean the Drain Filter
The drain filter is one of the most common sources of unpleasant odors.
It may collect:
- Hair
- Lint
- Pet fur
- Threads
- Buttons
- Coins
- Tissues
- Small clothing items
- Standing water
How to Clean It
- Switch off and unplug the machine.
- Locate the filter compartment, usually near the bottom front panel.
- Place towels and a shallow container underneath it.
- Open the emergency drain hose first, if your machine has one.
- Slowly loosen the filter to release any remaining water.
- Remove trapped debris.
- Wash the filter with warm water and mild dish soap.
- Scrub narrow areas with an old toothbrush.
- Wipe the filter compartment with a damp microfiber cloth.
- Reinstall the filter securely.
Do not use force when opening it. If the filter is difficult to remove, consult the appliance manual.
Cleaning it every one to three months can help prevent drainage problems and odors.
Step 2: Clean the Detergent Drawer
Detergent and fabric softener can form a sticky film inside the drawer.
Hard water may also leave rough, chalky mineral deposits.
Instructions
- Remove the drawer according to the manufacturer’s directions.
- Separate any removable inserts.
- Soak the parts in warm, soapy water.
- Scrub the compartments with a toothbrush.
- Rinse thoroughly.
- Dry before reinstalling.
For light mineral deposits, a diluted vinegar or citric-acid solution may help, provided the manufacturer permits acidic cleaners.
Do not combine vinegar, citric acid, bleach, or mold remover.
Cleaning Heavy Limescale from the Drawer
For an acid-safe removable plastic drawer, you may prepare a mild citric-acid solution.
You Will Need
- 200 ml warm water
- 1 tablespoon citric acid
- A small amount of dish soap
Method
- Dissolve the citric acid in the water.
- Add a few drops of dish soap.
- Apply the solution to the affected areas.
- Leave it for 10–20 minutes.
- Scrub gently with a toothbrush.
- Rinse very thoroughly.
Test a small area first and avoid prolonged contact with metal components.
Clean the Drawer Compartment
The space behind the detergent drawer can also contain detergent residue, limescale, and mold.
Use a damp cloth or small brush to clean accessible areas.
Do not pour large amounts of liquid directly into the compartment or spray electrical components.
If black mold is present, use only a product approved for washing machines and follow its label carefully.
Step 3: Clean the Rubber Door Seal
The folds of a front-loading washer’s rubber gasket often trap:
- Water
- Hair
- Lint
- Coins
- Tissues
- Detergent
- Mold
Gently pull back the folds and inspect the entire seal.
For Routine Cleaning
- Wipe the seal with warm, soapy water.
- Use a soft toothbrush for narrow areas.
- Clear any drainage holes with a cotton swab or soft brush.
- Wipe again with clean water.
- Dry the seal completely.
Do not pull, remove, or detach the gasket unless the manufacturer specifically instructs you to do so.
What About Black Mold on the Seal?
Small surface spots may improve with a washing-machine-safe mold cleaner.
Some people use 3% hydrogen peroxide, but it should first be tested on a hidden area because repeated use may affect certain rubber materials.
Never mix hydrogen peroxide with vinegar, bleach, ammonia, or other cleaners.
If mold is deeply embedded or the seal remains stained and smells bad after cleaning, the gasket may need professional replacement.
Step 4: Clean the Door Glass
Detergent, hard-water marks, and greasy residue can collect on both sides of the door glass.
Wipe it with:
- Warm soapy water for general grime
- A manufacturer-approved appliance cleaner
- A mild diluted vinegar solution for mineral spots, if permitted
Apply the cleaner to a cloth rather than spraying it into hinges, locks, or electrical areas.
Finish by wiping with clean water and drying the glass.
Step 5: Run a Drum-Cleaning Cycle
Once the filter, drawer, gasket, and door are clean, run an empty maintenance cycle.
If your washer has a dedicated Drum Clean, Tub Clean, or Self-Clean program, use it according to the manual.
These programs usually use hot water and special drum movements to remove internal residue.
Do not add laundry during this cycle.
Using an Oxygen-Based Washing-Machine Cleaner
If your machine does not have a self-cleaning program, use a commercial washing-machine cleaner or oxygen-based product specifically approved for appliances.
Follow the product directions exactly.
Some oxygen-based cleaners contain sodium percarbonate, which releases oxygen in water and can help break down organic residue.
Do not guess the dosage, and do not combine the cleaner with acids, bleach, vinegar, or detergent.
Using Citric Acid for Limescale
Citric acid may help remove mineral buildup in hard-water areas, but it should only be used if the appliance manufacturer allows it.
A common maintenance approach is to place a measured amount in the empty drum and run a warm cycle, but the correct quantity varies by machine.
Excessive acid use can damage:
- Rubber seals
- Metal components
- Hoses
- Protective coatings
For that reason, follow the manual or use a branded descaler designed for washing machines.
Should You Run a 90°C Cycle?
An occasional hot maintenance cycle can help reduce greasy residue and bacteria in machines that normally run at low temperatures.
However, not every appliance should be operated at 90°C with a cleaning product.
Use the hottest maintenance setting recommended by the manufacturer.
A 60°C cycle may be sufficient for some machines, while others have a dedicated cleaning program.
Why Too Much Detergent Causes Odors
Adding extra detergent does not necessarily make clothes cleaner.
When too much is used, it may not rinse away completely. The residue can coat:
- The drum
- The detergent drawer
- Hoses
- The rubber seal
- Clothing fibers
This sticky film traps dirt and provides a place for bacteria and mold to grow.
Use the dosage recommended for:
- The size of the load
- The water hardness
- The detergent concentration
- The level of soiling
Concentrated detergents often require much less product than people expect.
Be Careful with Fabric Softener
Fabric softener can leave a waxy coating in the drawer, hoses, and drum.
If odors keep returning, reduce the amount or stop using it temporarily.
Never pour fabric softener directly onto clothing unless the product instructions specifically permit it.
Prevent Musty-Smelling Laundry
After each wash:
- Remove the laundry promptly.
- Wipe standing water from the gasket.
- Check the seal for trapped objects.
- Leave the door slightly open.
- Leave the detergent drawer partly open.
- Allow the drum and drawer to dry.
- Remove detergent residue when you notice it.
Do not leave the door fully open where children or pets could climb inside.
How Often Should You Clean the Machine?
A practical schedule is:
- Rubber seal: wipe after each wash
- Detergent drawer: every two to four weeks
- Drain filter: every one to three months
- Drum-clean cycle: approximately once a month
- Full inspection: every three months
- Descaling: according to water hardness and manufacturer guidance
Households that wash frequently, own pets, or use mainly low-temperature cycles may need more frequent maintenance.
Never Mix Cleaning Products
Do not combine:
- Chlorine bleach and vinegar
- Bleach and citric acid
- Bleach and ammonia
- Hydrogen peroxide and vinegar
- Drain cleaner and any other product
- Commercial washing-machine cleaners with homemade mixtures
These combinations may release dangerous gases, damage the machine, or create harmful chemical reactions.
Use one product at a time and rinse thoroughly before using anything else.
When Cleaning Does Not Remove the Smell
Persistent odors may be caused by:
- A blocked drain hose
- Stagnant water
- A plumbing problem
- A damaged door seal
- Hidden mold
- A clogged pump
- Incorrect hose installation
- Sewer gases entering through the drain
- A mechanical fault
Contact a qualified appliance technician or plumber if:
- Water remains in the drum.
- The machine drains slowly.
- The filter repeatedly fills with debris.
- A sewage smell returns quickly.
- The appliance leaks.
- The pump makes unusual noises.
- Mold cannot be removed.
- The washer displays an error code.
Final Thoughts
A fresh-smelling washing machine requires more than cleaning the drum alone.
The drain filter, detergent drawer, rubber seal, glass door, and hidden compartments all need regular attention. Using the right amount of detergent, removing wet laundry promptly, and allowing the machine to dry after every cycle can prevent most odors.
Run a manufacturer-approved maintenance cycle regularly, avoid mixing chemicals, and use descaling products only when they are safe for your appliance.
A clean washing machine does more than smell better—it helps your clothes come out cleaner, fresher, and free from musty residue.