I Poured This Down the Sink… and It Sparkled Like a Mirror!
A kitchen sink is one of the hardest-working areas in any home. Over time, grease, soap residue, food particles, and limescale can leave it looking dull while also slowing the drain. Fortunately, a few inexpensive household ingredients can help freshen the drain and restore the sink’s shine without relying on harsh chemicals.
Here’s a simple two-step cleaning routine that combines a natural drain treatment with a gentle cleaning paste for the sink and faucet.
Step 1 – Freshen the Drain
Before cleaning the sink itself, start by refreshing the drain.
You’ll Need
- Boiling water
- 130 g (about 1 cup) baking soda
- 230 ml (about 1 cup) white vinegar
Instructions
- Remove the sink strainer or drain cover.
- Carefully pour a kettle of boiling water down the drain.
- Add the baking soda directly into the drain.
- Allow it to sit for 5–10 minutes.
- Pour in the white vinegar and let the fizzing reaction work for several minutes.
- Finish by flushing the drain with another kettle of boiling water.
The bubbling action helps loosen residue while the final rinse washes it away, leaving the drain flowing more freely.
Step 2 – Make a Simple Cleaning Paste
Now it’s time to clean the visible surfaces.
Ingredients
- Baking soda
- Liquid dish detergent
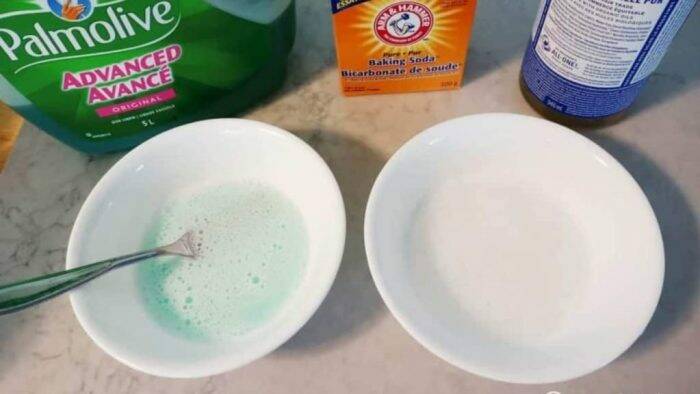
Mix the two ingredients together until you obtain a thick, spreadable paste.
You don’t need an expensive detergent—an ordinary dish soap works perfectly well.
Step 3 – Apply the Paste
Using either:
- A small paintbrush
- A cleaning brush
- Or a sponge
Spread the paste over:
- The entire sink
- Around the drain
- The faucet
- Handles and fixtures
Cover every surface evenly.
If you make more paste than you need, you can store the extra in a sealed container for your next cleaning session.
Step 4 – Let It Work
Leave the paste on the surfaces for 15 to 20 minutes.
This gives the cleaning agents time to loosen grease, soap scum, and everyday grime before scrubbing.
Step 5 – Scrub Gently
Using a soft sponge:
- Scrub the sink thoroughly.
- Pay extra attention to stained areas.
- Work around the faucet and drain.
Most dirt should come away with very little effort.
Step 6 – Clean the Hard-to-Reach Areas
Small crevices around the faucet and drain often collect hidden dirt.
Cotton swabs are perfect for cleaning:
- Around the faucet base
- Tight corners
- Small grooves
- Areas a sponge cannot reach
This extra step can make a surprising difference in the final appearance.
Step 7 – Rinse and Dry
Rinse the sink thoroughly with clean water.
Finally, wipe everything dry using a clean microfiber cloth.
Drying the sink helps prevent water spots and leaves stainless steel surfaces looking brighter and shinier.
Tips for Keeping Your Sink Looking New
- Rinse the sink after washing dishes.
- Wipe it dry each evening to reduce water spots.
- Clean the drain regularly to help prevent buildup.
- Avoid abrasive steel wool that may scratch stainless steel.
- Clean around the faucet weekly, where grime often accumulates unnoticed.
Final Thoughts
Keeping a kitchen sink clean doesn’t have to involve expensive specialty products. With a simple combination of baking soda, vinegar, hot water, and dish soap, you can refresh the drain, remove everyday grime, and restore the shine of your sink and faucet. Making this quick routine part of your regular cleaning schedule helps keep your sink looking fresh, bright, and well-maintained with minimal effort.