
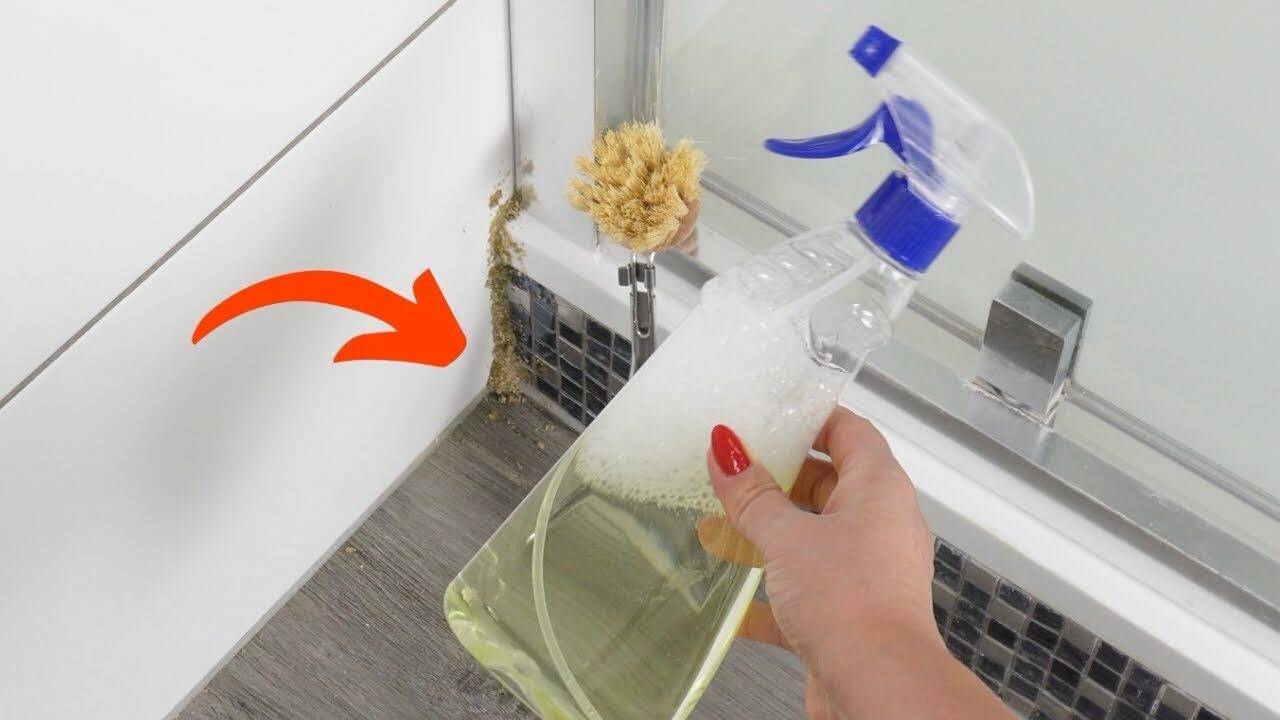
How to Remove Mold from Shower Grout in Just a Few Steps
How to Remove Mold from Shower Grout in Just a Few Steps
Mold in shower grout is a common bathroom problem. The combination of warmth, moisture, soap residue, and poor ventilation creates an ideal environment for dark stains to develop between tiles.
At first, the marks may look like ordinary dirt. Over time, however, they can spread across the grout, return soon after cleaning, and make the entire shower look neglected.
A simple mixture of white vinegar and dishwashing liquid may help loosen light surface mold, soap scum, and mineral residue. However, it is important to use the solution correctly and understand that deeply embedded mold may require a stronger product or professional treatment.
Why Mold Grows in Shower Grout
Grout is naturally porous, which means it can absorb water and remain damp long after the shower has been used.
Mold growth becomes more likely when:
- The bathroom has poor ventilation
- Shower walls are not dried after use
- Grout remains wet for long periods
- Soap residue builds up
- There are leaks around the shower
- Old sealant has cracked or separated
- Towels or bath mats remain damp
Cleaning the visible stains is helpful, but controlling moisture is the most important step in preventing mold from returning.
What You Will Need
Prepare the following items:
- 1 cup of white vinegar
- 2 teaspoons of dishwashing liquid
- A clean spray bottle
- A funnel
- A soft grout brush or old toothbrush
- A microfiber cloth
- Clean water
- Rubber gloves
Do not use vinegar on marble, limestone, travertine, or other acid-sensitive natural stone. Choose a cleaner approved for those surfaces instead.
How to Prepare the Cleaning Solution
Place a funnel into the spray bottle.
Add the dishwashing liquid, followed by the white vinegar. Close the bottle and gently turn it several times to combine the ingredients.
Avoid shaking too vigorously, as the dish soap may create excessive foam.
Dishwashing liquid helps loosen greasy soap residue, while vinegar can break down some mineral deposits and surface grime.
Step 1: Ventilate the Bathroom
Open a window or turn on the exhaust fan before you begin.
Good airflow makes cleaning more comfortable and helps the shower dry more quickly afterward.
Wear gloves and keep children and pets away from the area until cleaning is complete.
Step 2: Test a Small Area
Spray a small, hidden section of grout and allow the mixture to sit briefly.
Check that it does not discolor the grout, damage the tile finish, or affect nearby sealant.
If no damage appears, continue with the rest of the shower.
Step 3: Spray the Moldy Grout
Apply the solution directly to the affected grout lines, tiled walls, and shower surfaces.
Make sure the stained areas are evenly damp, but avoid saturating electrical fittings, metal finishes, or damaged sealant.
Allow the solution to remain on the surface for approximately 10 to 15 minutes.
This gives it time to soften soap scum and loosen surface staining.
Step 4: Scrub Gently
Use a soft grout brush or an old toothbrush to clean the affected areas.
Work in small circular motions and concentrate on corners, joints, and textured grout where residue collects.
Avoid using metal brushes or highly abrasive tools, as they may scratch tiles and gradually wear away the grout.
Step 5: Rinse Thoroughly
Rinse the shower walls and grout with clean water.
Make sure all traces of vinegar and detergent are removed. Remaining soap can leave a sticky film that attracts new dirt.
Wipe the area with a clean microfiber cloth.
Step 6: Dry the Shower Completely
Dry the tiles, grout lines, corners, and shower door.
Moisture left on the surface encourages mold to return, so drying is just as important as cleaning.
Leave the door or shower screen open and continue running the ventilation fan until the room is dry.
Will Vinegar Kill All Shower Mold?
Vinegar may help with light surface growth and discoloration, but it does not guarantee complete removal of mold growing deep inside porous grout, walls, or damaged sealant.
Dark stains may also remain even after the active growth has been cleaned.
For stubborn or recurring mold, use a bathroom mold remover approved for your type of tile and grout. Always follow the label instructions carefully.
Do not mix vinegar with bleach, chlorine-based products, hydrogen peroxide, ammonia, toilet cleaner, or other household chemicals.
When the Grout or Sealant Should Be Replaced
Cleaning may not be enough when mold has penetrated deeply into cracked grout or silicone sealant.
Replacement may be necessary when:
- Black stains remain after repeated cleaning
- The silicone is peeling or cracked
- Grout is crumbling
- Water is entering gaps around the shower
- Mold returns within a few days
- The area feels soft or damaged
- There is a persistent musty smell
Old silicone can often be removed and replaced with a mildew-resistant bathroom sealant.
If the wall behind the tiles appears damp, damaged, or swollen, contact a qualified professional.
How to Prevent Mold from Returning
A few daily habits can greatly reduce moisture and slow mold growth.
Run the Exhaust Fan
Turn on the bathroom fan before showering and leave it running for at least 20 to 30 minutes afterward.
Use a Squeegee
Remove water from shower walls and glass after each use.
This simple habit prevents water from sitting on grout lines for hours.
Leave the Shower Open
Keep the shower door or curtain open after use so air can circulate.
Spread the curtain fully rather than leaving it folded while damp.
Wash Shower Curtains and Mats
Clean washable curtains, liners, towels, and bath mats regularly.
Allow them to dry completely between uses.
Repair Leaks
Fix dripping showerheads, taps, damaged grout, and cracked silicone as soon as possible.
A small leak can keep hidden areas permanently damp.
Clean Regularly
A quick weekly wipe helps prevent soap scum and body oils from creating a surface where mold can grow.
Important Safety Precautions
When cleaning mold in the bathroom:
- Wear gloves.
- Keep the room well ventilated.
- Never mix cleaning products.
- Avoid splashing the solution into your eyes.
- Do not use vinegar on natural stone.
- Keep sprays away from electrical fixtures.
- Follow the tile and grout manufacturer’s instructions.
- Do not scrub damaged grout aggressively.
People with asthma, mold allergies, weakened immune systems, or respiratory conditions should avoid cleaning large areas of mold themselves.
When to Call a Professional
A small patch of surface mold can usually be handled with routine cleaning.
Professional help may be needed when:
- Mold covers a large area
- It repeatedly returns despite proper ventilation
- The wall or floor appears water-damaged
- There is a strong musty smell behind the tiles
- Mold is growing inside ceilings or walls
- The source of moisture cannot be identified
- The bathroom has experienced flooding or a major leak
Removing visible stains without fixing the moisture problem will only provide temporary results.
Final Thoughts
A mixture of white vinegar and dishwashing liquid can be a useful option for removing light soap residue and surface mold from suitable shower tiles and grout.
Spray the affected area, allow the solution to work, scrub gently, rinse thoroughly, and dry everything completely.
For long-lasting results, focus on ventilation, regular drying, leak repair, and replacing damaged grout or silicone when necessary. Keeping the shower dry is the most effective way to stop mold from returning.


