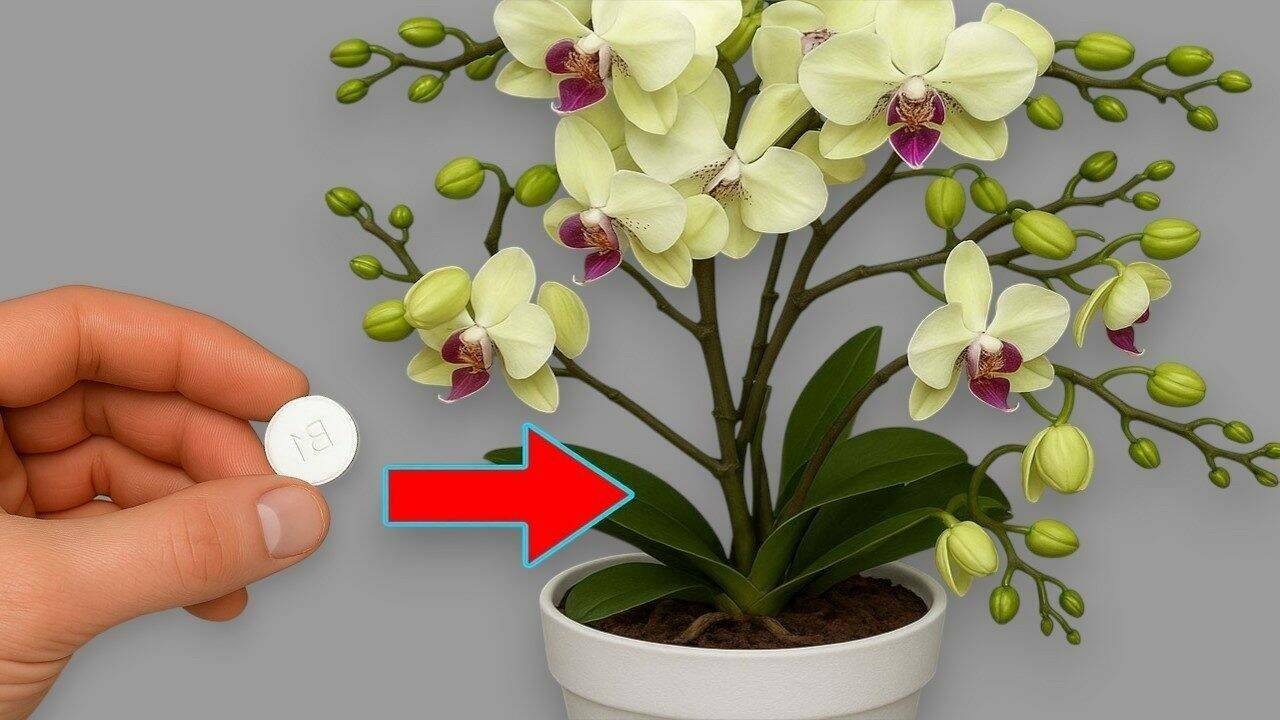
🌸 Place This Under Your Orchid to Encourage Healthy Root Growth Naturally
Place This Under Your Orchid to Encourage Healthy Root Growth Naturally
Has your orchid lost its flowers, developed limp leaves, or suffered from damaged roots? Don’t assume it’s beyond saving. Even severely weakened orchids can often recover when given the right care and growing conditions.
Among home gardeners, aloe vera gel has become a popular natural addition to orchid care. Rich in water and naturally occurring plant compounds, aloe gel is often used to help maintain moisture around the roots and support overall plant recovery. While scientific evidence for its direct effect on orchid growth is limited, many hobby growers enjoy incorporating it into their care routine.
Combined with proper watering, fresh potting media, and adequate light, this simple method may help your orchid regain strength and eventually bloom again.
Step 1: Inspect the Root System
The first step is determining whether the orchid still has healthy roots.
Carefully remove the plant from its pot and examine the entire root system.
Remove:
- rotten roots
- completely dried roots
- old decomposed potting bark
If the flower spike has completely dried out, trim it back with sterilized scissors. This allows the orchid to direct more energy toward producing healthy roots and leaves.
Finish by gently rinsing the remaining roots with clean water.
Step 2: Prepare an Aloe Vera Solution
Fresh aloe vera gel is commonly used in homemade plant care recipes because of its high moisture content and naturally occurring vitamins and minerals.
To prepare the solution:
- Cut open a fresh aloe vera leaf.
- Scoop out the clear gel.
- Mix the gel with approximately 1.5 liters (6 cups) of water.
- Add 1 teaspoon of honey.
- Stir thoroughly until well combined.
The resulting solution can be used in several ways during the orchid’s recovery.
Three Ways to Use the Aloe Vera Solution
1. Light Foliar Mist
Pour the solution into a spray bottle and lightly mist:
- the leaves
- exposed aerial roots
Apply once or twice each week, preferably early in the morning when the foliage has time to dry.
Avoid spraying during the hottest part of the day.
2. Wipe the Leaves
Dip a soft microfiber cloth or cotton pad into the solution and gently wipe both sides of every leaf.
This removes dust buildup, allowing the leaves to absorb light more efficiently while restoring their natural shine.
Keeping foliage clean also improves the overall appearance of the plant.
3. Water Around the Roots
Pour a small amount of the solution around the base of the orchid approximately every ten days.
If the potting mix is completely dry, water with plain water first.
Moist roots absorb moisture more evenly and are less likely to become stressed than roots exposed to concentrated solutions while dry.
Increase Humidity for Root Recovery
Orchids with only a few healthy roots often benefit from higher humidity during recovery.
One simple approach is to place the orchid inside a clear plastic container or a modified plastic bottle that helps trap humidity while still allowing fresh air to circulate.
The roots should remain above standing water rather than submerged in it.
A humid environment encourages the plant to conserve moisture while producing new roots.
Repot into Fresh Orchid Mix
If the original potting medium has broken down, replace it with fresh orchid bark.
Many growers soak pine bark in hot water before use.
After soaking:
- allow it to cool
- rinse it thoroughly
- fill the new pot
- position the orchid securely
Avoid watering immediately after repotting.
Allow several days for trimmed roots to heal before resuming normal watering.
Caring for Your Orchid After Recovery
As your orchid begins to regain strength, continue providing consistent care.
Healthy orchids thrive when they receive:
- bright, indirect light
- good airflow
- moderate humidity
- careful watering
- occasional fertilization during active growth
Check the roots regularly and remove any damaged sections before problems spread.
Tips for Long-Term Orchid Health
For the healthiest orchids possible:
- Remove only damaged or dead roots.
- Never allow the pot to sit in standing water.
- Use a coarse, well-draining orchid potting mix.
- Water only after the growing medium begins to dry.
- Provide bright light without harsh afternoon sun.
- Repot every two to three years as the bark naturally decomposes.
When Will You See Results?
Recovery takes time.
If growing conditions are favorable, many orchids begin producing new roots within several weeks.
Once a healthy root system has developed, the plant often starts producing stronger leaves, followed by new flower spikes when seasonal conditions are right.
Every orchid grows at its own pace, so patience is an essential part of the recovery process.
Final Thoughts
Reviving a weak orchid isn’t about finding a miracle ingredient—it’s about restoring healthy roots.
Fresh potting media, careful watering, proper humidity, and bright indirect light remain the foundations of successful orchid care.
Aloe vera gel is a popular natural addition used by many home growers and may complement a well-balanced care routine. Combined with consistent maintenance and patience, it can become part of a strategy that helps your orchid regain its strength and eventually reward you with beautiful blooms once again.