Rice Water for Orchids: A Simple Home Remedy to Encourage Healthy Roots and Beautiful Blooms
🌸 Rice Water for Orchids: A Simple Home Remedy to Encourage Healthy Roots and Beautiful Blooms
Meta Title
Rice Water for Orchids: Can It Help Revive Weak Orchids?
Meta Description
Discover how to care for a struggling orchid using proper root care, rice water, garlic, and the right growing conditions to encourage healthy recovery.
SEO Slug
rice-water-for-orchids-root-growth
Rice Water for Orchids: Can This Simple Kitchen Ingredient Help Revive a Struggling Plant?
Orchids are admired for their elegant flowers and long-lasting blooms, but even healthy plants can sometimes struggle. Wilted leaves, rotting roots, and a lack of flowers are common problems, especially when watering conditions aren’t ideal.
If your orchid appears to be declining, don’t throw it away just yet. Careful pruning, improved growing conditions, and proper root care can often help the plant recover.
Some orchid growers also use homemade rice water and garlic solutions as part of their plant care routine. Although many hobbyists report positive experiences, there is limited scientific evidence showing that these mixtures directly stimulate root growth or flowering. They should always be viewed as a supplement—not a substitute—for proper orchid care.
Here’s how this popular home method is typically used.
Why Do Orchids Decline?
The most common cause of orchid decline is excessive moisture around the roots.
When the potting medium stays wet for too long:
- roots begin to rot
- leaves become soft or wrinkled
- water uptake decreases
- flowering may stop altogether
The first step toward recovery is removing damaged tissue so the plant can focus its energy on healthy growth.
What You’ll Need
For this homemade treatment you’ll need:
- 3 tablespoons of uncooked rice
- 2 cups (500 ml) of water
- 1 small garlic clove
- 4 cups (1 liter) of clean water for dilution
- A soft cloth or cotton pad
- A spray bottle
- Clean, sharp scissors
- Ground cinnamon
Step 1: Clean the Orchid
Carefully inspect the plant.
Using sterilized scissors, remove:
- rotten roots
- dead roots
- damaged leaves
Rinse the healthy roots with clean water, gently pat them dry, and allow the orchid to air-dry for about 24 hours before continuing.
This drying period helps reduce the risk of additional rot.
Step 2: Prepare Rice Water
Add three tablespoons of uncooked rice to 500 ml (2 cups) of water.
Stir thoroughly to release some of the starch into the water.
Strain out the rice and dilute the liquid with approximately one liter (4 cups) of fresh water.
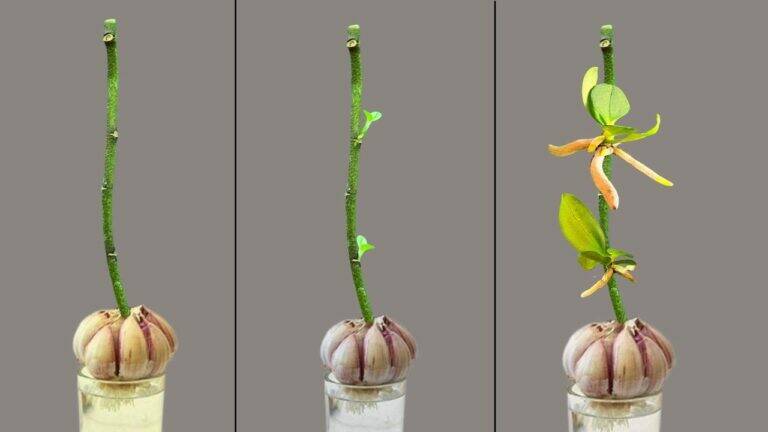
Step 3: Add Garlic
Finely chop one small garlic clove and add it to the diluted rice water.
Garlic is often used in homemade gardening recipes because it contains naturally occurring sulfur compounds. Many gardeners believe these compounds may help support healthy growing conditions, although scientific evidence for direct benefits to orchids remains limited.
Step 4: Treat the Leaves and Roots
Use a soft cloth dampened with the solution to gently wipe both sides of the leaves.
Removing dust allows the foliage to capture light more efficiently while improving the plant’s overall appearance.
Next, soak the lower portion of the orchid—including the roots—for approximately 15 minutes.
Any remaining solution can be transferred to a spray bottle and lightly misted onto the leaves and exposed roots.
Avoid excessive spraying, as prolonged moisture may encourage fungal diseases.
Step 5: Allow the Plant to Dry
After treatment, place the orchid in a warm location with:
- bright indirect light
- good air circulation
- moderate temperatures
Allow any remaining moisture on the leaves to evaporate naturally before returning the plant to its growing area.
Step 6: Protect Fresh Cuts
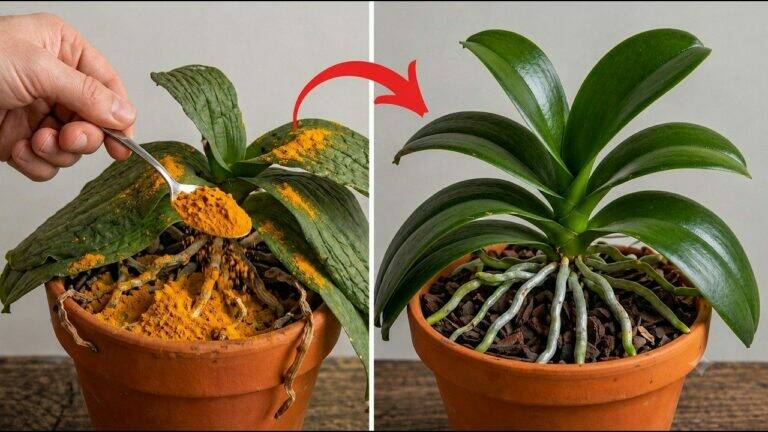
If you’ve trimmed roots or leaves, lightly dust the cut surfaces with ground cinnamon.
Many orchid enthusiasts use cinnamon because it naturally dries fresh cuts and may help keep the wound clean while it heals.
Be careful not to apply large amounts directly to healthy roots.
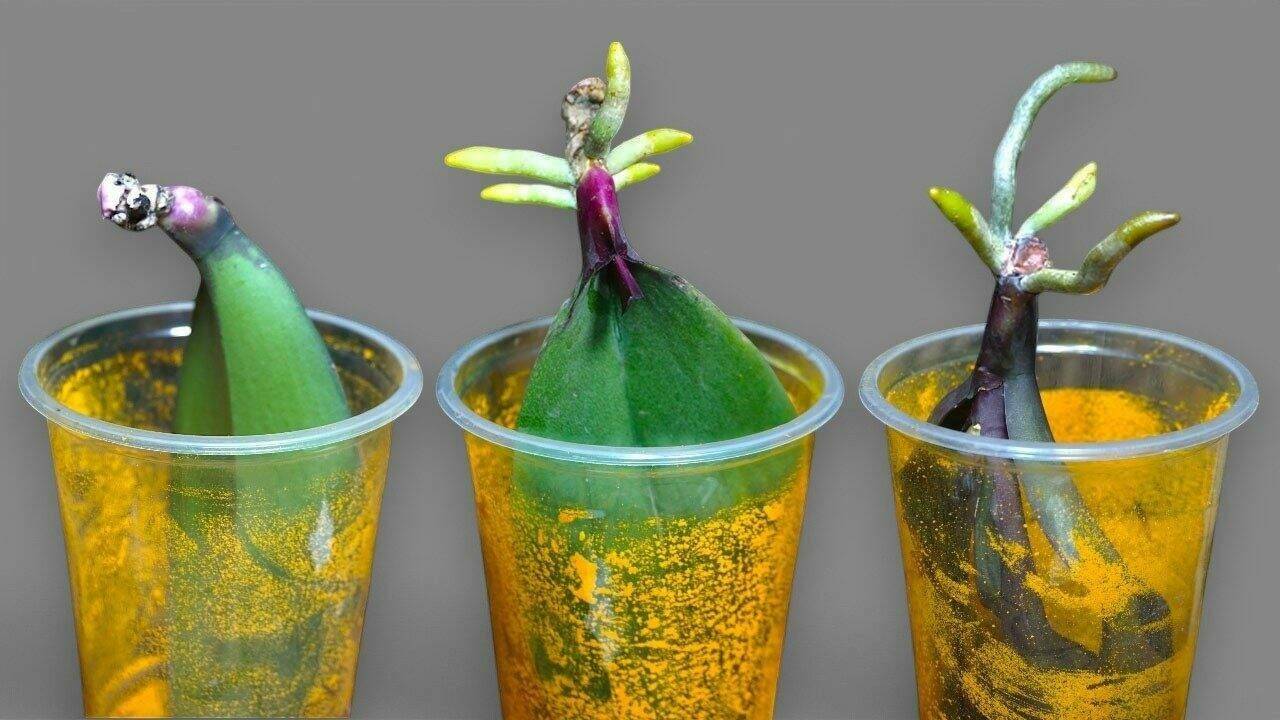
Step 7: Create a Humid Recovery Environment
Weak orchids often benefit from increased humidity while producing new roots.
One common method is placing the orchid inside a transparent container with a very small amount of water below the plant.
The base should be exposed to moisture without sitting directly in water.
Covering the container with a clear plastic dome or cup helps maintain humidity while still allowing light to reach the plant.
Open the container regularly to provide fresh air and prevent excessive condensation.
Should You Repot the Orchid?
If the original potting mix has broken down or remains constantly wet, repotting is often beneficial.
A fresh orchid mix made primarily from coarse pine bark, combined with a small amount of sphagnum moss if needed, improves airflow around the roots and reduces the risk of future rot.
Healthy roots require oxygen just as much as they need moisture.
When Will New Roots Appear?
Recovery takes patience.
Depending on the orchid’s condition and its growing environment, many growers begin noticing signs of new root development within four to six weeks.
Some plants recover faster, while severely damaged orchids may require several months before producing vigorous new growth.
Extra Tips for Healthy Orchids
To encourage long-term success:
- Water only when the potting mix is nearly dry.
- Always use pots with excellent drainage.
- Provide bright, indirect light.
- Maintain good air circulation around the plant.
- Fertilize lightly with a balanced orchid fertilizer during active growth.
- Inspect roots regularly for signs of rot.
Final Thoughts
Reviving a struggling orchid starts with healthy roots, not miracle ingredients.
Removing damaged tissue, improving drainage, maintaining proper humidity, and providing consistent care remain the most important steps for long-term success.
Homemade rice water and garlic solutions are popular among many orchid growers and may be an interesting addition to your routine. However, they work best when combined with proper watering, fresh potting media, and suitable growing conditions.
With patience and careful attention, even an orchid that appears beyond saving may eventually reward you with healthy roots, vibrant leaves, and beautiful blooms once again.