Don’t Throw Away a Cracked Roof Tile! This Simple Salt Trick Can Help You Make a Quick Repair
Don’t Throw Away a Cracked Roof Tile! This Simple Salt Trick Can Help You Make a Quick Repair
A cracked roof tile doesn’t always mean you need to replace it immediately. If a tile develops a small hole or crack and you need a temporary fix until a proper repair can be made, there is a simple DIY method that uses common household materials.
This inexpensive trick combines masking tape, table salt, and instant glue to seal small holes in roof tiles. While it should not replace a professional roof repair for significant damage, it can be a handy emergency solution to help prevent water from entering through a minor crack.
Here’s how it works.
What You’ll Need
- Table salt
- Masking tape
- Instant glue (cyanoacrylate adhesive)
- Paper towel (optional)
Step 1: Cover the Hole
Begin by cleaning the damaged area so it’s free of dust and loose debris.
Place masking tape over the hole or crack on the outside of the tile. Press the tape firmly so it completely seals the opening and creates a temporary backing.
Once the hole is fully covered, carefully turn the tile over.
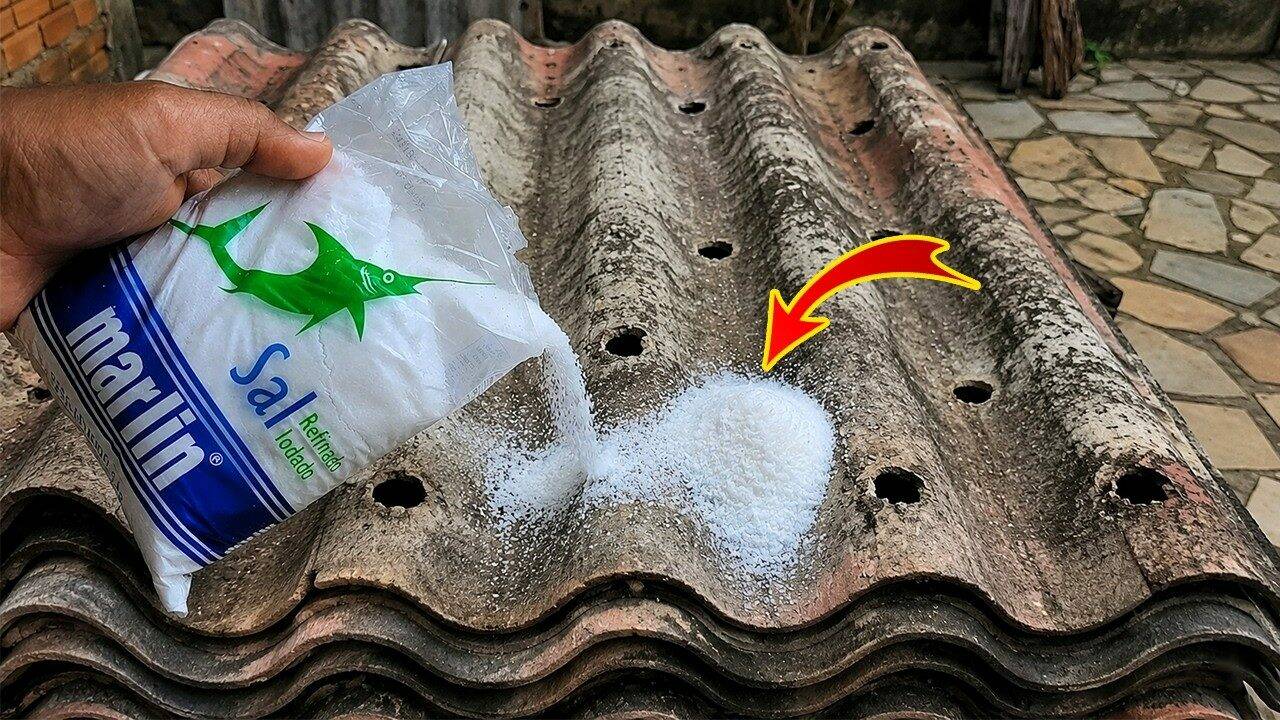
Step 2: Fill the Opening with Salt
Sprinkle ordinary table salt into the damaged area.
Use your finger to gently spread the salt so it fills the entire hole evenly.
The salt acts as a filler that supports the adhesive during the repair.
Step 3: Apply the Instant Glue
Slowly apply instant glue over the salt.
Start by adding glue around the edges of the damaged area, then continue toward the center until all of the salt is saturated.
Take your time to ensure complete coverage.
If excess glue runs outside the repair area, wipe it away with a paper towel before it hardens.
Step 4: Let It Cure Completely
Leave the tile undisturbed until the adhesive has fully cured.
Drying time depends on the type of glue and the surrounding temperature and humidity, so always follow the instructions on the adhesive packaging.
Do not remove the masking tape until the repair is completely hardened.
Step 5: Remove the Tape
Once everything is fully dry, gently peel away the masking tape.
The hole should now be sealed with the hardened adhesive.
Testing the Repair
One simple way to check the repair is to pour a small amount of water over the repaired area.
If no water passes through the tile, the patch has successfully sealed the opening.
When This Method Can Be Useful
This DIY repair may be helpful for:
- Small holes in roof tiles
- Minor cracks
- Emergency temporary repairs
- Extending the life of an older tile until replacement is possible
Important Limitations
Although this trick can temporarily seal a small opening, it is not a permanent structural repair.
If a roof tile is:
- Broken into multiple pieces
- Severely cracked
- Loose
- Causing active leaks
- Part of a damaged roof structure
it should be replaced or inspected by a qualified roofing professional.
A damaged roof can allow water to enter your home, leading to insulation damage, mold growth, and costly repairs if left untreated.
Final Thoughts
With nothing more than masking tape, table salt, and instant glue, you can create a simple temporary patch for a small hole in a roof tile. It’s an inexpensive DIY solution that may help stop minor leaks until a proper repair or replacement can be carried out.
Remember, however, that while clever household tricks can be useful in an emergency, the safest long-term solution for damaged roofing is always a properly installed replacement tile or a professional repair.