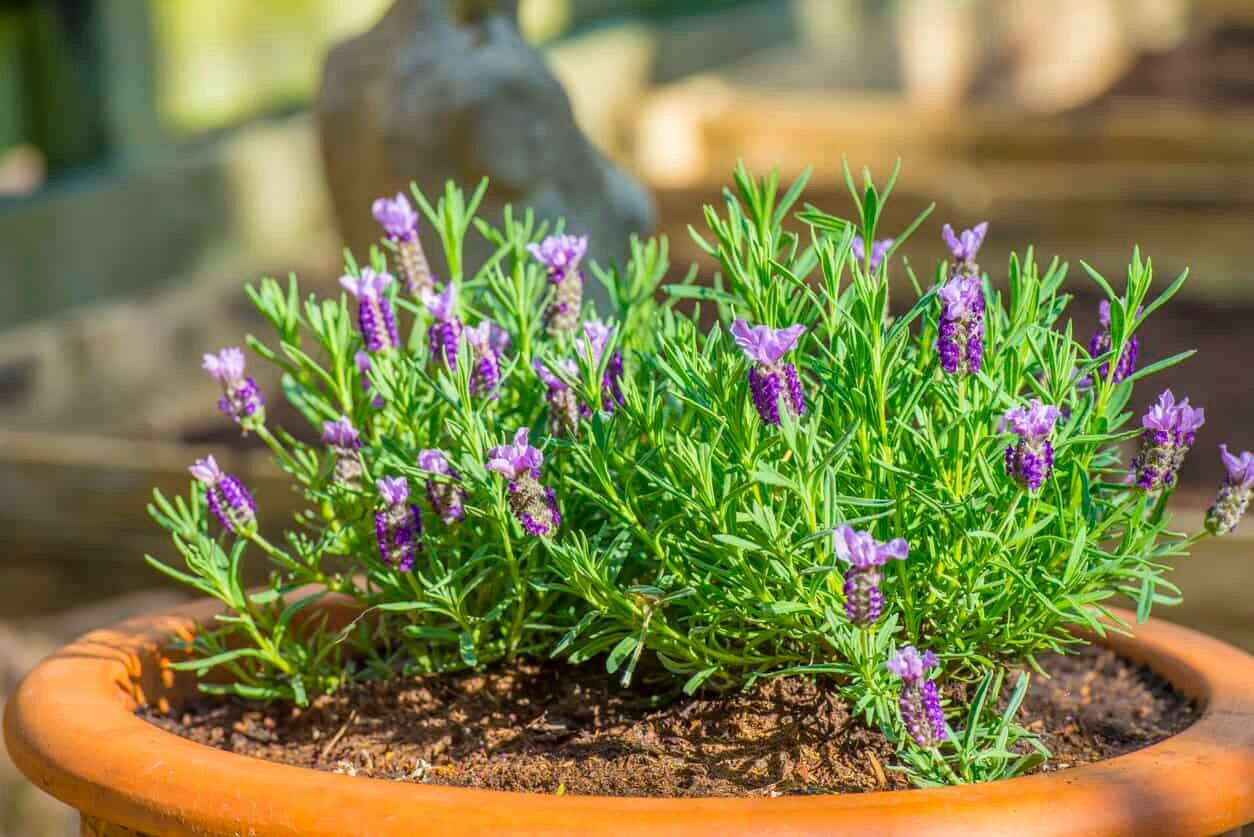
How to Propagate Lavender From Cuttings: A Simple Step-by-Step Guide
How to Propagate Lavender From Cuttings: A Simple Step-by-Step Guide
Lavender is one of the most beloved garden plants, prized for its fragrant flowers, attractive silver-green foliage, and ability to attract pollinators while naturally helping to deter certain garden pests.
Fortunately, growing new lavender plants doesn’t require expensive equipment or advanced gardening skills. With healthy cuttings and proper care, you can easily multiply your favorite lavender varieties at home.
Follow this simple step-by-step guide to successfully propagate lavender from cuttings.
Why Propagate Lavender From Cuttings?
Growing lavender from cuttings offers several advantages over starting from seed.
It allows you to:
- Produce plants identical to the parent plant.
- Enjoy faster establishment than seed-grown lavender.
- Save money by creating multiple new plants.
- Preserve the characteristics of favorite varieties.
Since cuttings are genetic copies, you’ll know exactly what kind of flowers, fragrance, and growth habit to expect.
What You’ll Need
Before you begin, gather the following supplies:
- A healthy, mature lavender plant
- Sharp pruning shears or scissors
- Small pots or nursery containers
- Well-draining potting mix
- Watering can or spray bottle
- Optional rooting hormone
- Clear plastic bag or humidity dome
Having everything ready beforehand makes the process much easier.
Step 1: Select Healthy Cuttings
Choose vigorous, disease-free stems from a healthy lavender plant.
Look for stems that are:
- Green and flexible
- Free of flowers
- Not damaged or diseased
Using clean, sharp scissors, cut each stem just below a leaf node.
Each cutting should measure approximately 5–7 inches (12–18 cm) long.
Remove the leaves from the lower half of each cutting so they won’t sit below the soil surface.
Step 2: Prepare the Containers
Fill small pots with a light, well-draining potting mix.
A blend designed for propagation or a mixture containing perlite or coarse sand works particularly well because it prevents excess moisture from collecting around the developing roots.
Moisten the soil before planting so it feels evenly damp but never waterlogged.
Step 3: Plant the Cuttings
Insert each cutting into the soil until the leafless section is completely buried.
Gently firm the soil around the stem to keep it upright.
Space multiple cuttings far enough apart so the leaves do not touch.
If desired, dip the cut end into rooting hormone before planting to encourage faster root development.
Optional Method: Root Lavender in Water
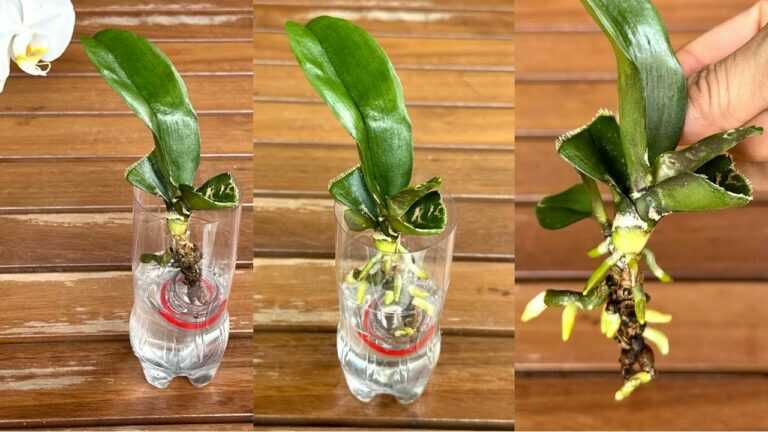
Lavender can also be rooted in water before planting.
Place the lower portion of each cutting into a container filled with clean water, ensuring the leaves remain above the waterline.
Replace the water every few days.
After roots develop—usually within two weeks—the cuttings can be transplanted into well-draining potting soil.
Although this method is popular, many gardeners find direct planting into soil produces stronger root systems.
Step 4: Care for Your Cuttings
Newly planted cuttings need consistent moisture and a stable environment while roots develop.
For the best results:
- Place the pots in bright, indirect light.
- Keep the soil lightly moist.
- Avoid direct afternoon sun.
- Cover the pots loosely with a clear plastic bag or humidity dome if the air is very dry.
Good humidity helps reduce moisture loss while the cuttings establish themselves.
Step 5: Wait for Root Development
Depending on temperature and growing conditions, lavender cuttings generally develop roots within four to six weeks.
You can check for rooting by gently tugging on the stem.
If you feel slight resistance, new roots have likely formed.
Avoid pulling too hard, as this may damage delicate young roots.
Step 6: Transplant Your New Lavender Plants
Once the roots have filled the container and new growth appears, the young plants are ready for transplanting.
Move them into:
- Larger containers
- Raised beds
- Garden borders
- Rock gardens
Choose a location with:
- Full sun
- Excellent drainage
- Good air circulation
Avoid planting lavender in heavy or constantly wet soil, which can quickly lead to root rot.
Tips for Successful Lavender Propagation
Increase your success rate by following these simple practices:
- Take cuttings during active growth.
- Always use clean, sterilized pruning tools.
- Avoid overwatering.
- Keep containers in bright, indirect light until rooted.
- Protect young plants from frost.
- Allow the soil to dry slightly between waterings after roots develop.
Healthy roots are more important than rapid top growth during the first few weeks.
Common Mistakes to Avoid
Many propagation failures are caused by a few simple errors.
Avoid:
- Taking cuttings from unhealthy plants.
- Using poorly draining soil.
- Allowing cuttings to dry out completely.
- Overwatering the growing medium.
- Exposing fresh cuttings to intense sunlight too soon.
- Transplanting before strong roots have developed.
Patience is often the key to success.
Final Thoughts
Propagating lavender from cuttings is one of the easiest and most rewarding ways to expand your garden. With healthy stems, well-draining soil, and consistent care, you can produce vigorous new plants that will provide fragrant blooms for many years.
Whether you’re creating a lavender border, filling containers, or sharing plants with family and friends, this simple propagation method makes it easy to grow more of one of the garden’s most cherished perennials.