This is how a pro cleans! No disassembly, 100% effective
This is how a pro cleans! No disassembly, 100% effective
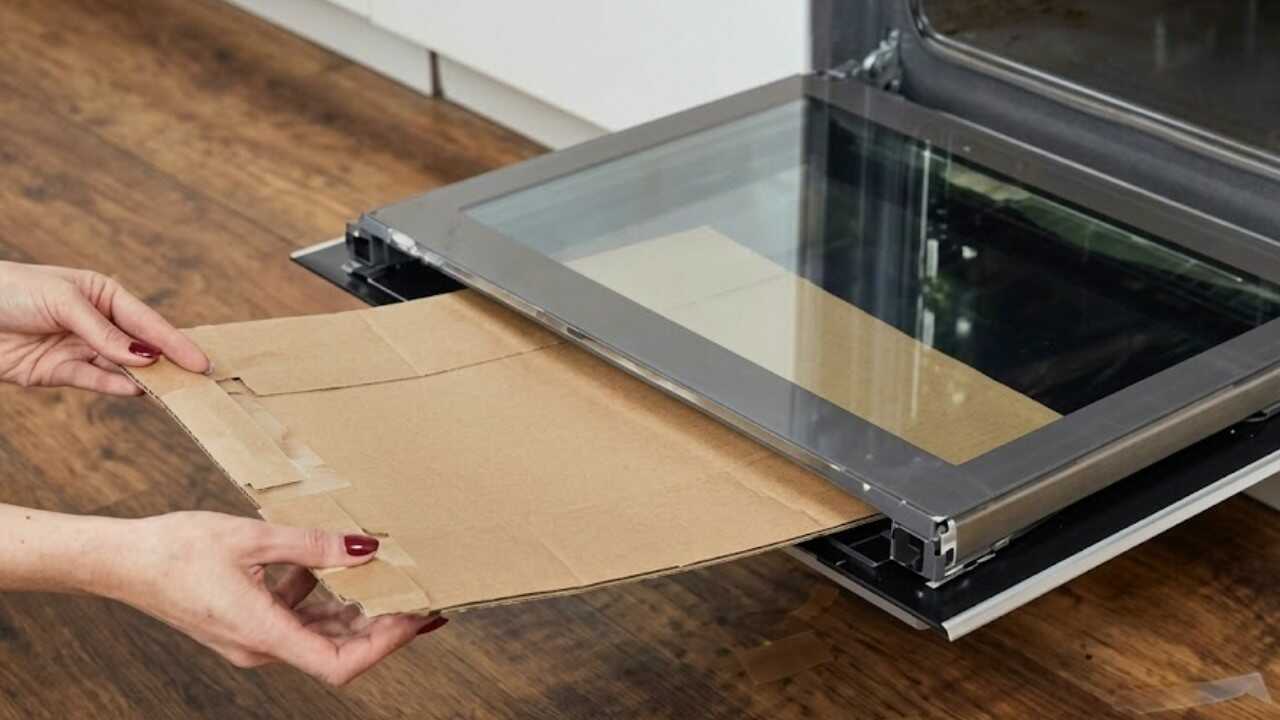
In the photo you can see a flat sheet of **brown corrugated cardboard** (note the wavy texture at the edge) with clear tape, being handled by bare hands. That simple sheet of cardboard is exactly the hero of this tip — not a chemical, not a gadget. In the garden, **cardboard** is an inexpensive, plant-safe material used by professionals for **weed suppression**, **sheet-mulching**, and as a **carbon-rich** amendment in compost. Below I show precise, seasonal instructions, exact doses and timelines so you can use the same cardboard you see in the picture safely and effectively.
Why cardboard works (botanical facts)
Cardboard is made from wood pulp and is therefore rich in **carbon (cellulose and lignin)**. Botanically useful properties that are well documented:
- Light block: a continuous cardboard layer prevents light reaching weed seedlings, halting photosynthesis and forcing weeds to die back.
- Carbon source: as a brown, low-nitrogen material it balances nitrogen-rich “greens” in compost and supports microbial decomposition toward humus formation.
- Soil moisture and temperature moderation: cardboard reduces evaporation and buffers daily temperature swings, benefiting root health.
These are real, verifiable horticultural effects — but remember: cardboard is a tool that complements good **light, watering, drainage and fertilization** practices, not a miracle cure.
Step-by-step: professional sheet-mulch with cardboard (exact method)
Materials and preparation
- Clean, brown corrugated cardboard sheets (no glossy or heavily printed surfaces).
- Remove tape, staples, plastic and adhesive labels before use — these are not biodegradable.
- Mulch material to cover the cardboard: compost, shredded bark, wood chips or straw.
- Water source and flat tools (rake, watering can) for wetting the sheet.
How to apply (doses and overlaps)
- Lay a single layer of cardboard over the bed for light weed pressure. Use a double layer (two sheets) for persistent perennial weeds or turf.
- Overlap adjacent sheets by 10–15 cm (4–6 inches) so no light gaps remain.
- Cut X-shaped holes or collars only where established perennials or shrubs already exist; leave a 3–5 cm (about 1–2 inches) clear around stems to avoid trapping moisture against trunks or crowns.
- Thoroughly water the cardboard after placement so it contacts the soil — wetting accelerates microbial colonization and decomposition.
- Cover the cardboard with a protective mulch layer: 5–10 cm (2–4 inches) of compost or wood chips. This weights the sheets down and improves aesthetics.
Season and frequency (precise timing)
- Best time to lay cardboard: early spring or autumn, before weeds set strong growth.
- Expect **visible weed suppression immediately** (seedlings will be blocked), but allow **at least 6–12 weeks** for soil organisms to begin breaking the cardboard down and for soil benefits to appear.
- Top up the mulch layer each spring if it looks depleted. Replace or renew cardboard under heavy foot-traffic beds every 9–18 months depending on climate and decomposition rate.
Using cardboard in compost (exact mix)
If shredding cardboard to add to a compost bin, aim for a balanced mix to reach a good C:N ratio:
- Shred the corrugated cardboard to increase surface area.
- Mix shredded cardboard (browns) with green, nitrogen-rich materials at a practical ratio of about 2–3 parts shredded cardboard to 1 part greens by volume. This helps approach a target C:N ~30:1 for efficient composting.
- Turn the pile every 1–2 weeks. Expect active composting and heat within several weeks; finished compost often appears after several months (typically 3–9 months depending on conditions).
Practical pro tips from experience
- Wet it well: water cardboard when placed and again after covering — dry cardboard will float and blow away.
- Secure edges: use mulch, stones or landscape staples to hold edges in windy sites.
- Shredding speeds decomposition: for compost or quick soil improvement, tear or shred the corrugated layers before burying.
- Use for new beds: to convert lawn to a garden bed, lay cardboard over turf, wet, then add 15–20 cm (6–8 inches) of compost/topsoil; wait at least 6–12 weeks before planting small seeds — transplanting large perennials can be done by cutting through the cardboard.
Common mistakes to avoid (botanical reasons)
- Leaving tape, staples or glossy print on the cardboard — these contain plastics or inks that do not break down and can introduce unwanted residues to the soil.
- Covering plant crowns or trunks directly — trapped moisture can cause crown rot or bark decay. Keep a 3–5 cm gap around stems.
- Using untreated single heavy layer over poor-draining clay without checking drainage — cardboard can hold moisture and create a perched wet zone; test on a small area first.
- Relying on cardboard as the only nutrient source — it supplies carbon and physical benefits but you still need to provide appropriate nitrogen and minerals through compost or fertilizer for healthy plant growth.
Timeline summary (what to expect)
- Immediate: light is blocked and most small seedlings will stop growing.
- 6–12 weeks: microbial activity increases, cardboard begins to soften and integrate with soil; moisture retention improves.
- 3–12 months: cardboards largely fragment and add organic matter; mulch may need topping up.
- 12–18 months: much of the cardboard will have decomposed in most climates; repeat application as needed annually or biannually.
Conclusion — try one bed this season
This simple brown corrugated cardboard you saw in the image is one of the most practical, low-cost tools for a cleaner, healthier garden when used correctly. Follow the exact preparation (remove tape), application (overlap 10–15 cm, wet, cover with 5–10 cm mulch), and timing (apply in spring or autumn; expect results over several weeks to months) and you’ll get predictable weed suppression and soil-building benefits. Try it on a single bed this season, monitor progress for 6–12 weeks, and share your before-and-after — you’ll be surprised how a humble sheet of cardboard can make your garden cleaner and stronger.
Ready to try it? Remove any tape first, lay a single or double sheet with 10–15 cm overlaps, water thoroughly, and top with 5–10 cm of mulch. Repeat annually as needed.