When and How to Trim Back Daylilies for Healthier Plants and More Late-Season Blooms
When and How to Trim Back Daylilies for Healthier Plants and More Late-Season Blooms
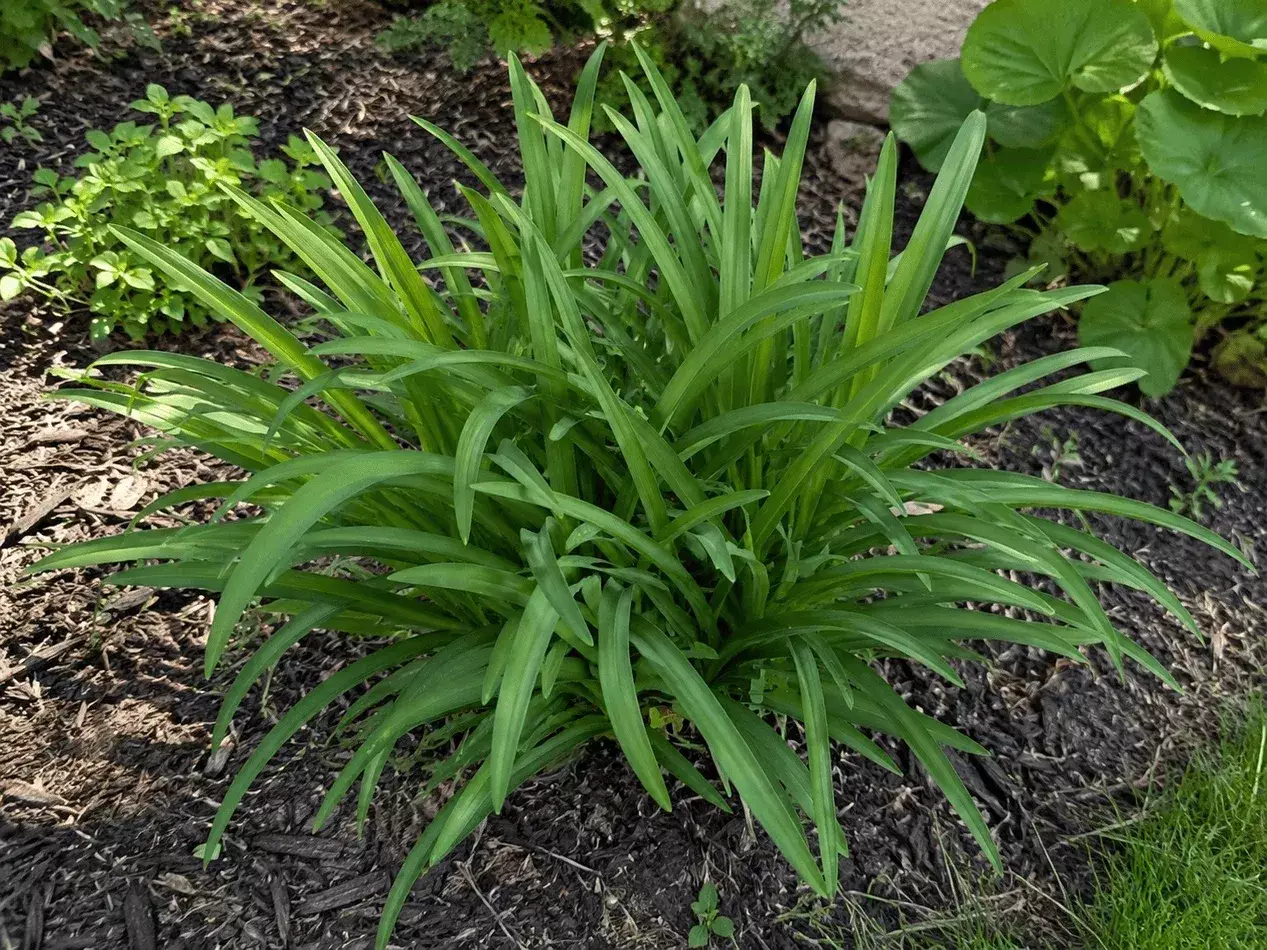
Daylilies are among the easiest perennials to grow. They thrive with very little maintenance, produce an impressive display of flowers each summer, and return year after year with minimal effort. However, once their first wave of blooms fades, the plants can begin to look untidy, with spent flower stalks and yellowing leaves taking away from their beauty.
Fortunately, a simple mid-summer cleanup is usually all they need. By removing faded blooms, old flower stalks, and damaged foliage, you can keep your daylilies looking attractive while helping them direct their energy toward healthy growth—and, for reblooming varieties, possibly another round of flowers later in the season.
Here’s how to trim daylilies the right way.
Why Daylilies Benefit from a Mid-Summer Trim
After their main flowering period, daylilies naturally begin slowing down.
The colorful blooms disappear, flower stalks dry out, and some of the older leaves start turning yellow or brown. This is completely normal and doesn’t mean your plant is unhealthy.
A quick cleanup offers several benefits:
- Improves the appearance of the plant.
- Prevents energy from being wasted on seed production.
- Increases airflow around the foliage.
- Reduces the risk of disease.
- Encourages vigorous new growth.
You don’t need to cut the entire plant back—just remove the parts that have finished their job.
When Is the Best Time to Trim Daylilies?
Timing depends on your particular variety rather than the calendar.
Wait until the majority of flowers have finished blooming and the flower stalks no longer carry unopened buds.
Signs it’s time to trim include:
- Bare or dried flower stalks.
- Faded flowers with developing seed pods.
- Yellow or damaged lower leaves.
- A generally untidy appearance after flowering.
If your daylilies are reblooming varieties, be careful not to remove stems that still have developing flower buds.
Step 1 – Remove Spent Flower Stalks
Once a flower stalk has completely finished blooming, cut it back close to the base of the plant using clean, sharp pruning shears.
Don’t pull or twist the stalk out by hand unless it comes away naturally, as this can damage the crown.
Removing old flower stems helps the plant focus its energy on root development and future blooms instead of producing seeds.
Step 2 – Remove Seed Pods
After flowering, you’ll often notice small green seed pods forming where the blooms once were.
Unless you’re intentionally collecting seeds for propagation, remove these pods as soon as they appear.
Producing seeds requires a considerable amount of energy, and eliminating them allows the plant to devote more resources to healthy foliage and future flowering.
Step 3 – Trim Away Damaged Leaves
Inspect the foliage carefully.
Remove leaves that are:
- Yellow
- Brown
- Broken
- Wilted
- Soft or damaged
Cut these leaves off at their base.
However, leave healthy green foliage intact, even if it isn’t perfectly attractive.
Those green leaves continue producing energy through photosynthesis, helping strengthen the roots for next year’s growth.
Step 4 – Dispose of Diseased Foliage Properly
If you notice leaves with fungal spots, rot, mold, or signs of disease, avoid placing them in your compost pile.
Instead, dispose of them with household garden waste to prevent pathogens from spreading throughout your garden.
Healthy leaves and spent flower stalks, however, can safely be composted.
What Happens After Trimming?
Don’t expect immediate dramatic changes.
Instead, you’ll notice several gradual improvements over the following weeks.
Your daylily clump will appear:
- Cleaner
- Tidier
- More upright
- Healthier
Removing old flower stems also allows sunlight and fresh air to reach the remaining foliage more easily.
If you’re growing reblooming daylily varieties, proper deadheading and trimming may encourage a second flush of flowers later in the summer.
Common Daylily Pruning Mistakes
Although daylilies are forgiving plants, a few mistakes can reduce next year’s performance.
Cutting All the Green Leaves
Healthy foliage should remain on the plant until it naturally declines.
Removing too many green leaves reduces the plant’s ability to store energy for future growth.
Leaving Seed Pods in Place
If you aren’t saving seeds, remove seed pods promptly.
Allowing them to mature diverts valuable energy away from the plant.
Using Dirty Pruning Tools
Always disinfect pruning shears before and after use.
Clean tools reduce the risk of spreading fungal and bacterial diseases between plants.
Composting Diseased Material
Only compost healthy plant material.
Any foliage showing signs of disease should be discarded instead.
Extra Care After Trimming
A little aftercare helps daylilies recover quickly.
After pruning:
- Water deeply during prolonged dry periods.
- Apply a thin layer of mulch to conserve moisture.
- Feed lightly with a balanced fertilizer if the plant appears weak.
- Keep weeds away from the crown to reduce competition.
- Continue monitoring for pests and diseases throughout the remainder of summer.
These simple steps help maintain healthy foliage until autumn.
Final Thoughts
Daylilies don’t require complicated maintenance, which is one reason they’ve remained favorite garden perennials for generations.
A simple mid-summer cleanup is often enough to restore their appearance and improve their overall health. By removing spent flower stalks, trimming damaged foliage, and eliminating unnecessary seed pods, you’ll help your plants conserve energy for stronger roots, healthier leaves, and—if you’re growing reblooming varieties—even another display of colorful flowers before the season ends.
With just a few minutes of pruning each summer, your daylilies will continue rewarding you with reliable beauty year after year.