When and How to Cut Back Daylilies for Healthier Growth and More Late-Season Blooms
When and How to Cut Back Daylilies for Healthier Growth and More Late-Season Blooms
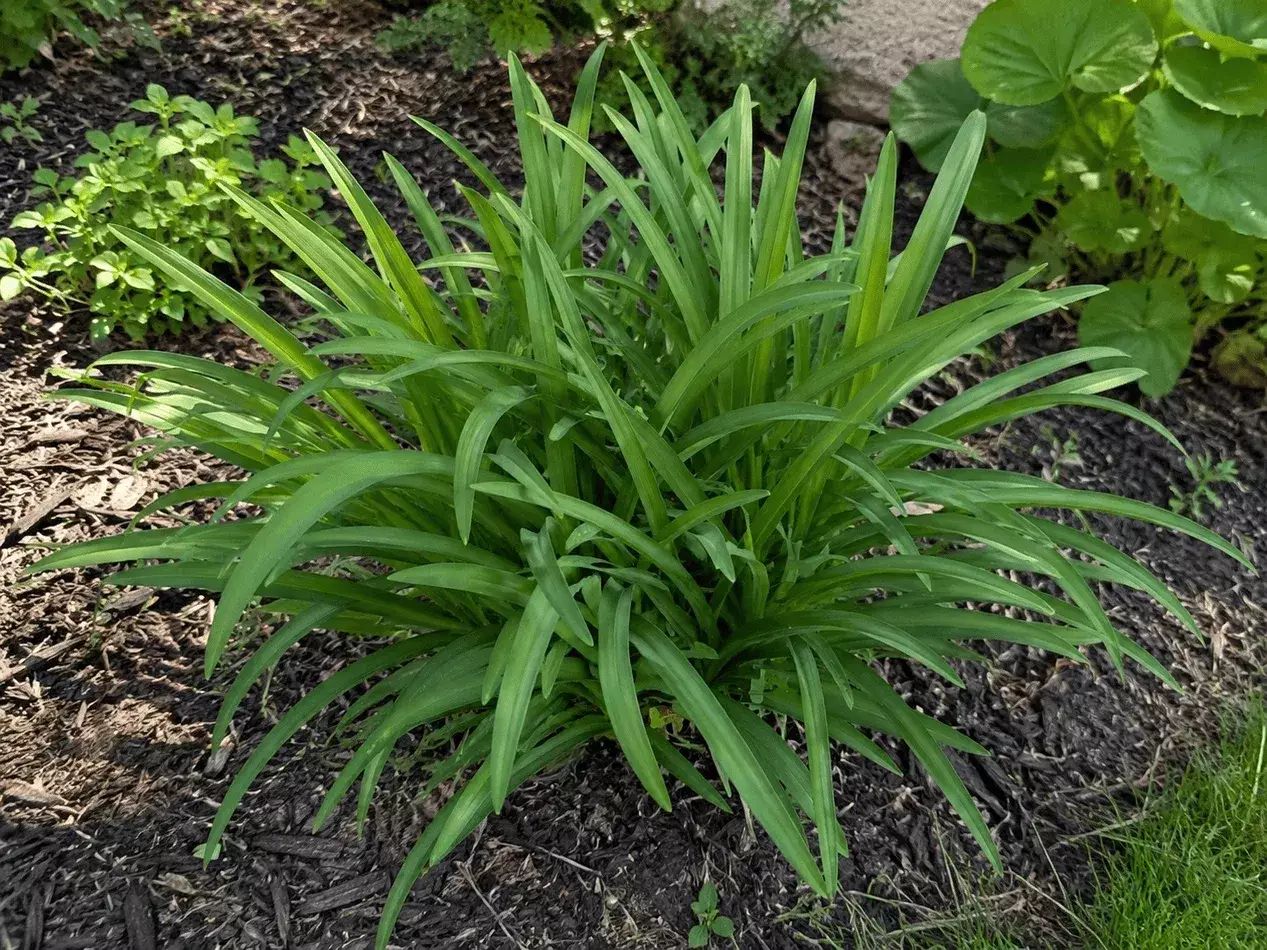
Daylilies are among the easiest perennials to grow. They tolerate heat, adapt to a wide range of conditions, and reward gardeners with weeks of colorful blooms every summer. But after their first spectacular display, they can begin to look untidy, with faded flowers, dry stalks, and yellowing leaves replacing those vibrant blossoms.
Fortunately, restoring their appearance is simple. A light mid-season trim is often all it takes to freshen up the plant, improve its overall health, and encourage reblooming varieties to produce another flush of flowers later in the season.
Here’s exactly when and how to trim daylilies without removing more than necessary.
Why Daylilies Benefit from a Summer Cleanup
Once the main flowering period ends, it’s perfectly normal for daylilies to lose some of their charm.
Spent flower stalks remain standing, older leaves begin turning yellow, and the clump may start looking messy. None of this means the plant is unhealthy—it simply signals that the first bloom cycle has finished.
A quick cleanup offers several advantages:
- Improves the plant’s appearance.
- Prevents energy from being wasted on seed production.
- Encourages healthy new growth.
- Improves airflow through the foliage.
- Reduces the risk of fungal diseases.
Best of all, the process only takes a few minutes.
When Is the Right Time to Trim Daylilies?
Forget the calendar—your plants will tell you when they’re ready.
The ideal time is after the majority of flowers have finished blooming and the flower stalks no longer carry unopened buds.
Look for these signs:
- Flower stalks are dry or bare.
- Seed pods begin forming.
- Older leaves start turning yellow.
- The plant looks tired or overgrown.
If you’re growing reblooming varieties, check carefully before pruning. Some stalks may still have unopened flower buds that will bloom later.
Step 1: Remove Finished Flower Stalks
Begin by inspecting each flower stalk.
If a stalk has completely finished flowering and contains no remaining buds, cut it back close to the base using clean, sharp pruning shears.
Avoid pulling the stalk by hand unless it detaches naturally, as forcing it can damage the crown of the plant.
Removing old flower stems allows the plant to focus its energy on healthy foliage and future blooms instead of producing seeds.
Step 2: Remove Developing Seed Pods
After flowering, small green seed pods often begin forming where the blossoms once grew.
Unless you plan to collect seeds for propagation, remove these pods promptly.
Producing seeds requires a considerable amount of energy, and eliminating them helps redirect that energy into stronger roots and healthier growth.
Step 3: Trim Damaged or Yellow Leaves
Next, examine the foliage.
Cut away leaves that are:
- Yellow
- Brown
- Wilted
- Broken
- Soft or damaged
Always cut them off near the base of the plant.
Leave healthy green leaves untouched, even if they aren’t perfectly attractive. These leaves continue producing energy through photosynthesis, helping the plant build reserves for next year’s flowering season.
Step 4: Remove Diseased Foliage
If any leaves show signs of disease—such as dark spots, mold, rot, or mushy tissue—dispose of them immediately.
Do not place infected foliage in your compost pile, as diseases may spread throughout your garden.
Healthy flower stalks and disease-free leaves, however, can safely be composted.
What Happens After Trimming?
A freshly trimmed daylily won’t transform overnight, but you’ll likely notice improvements within a couple of weeks.
The plant usually appears:
- Cleaner
- More compact
- More upright
- Better ventilated
Removing old stems also allows sunlight and fresh air to reach the remaining foliage more effectively.
If you’re growing reblooming cultivars, this cleanup may encourage the plant to produce another flush of flowers before autumn.
If Your Daylilies Still Look Unhealthy
If your plants continue looking weak several weeks after trimming, consider whether one of these common issues may be limiting growth:
- Insufficient watering during hot weather
- Extended periods of extreme heat
- Poor soil fertility
- Overcrowded clumps
- Too little sunlight
Correcting these problems often restores healthy growth surprisingly quickly.
Common Daylily Pruning Mistakes
Although daylilies are resilient, avoiding a few common mistakes will help keep them performing at their best.
Removing All Green Leaves
Healthy foliage should remain until it naturally dies back.
Cutting too much green growth reduces the plant’s ability to store energy for next year’s blooms.
Leaving Seed Pods on the Plant
If you’re not collecting seeds, remove developing seed pods to prevent unnecessary energy loss.
Using Dirty or Dull Tools
Always prune with clean, sharp shears.
Disinfect blades between plants to reduce the spread of fungal and bacterial diseases.
Composting Diseased Leaves
Only compost healthy plant material.
Dispose of infected foliage in household garden waste instead.
Extra Care After Pruning
Once your cleanup is complete, a little aftercare helps the plants recover even faster.
For best results:
- Water deeply during prolonged dry periods.
- Apply a layer of mulch around the base to conserve moisture.
- Feed lightly with a balanced fertilizer if growth appears weak.
- Remove weeds around the clump to reduce competition.
- Continue checking for pests throughout the remainder of summer.
These simple maintenance steps help keep foliage healthy until autumn.
Final Thoughts
Daylilies have earned their reputation as dependable, low-maintenance perennials for good reason. They rarely demand much attention, but a simple midsummer cleanup can make a noticeable difference.
By removing spent flower stalks, trimming damaged foliage, and eliminating unnecessary seed pods, you’ll keep your plants looking fresh while helping them conserve energy for stronger roots, healthier foliage, and, in many reblooming varieties, an extra burst of flowers before the season comes to an end.
A few minutes of pruning now can reward you with healthier, more attractive daylilies for the rest of the growing season—and set them up for an even better display next year.